
Barista course
The five Ms — step by step to an espresso of your own. The coffee picture book to the omaneo barista course.
The book
to the course
Based on the eleven-part omaneo barista video course (episodes 0–10), published on omaneo.de/barista-kurs.php and on YouTube. Personalised edition — with a dedication and a barista certificate.
omaneo — and YOU can do espresso.
Dieter Eitz · omaneo — Görlitzer Straße 5, 41460 Neuss, Germany
Telephone +49 2131 5952469 · espresso@omaneo.de · omaneo.de
Small business under § 19 of the German VAT Act — no value added tax is shown.
1st edition 2026 · produced by print on demand. © 2026 Dieter Eitz / omaneo. All rights reserved. Reprinting, reproduction and distribution — including in part — only with written permission. Text, design and picture selection: omaneo.
For everyone who senses that there is more to be had from their bean — and who is ready to lend a hand.
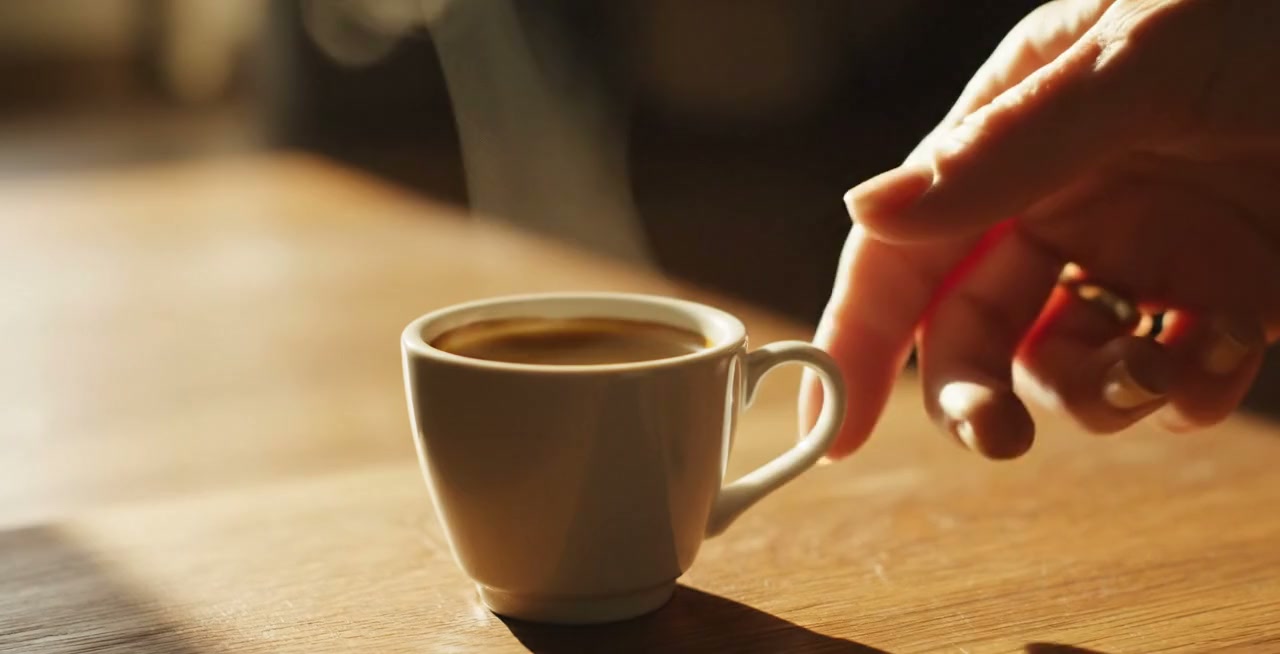
Five things decide it
over every espresso
Can you hear that? That is not the press of a button. That is craft.
You have a good machine. A dozen coffees at the touch of a button — and a crema worth looking at. But there is this one thought: there is more in your bean — exactly your taste. The optimum that only comes out when you lend a hand yourself. And you ask yourself: can I do that? The answer is yes — and it is easier than you think.
The five Ms
Four of them you prepare. The fifth you will master in your sleep by the end. In this series we go through each M on its own — and at the end you pull your espresso yourself. Assured. Dependable.
- 01What espresso really is
- 02The bean
- 03Mill
- 04Understanding the machine
- 05The perfect puck
- 06Dialling in
- 07Milk foam
- 08Latte art
- 09The drinks
- 10Care and mastery
What espresso
really is
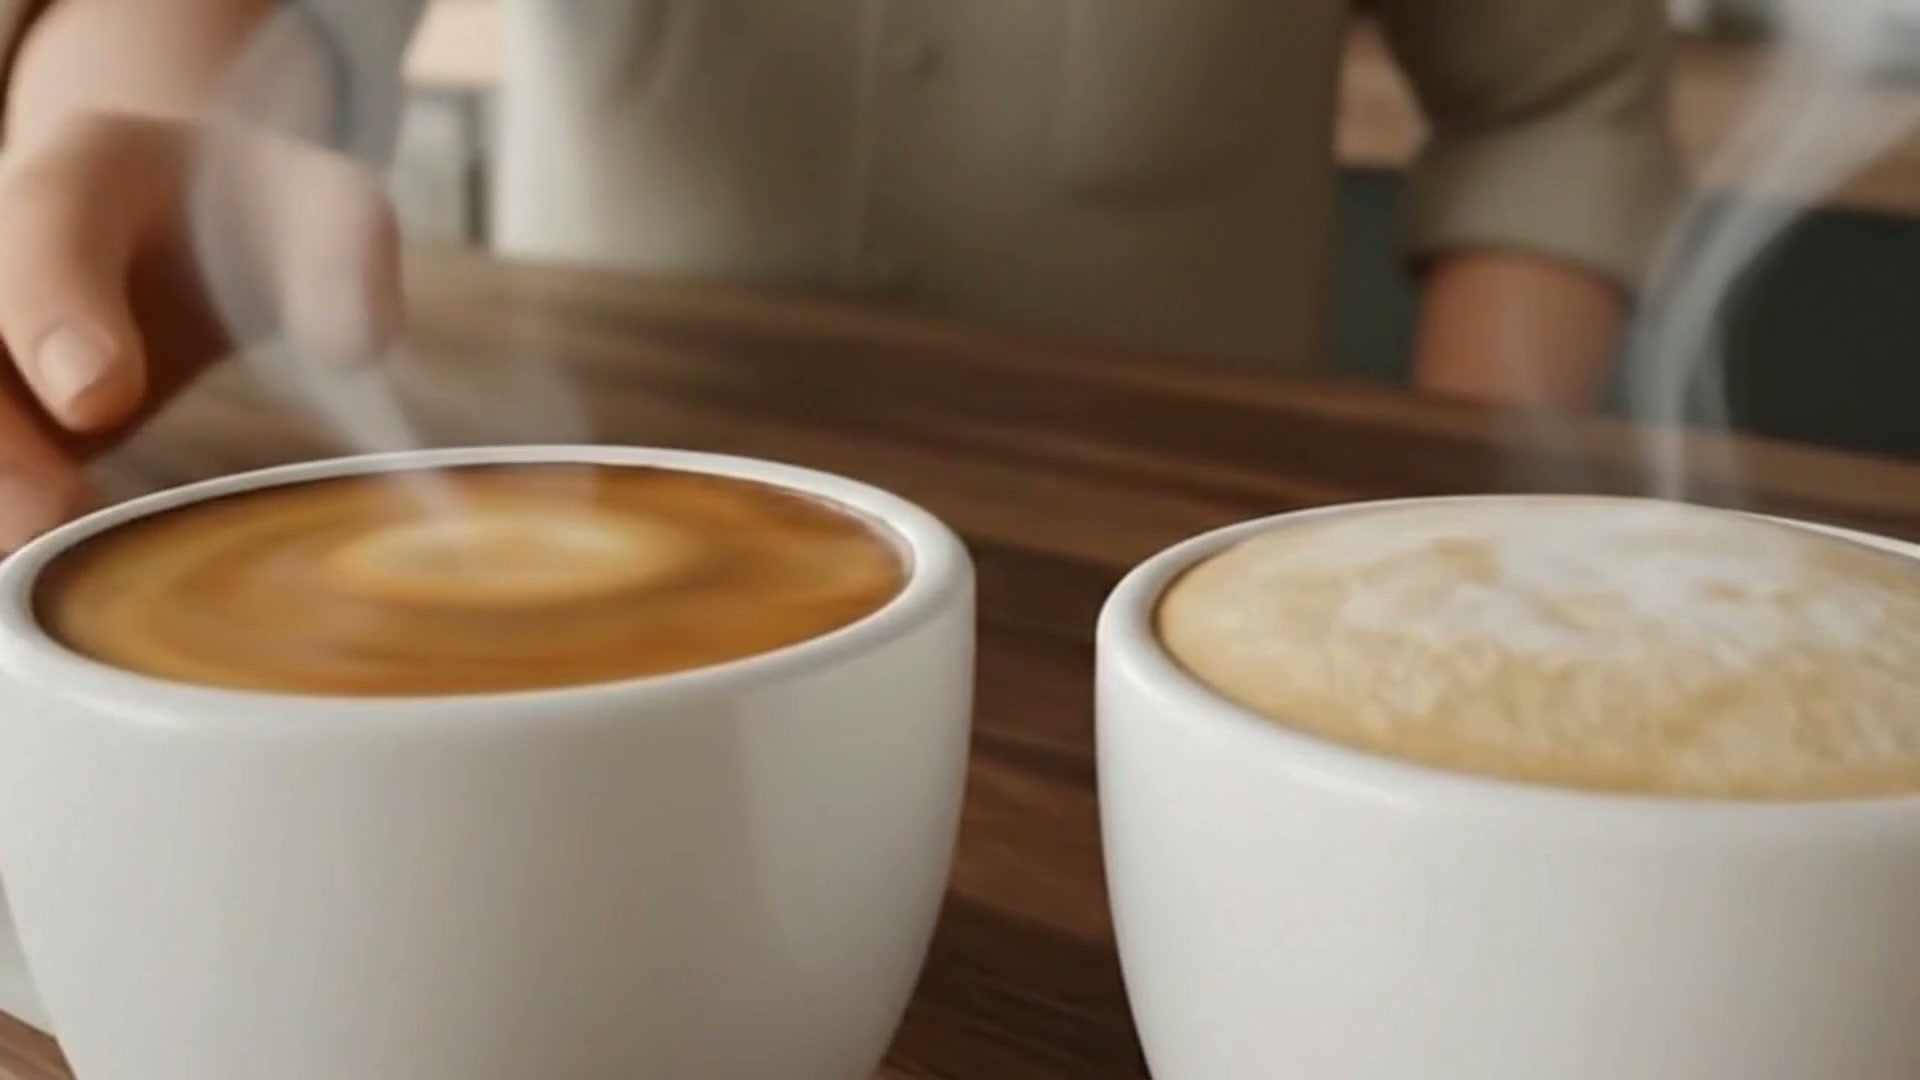
Here stand two cups. Both come out of a good machine — but only one is an espresso.
The first has a dense, hazelnut-brown crema that closes slowly. The second has only a pale, thin foam that collapses quickly. By the end of this chapter you will know exactly why — and which one you want.

Before we start turning screws we have to understand what espresso actually is. Once you have grasped that, everything else suddenly makes sense. And you learn the most important thing straight away: your best measuring instrument is not the machine — it is your tongue.
Remember the five Ms? Mixture, amount, mill, machine, human being. Today we look at all five from above; in the next chapters we take each one on its own.
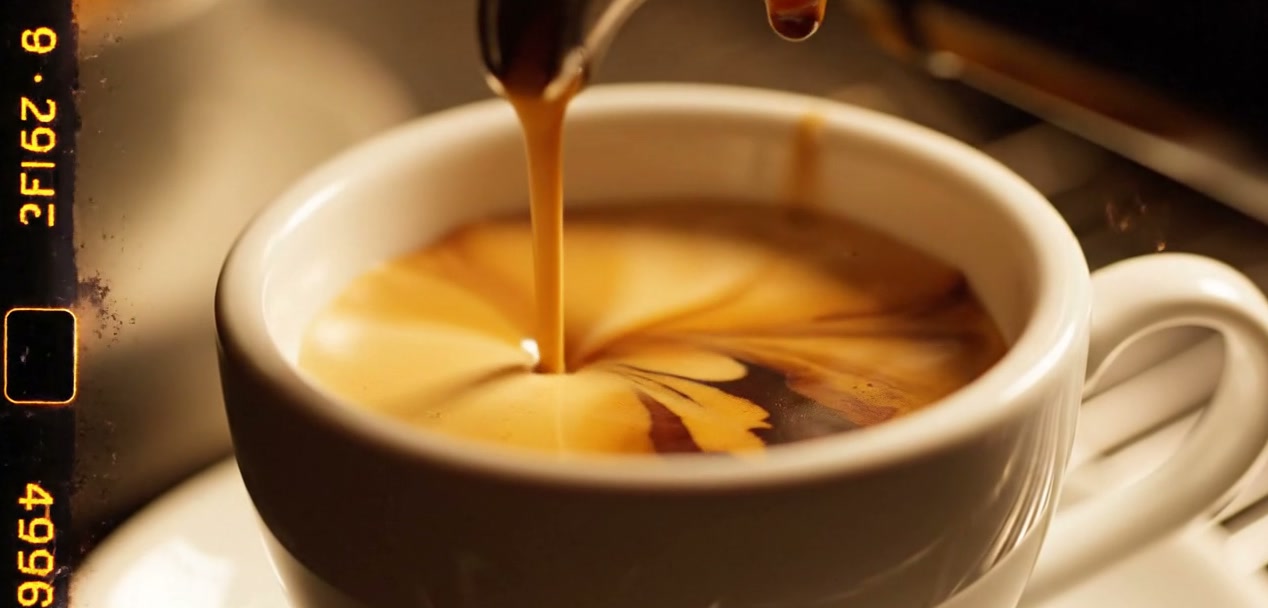
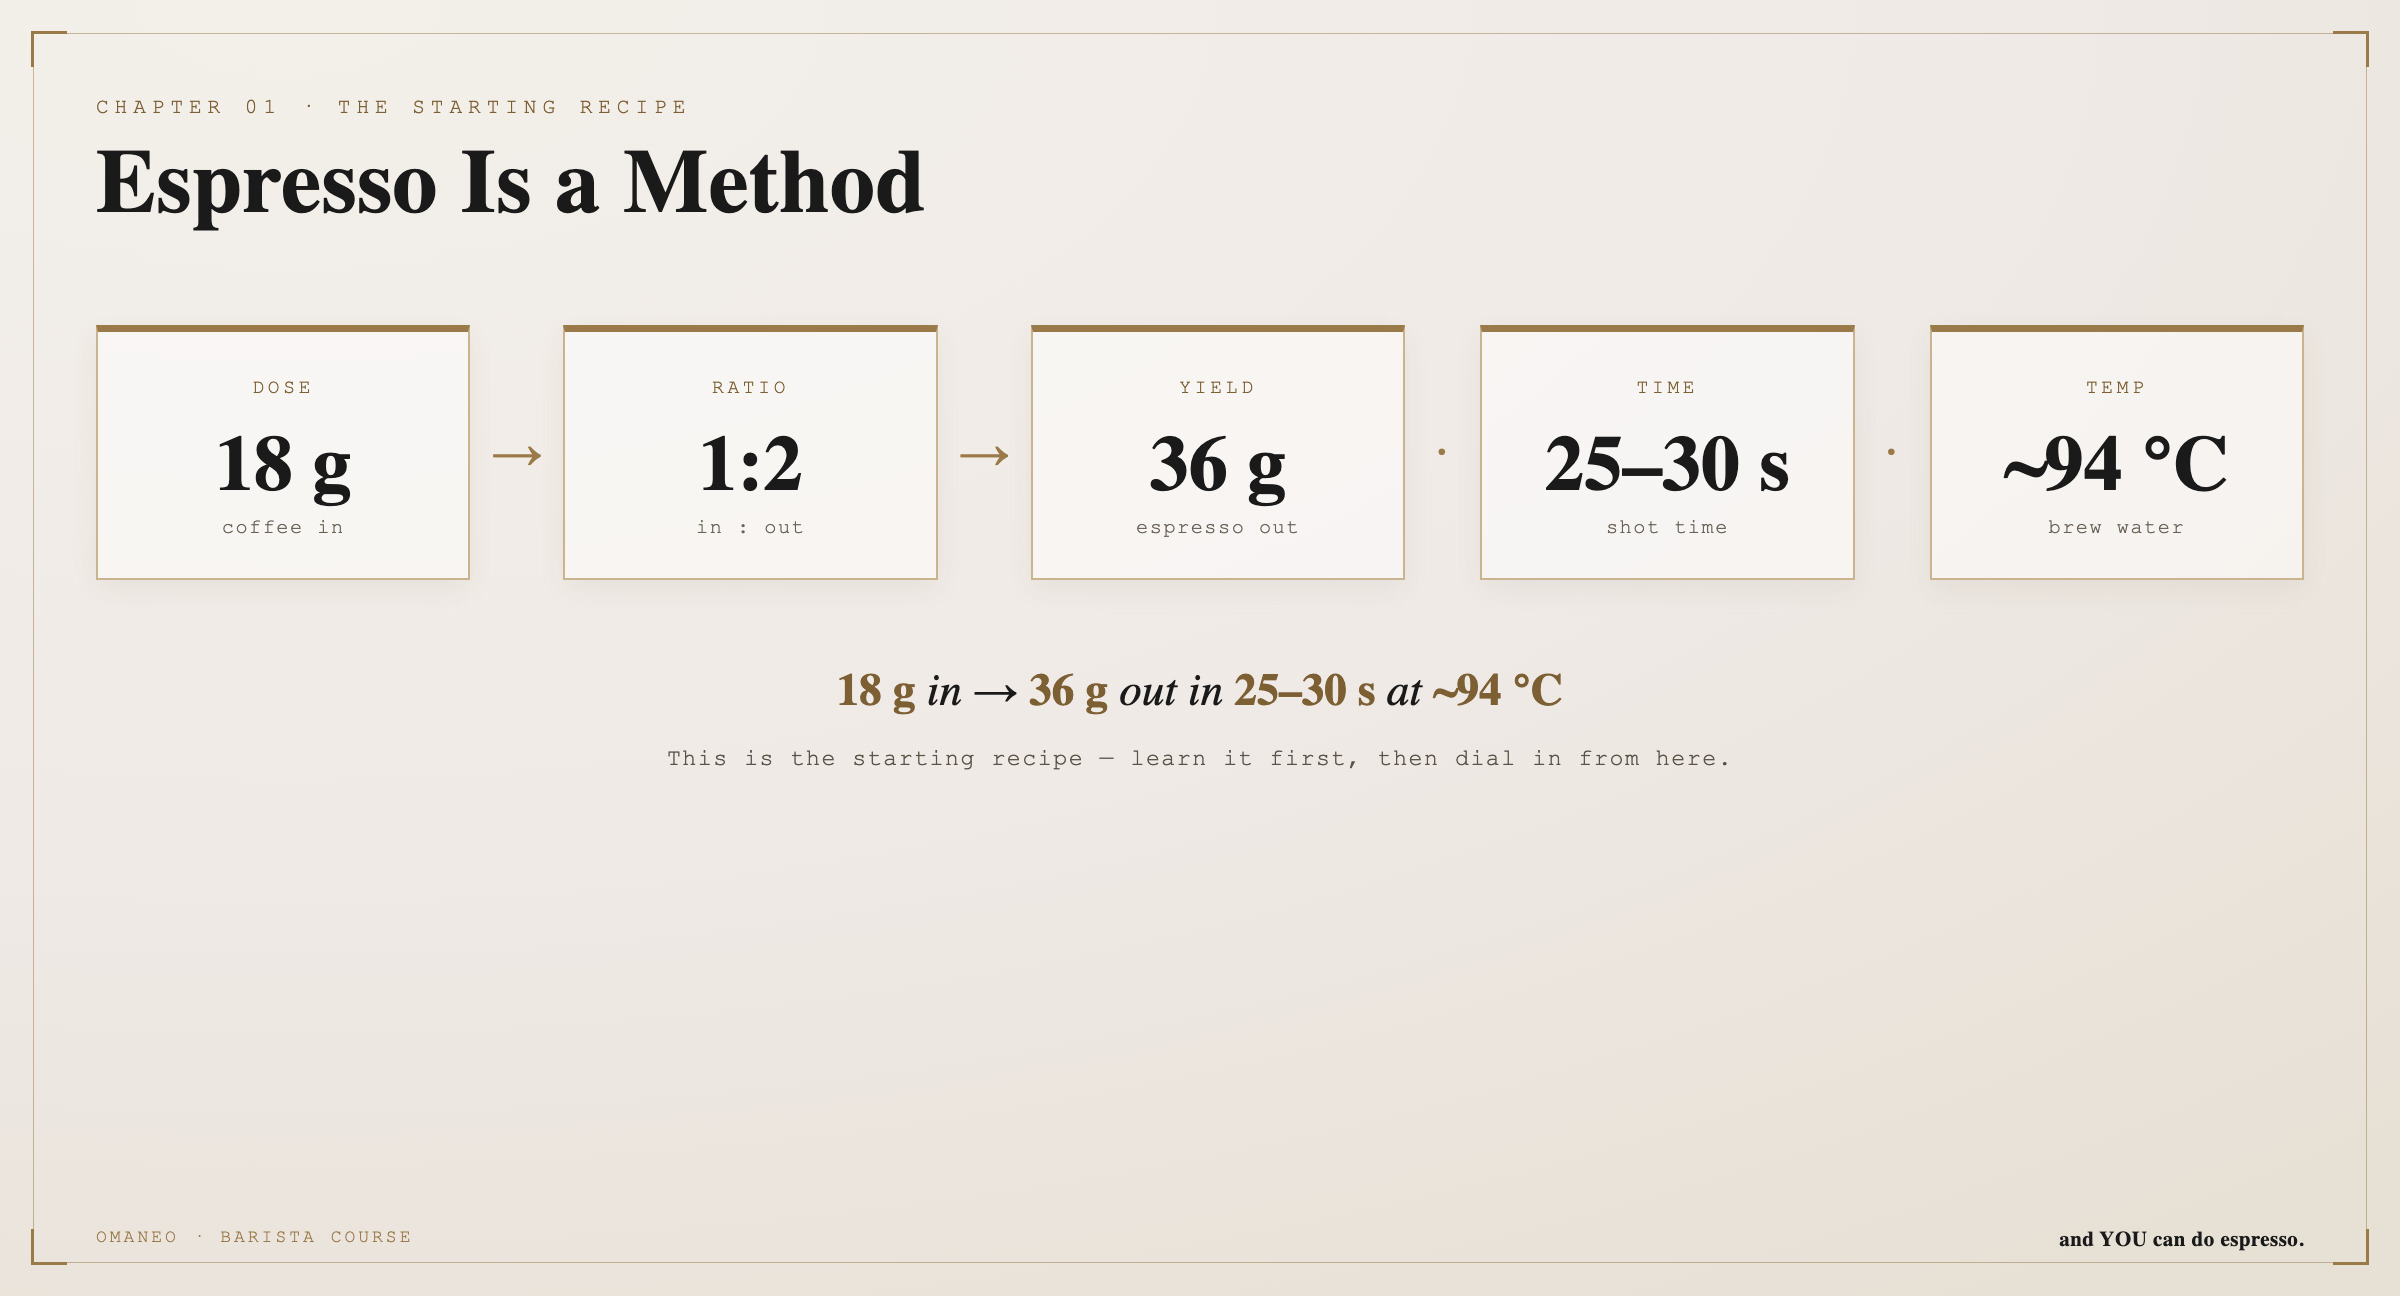
Espresso is not a flavour and not a particular bean. Espresso is a method: hot water — about 90 to 94 degrees — is forced at high pressure, around nine bar, through finely ground, firmly compressed coffee. And all that in just 25 to 30 seconds.
What comes out is a small, concentrated amount: about 25 to 35 millilitres, crowned with that crema.
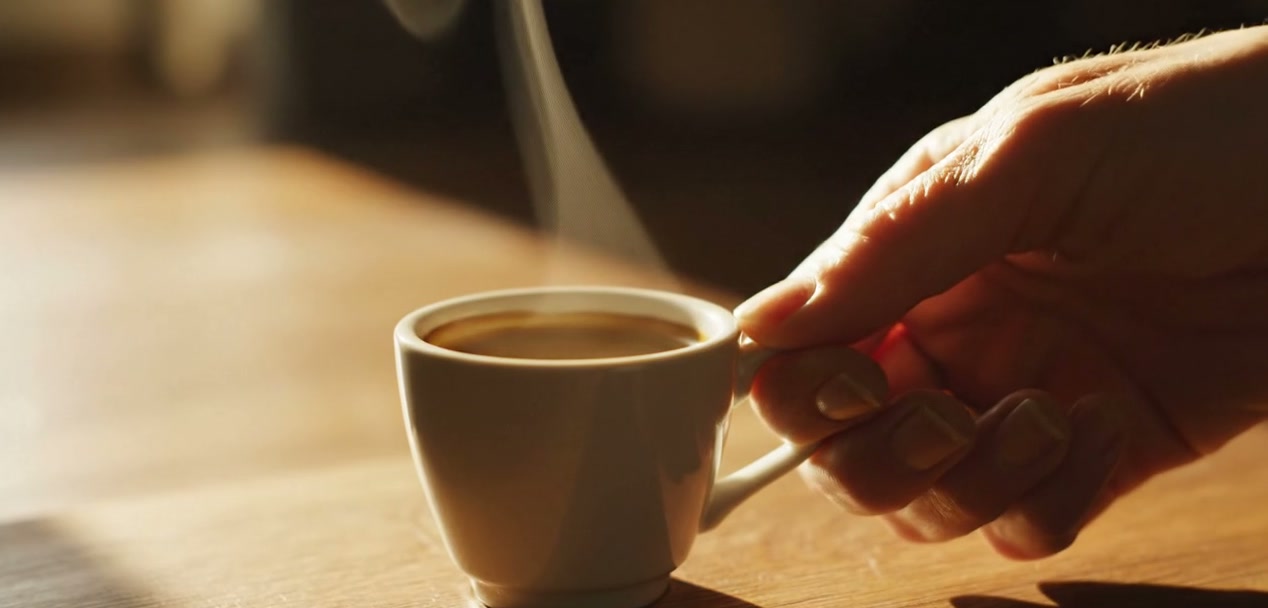
Which brings us to your most important tool — your tongue. Picture a horizontal axis: on the far left is sour, on the far right is bitter. And right in the middle lies your target — a round, sweetish, balanced espresso.
Hands-on: make yourself an espresso, no pressure at all. Take a sip and ask yourself just this one question: does it pull together at the front and sides, sharp and sour? Or at the back, hard and bitter? Or is it already pleasantly round? You do not have to change anything yet — just taste consciously for the first time.

What espresso
really is
Espresso is a method — pressure, heat, a short time. Crema is sometimes deceptive. And your tongue decides, on an axis from sour to bitter, with the target right in the middle. Your task: drink your next espresso quite deliberately and make up your mind — sour or bitter? Write it down.
The bean
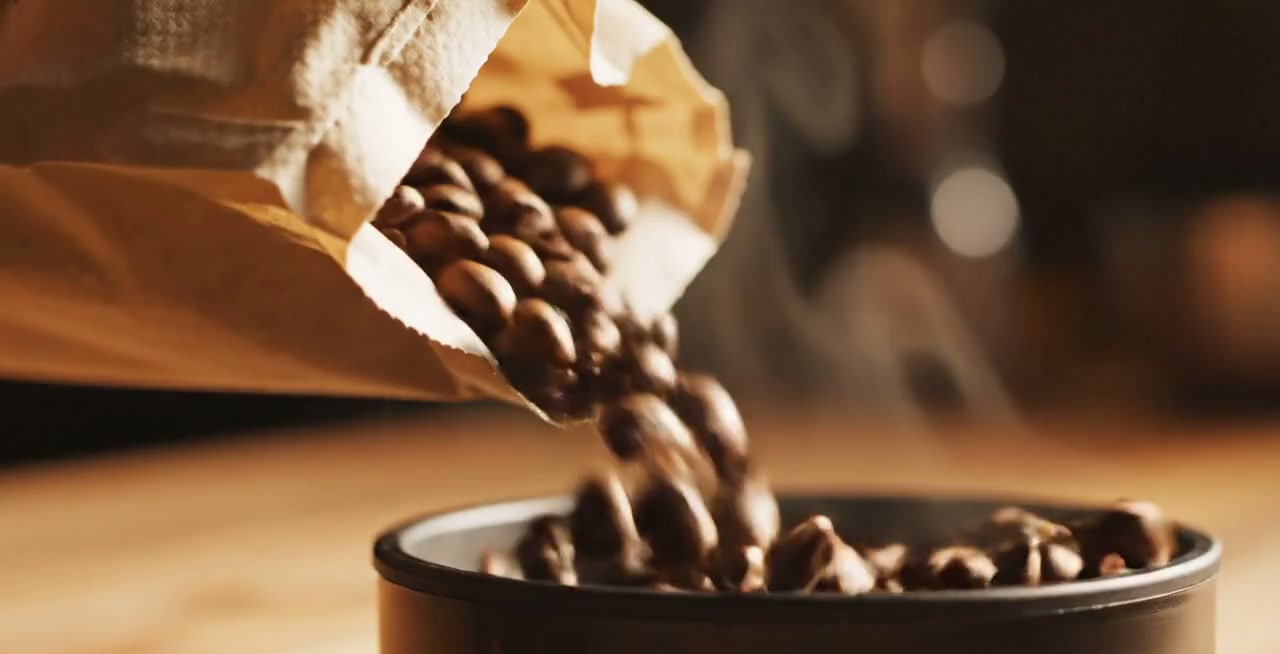
The best machine in the world cannot rescue an old, tired bean.
Before you press a single button on your machine, the most important decision has already been made — at the point of purchase. Today we deal with the first two Ms: the mixture and the amount.
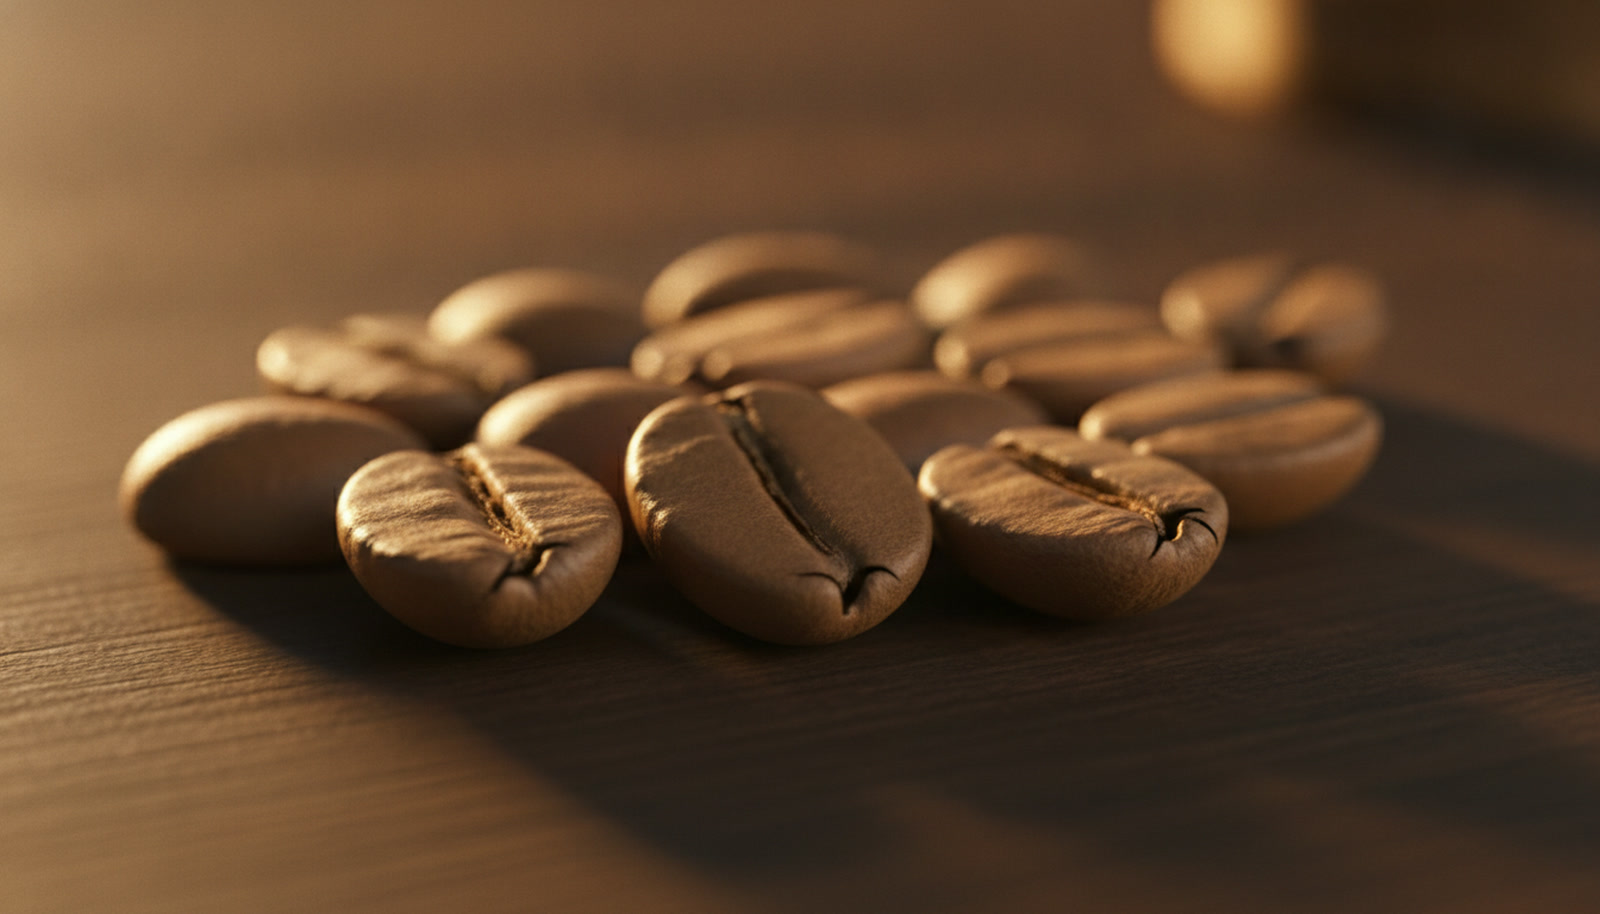
There are two varieties that count: arabica and robusta. Arabica is the fine, aromatic one — with fruitiness, sweetness and lively acidity. Robusta is stronger, harsher, has more caffeine and produces a great deal of crema. Many espresso blends combine the two: plenty of arabica for the flavour, a dash of robusta for crema and body.
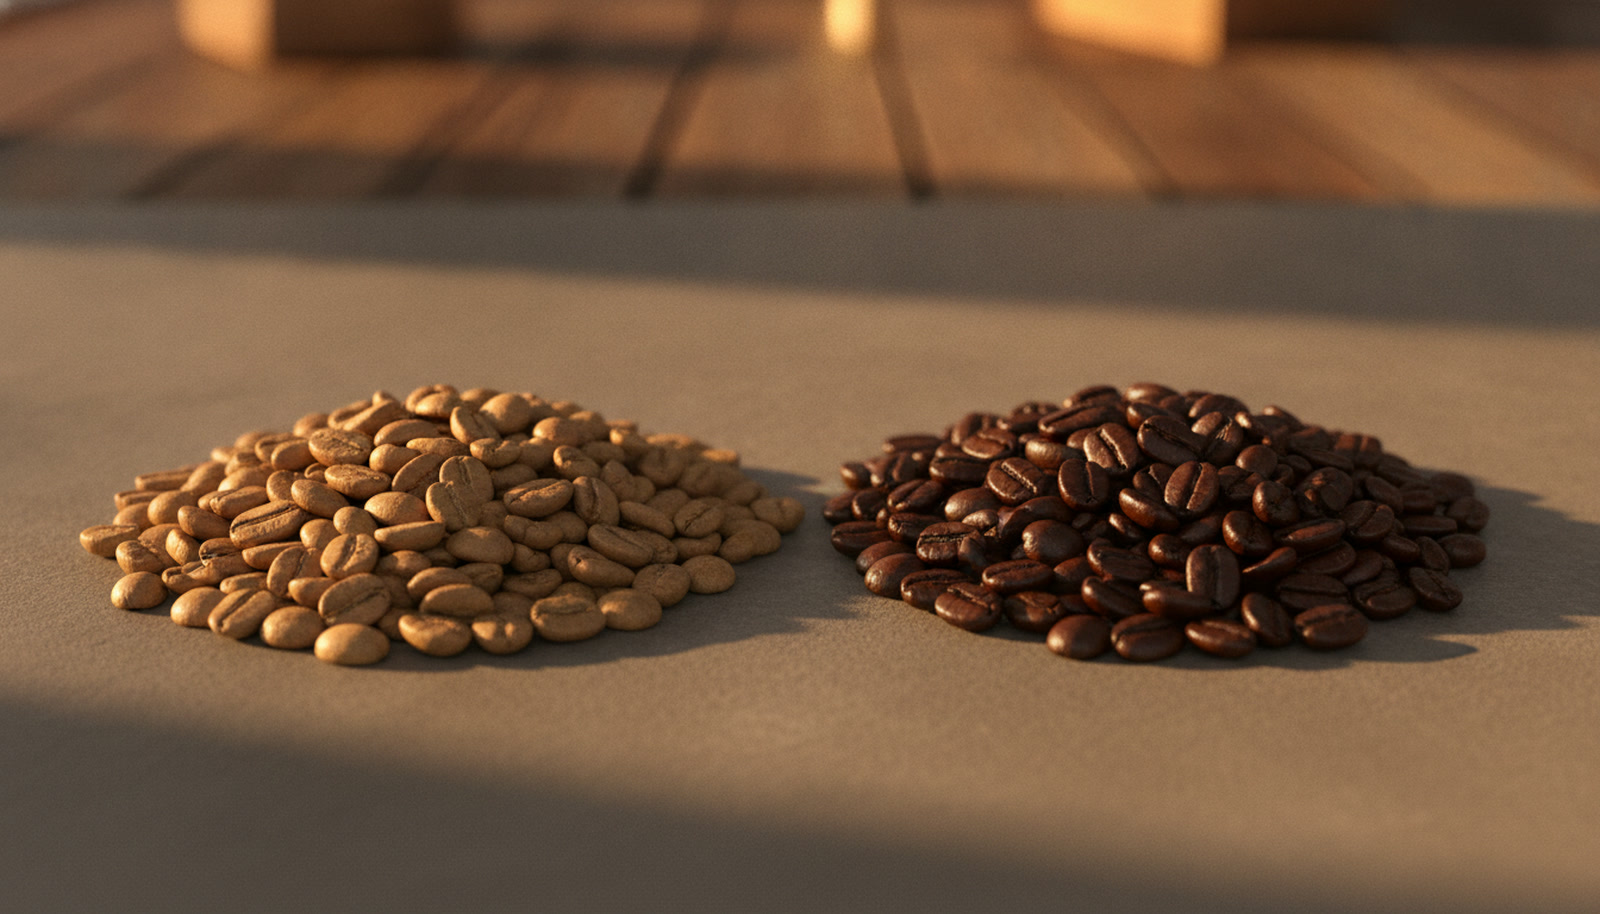
With roasting the rule is: the darker, the less acidity, the more roast bitterness and body. To start with, take a medium to slightly darker espresso roast — it is more forgiving. And remember: dark does not mean strong. Dark means bitter.
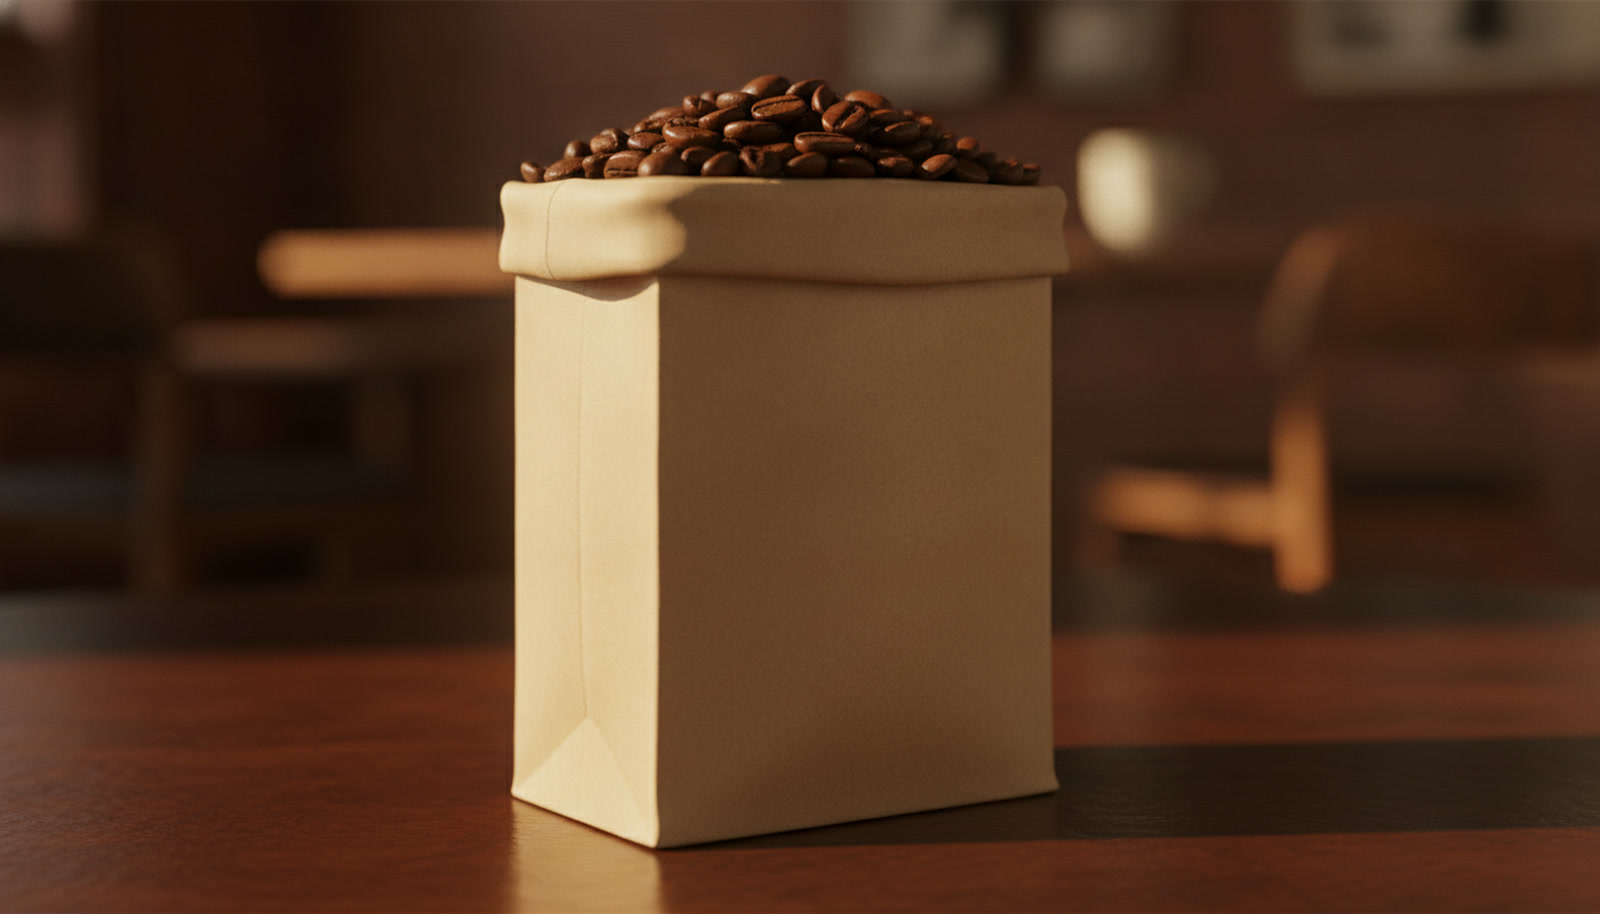
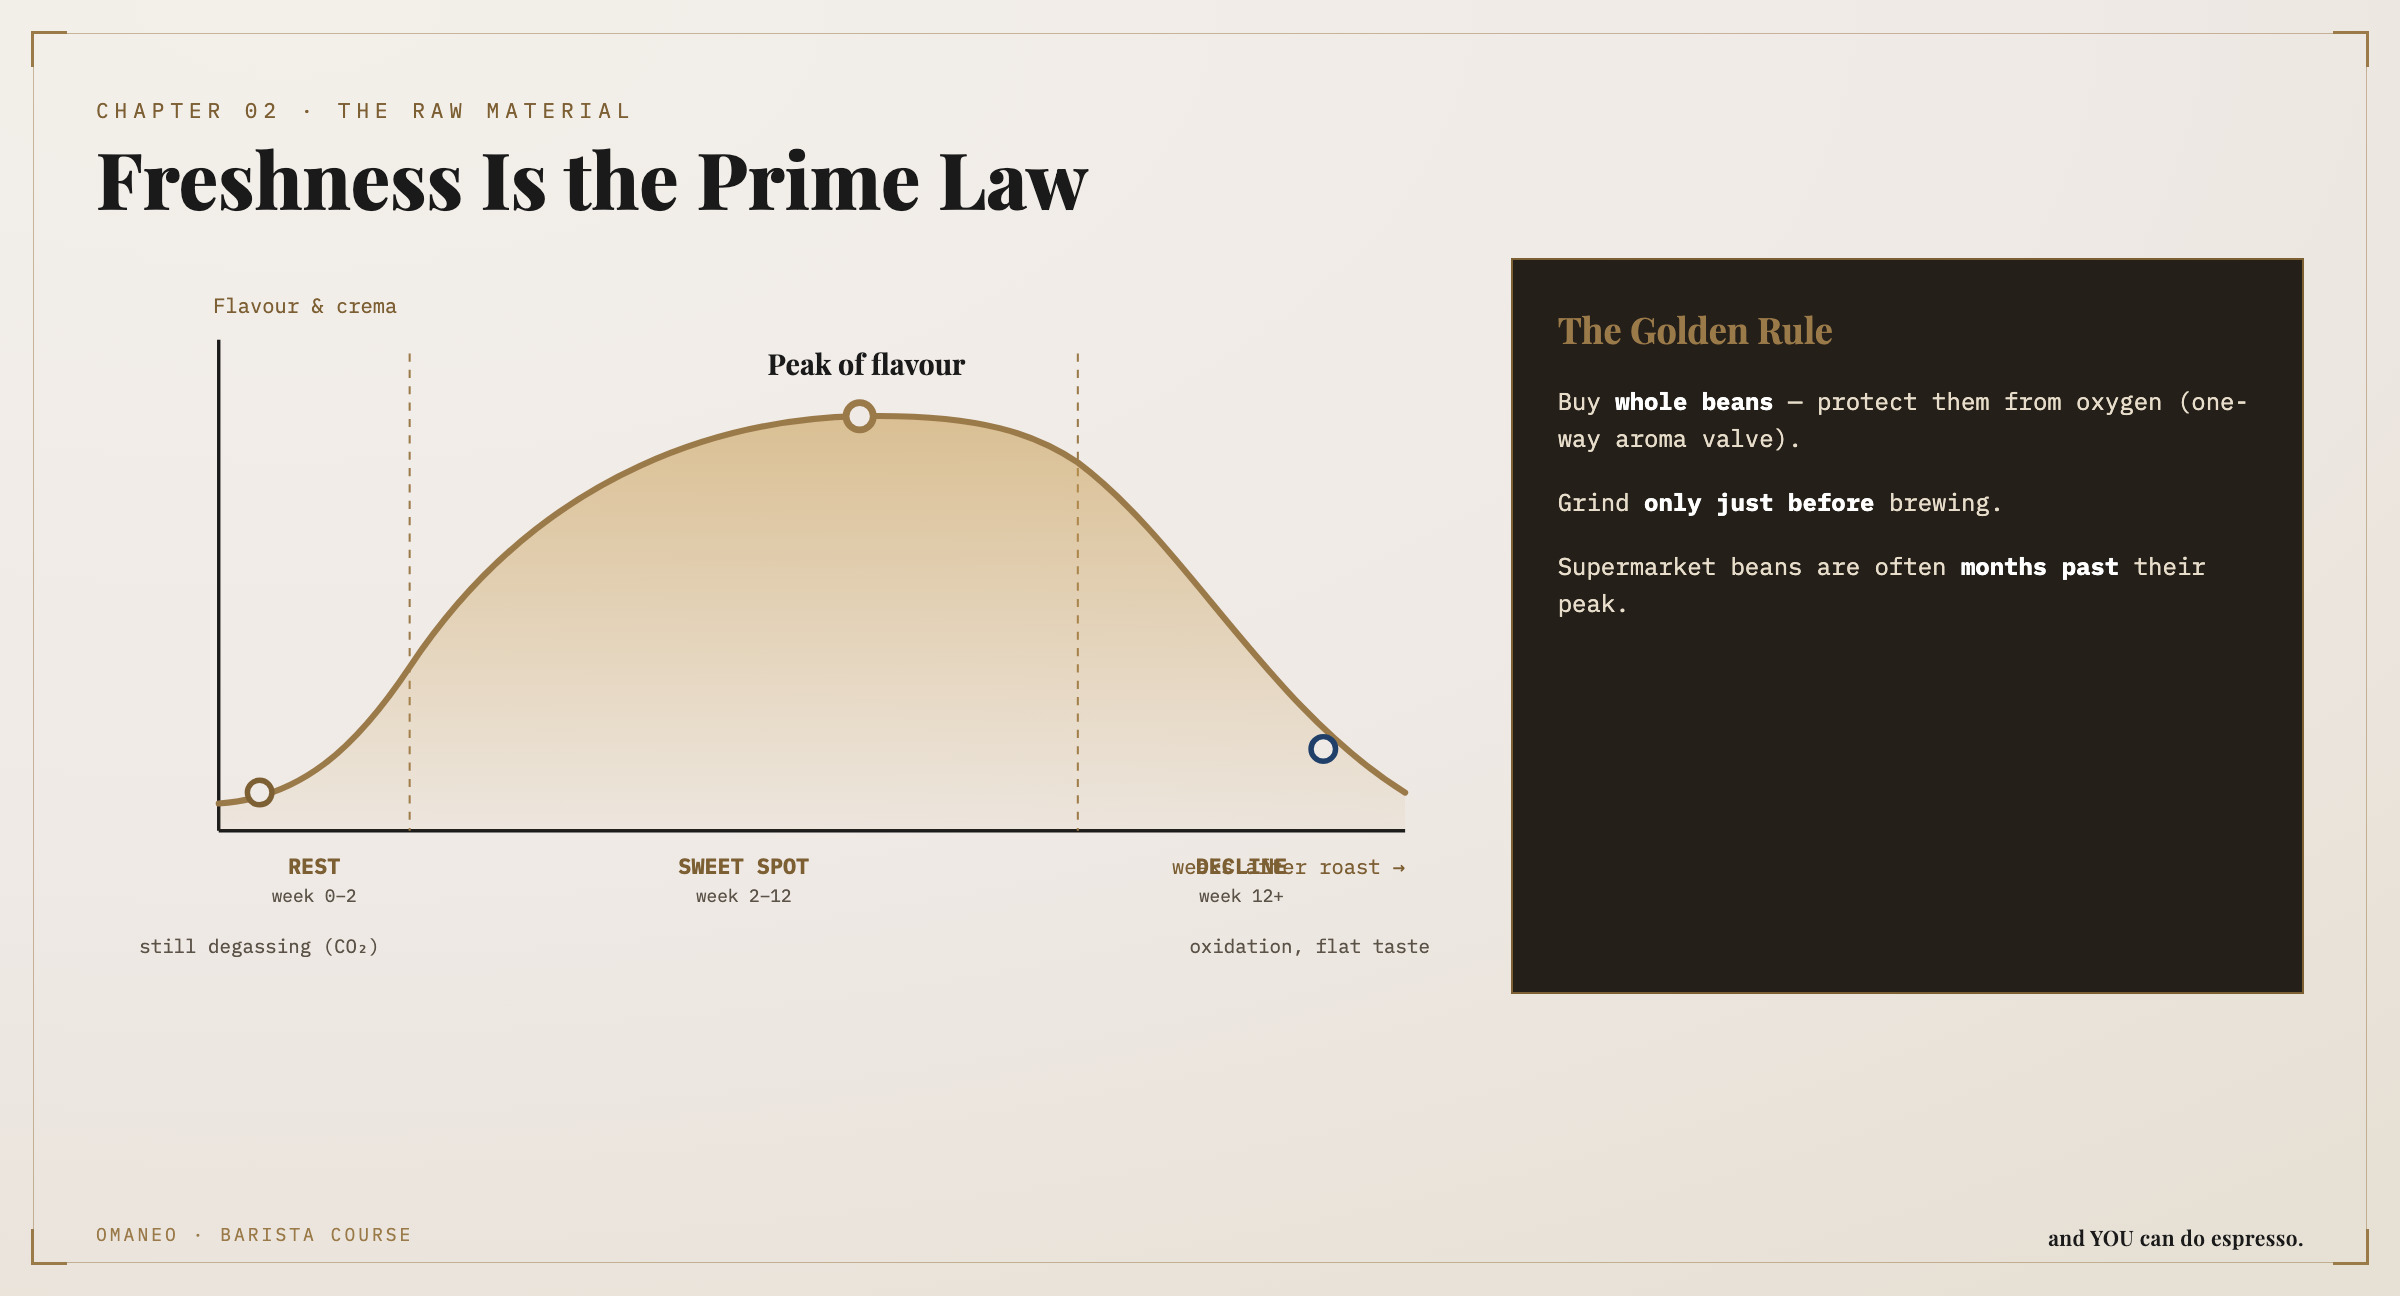
Now for the thing most people underestimate: freshness. Coffee is a fresh food, not tinned goods. Every good pack carries a roast date — and that is what counts, not the best-before date.
For the first week or two the bean is still too young, it is degassing — let it rest. From week two to about week twelve comes the sweet spot. After three months the aroma flattens out. Buy in quantities you drink within four or five weeks — whole beans, freshly ground.

This is where guessing ends and weighing begins. A proven starting point for a double espresso: eighteen grams of ground coffee in, thirty-six grams of espresso out — a ratio of one to two. So you weigh not only the beans beforehand but the cup afterwards as well.
Why so precise? Because only numbers make your espresso repeatable. A small barista scale accurate to a tenth of a gram is the cheapest big improvement you can make.
The bean
Variety — a good espresso blend. Roast — medium to slightly darker to start with. Freshness — read the roast date, stay in the sweet spot, grind whole beans fresh. And amount — weigh instead of guessing, eighteen in, thirty-six out. Your task: buy a fresh bag with a visible roast date and get yourself a small scale.
Mill
The most powerful adjustment you have.
Here are two little heaps of coffee, same bean, same amount. One coarse as salt, the other fine as icing sugar. Precisely this difference — the fineness of the grind — decides more than any other adjustment whether your espresso tastes good or not.
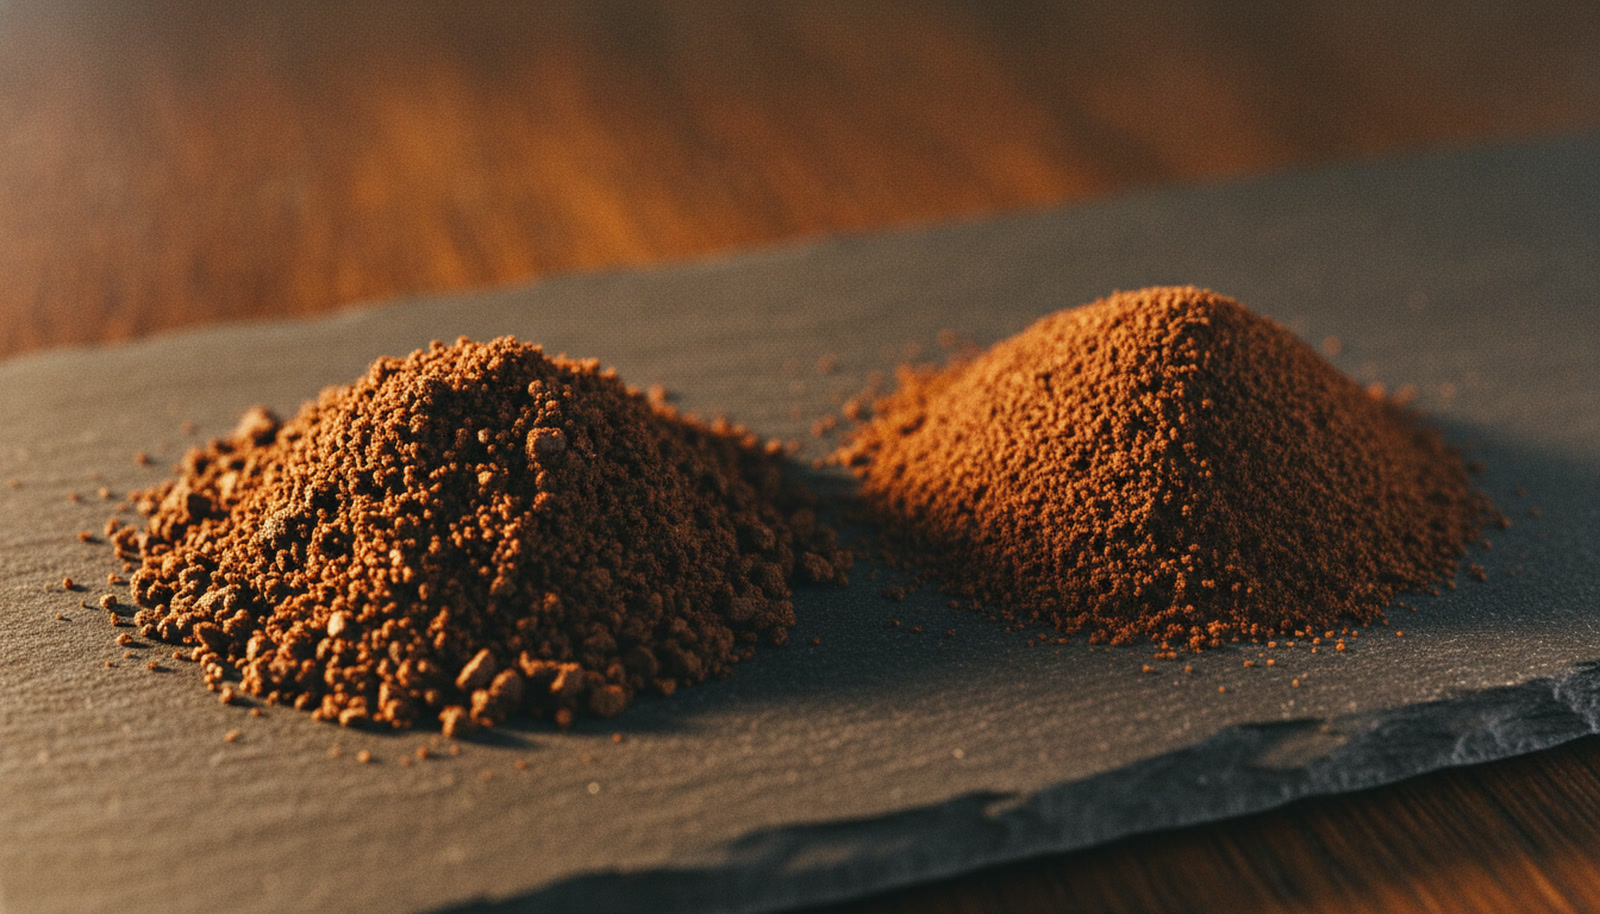
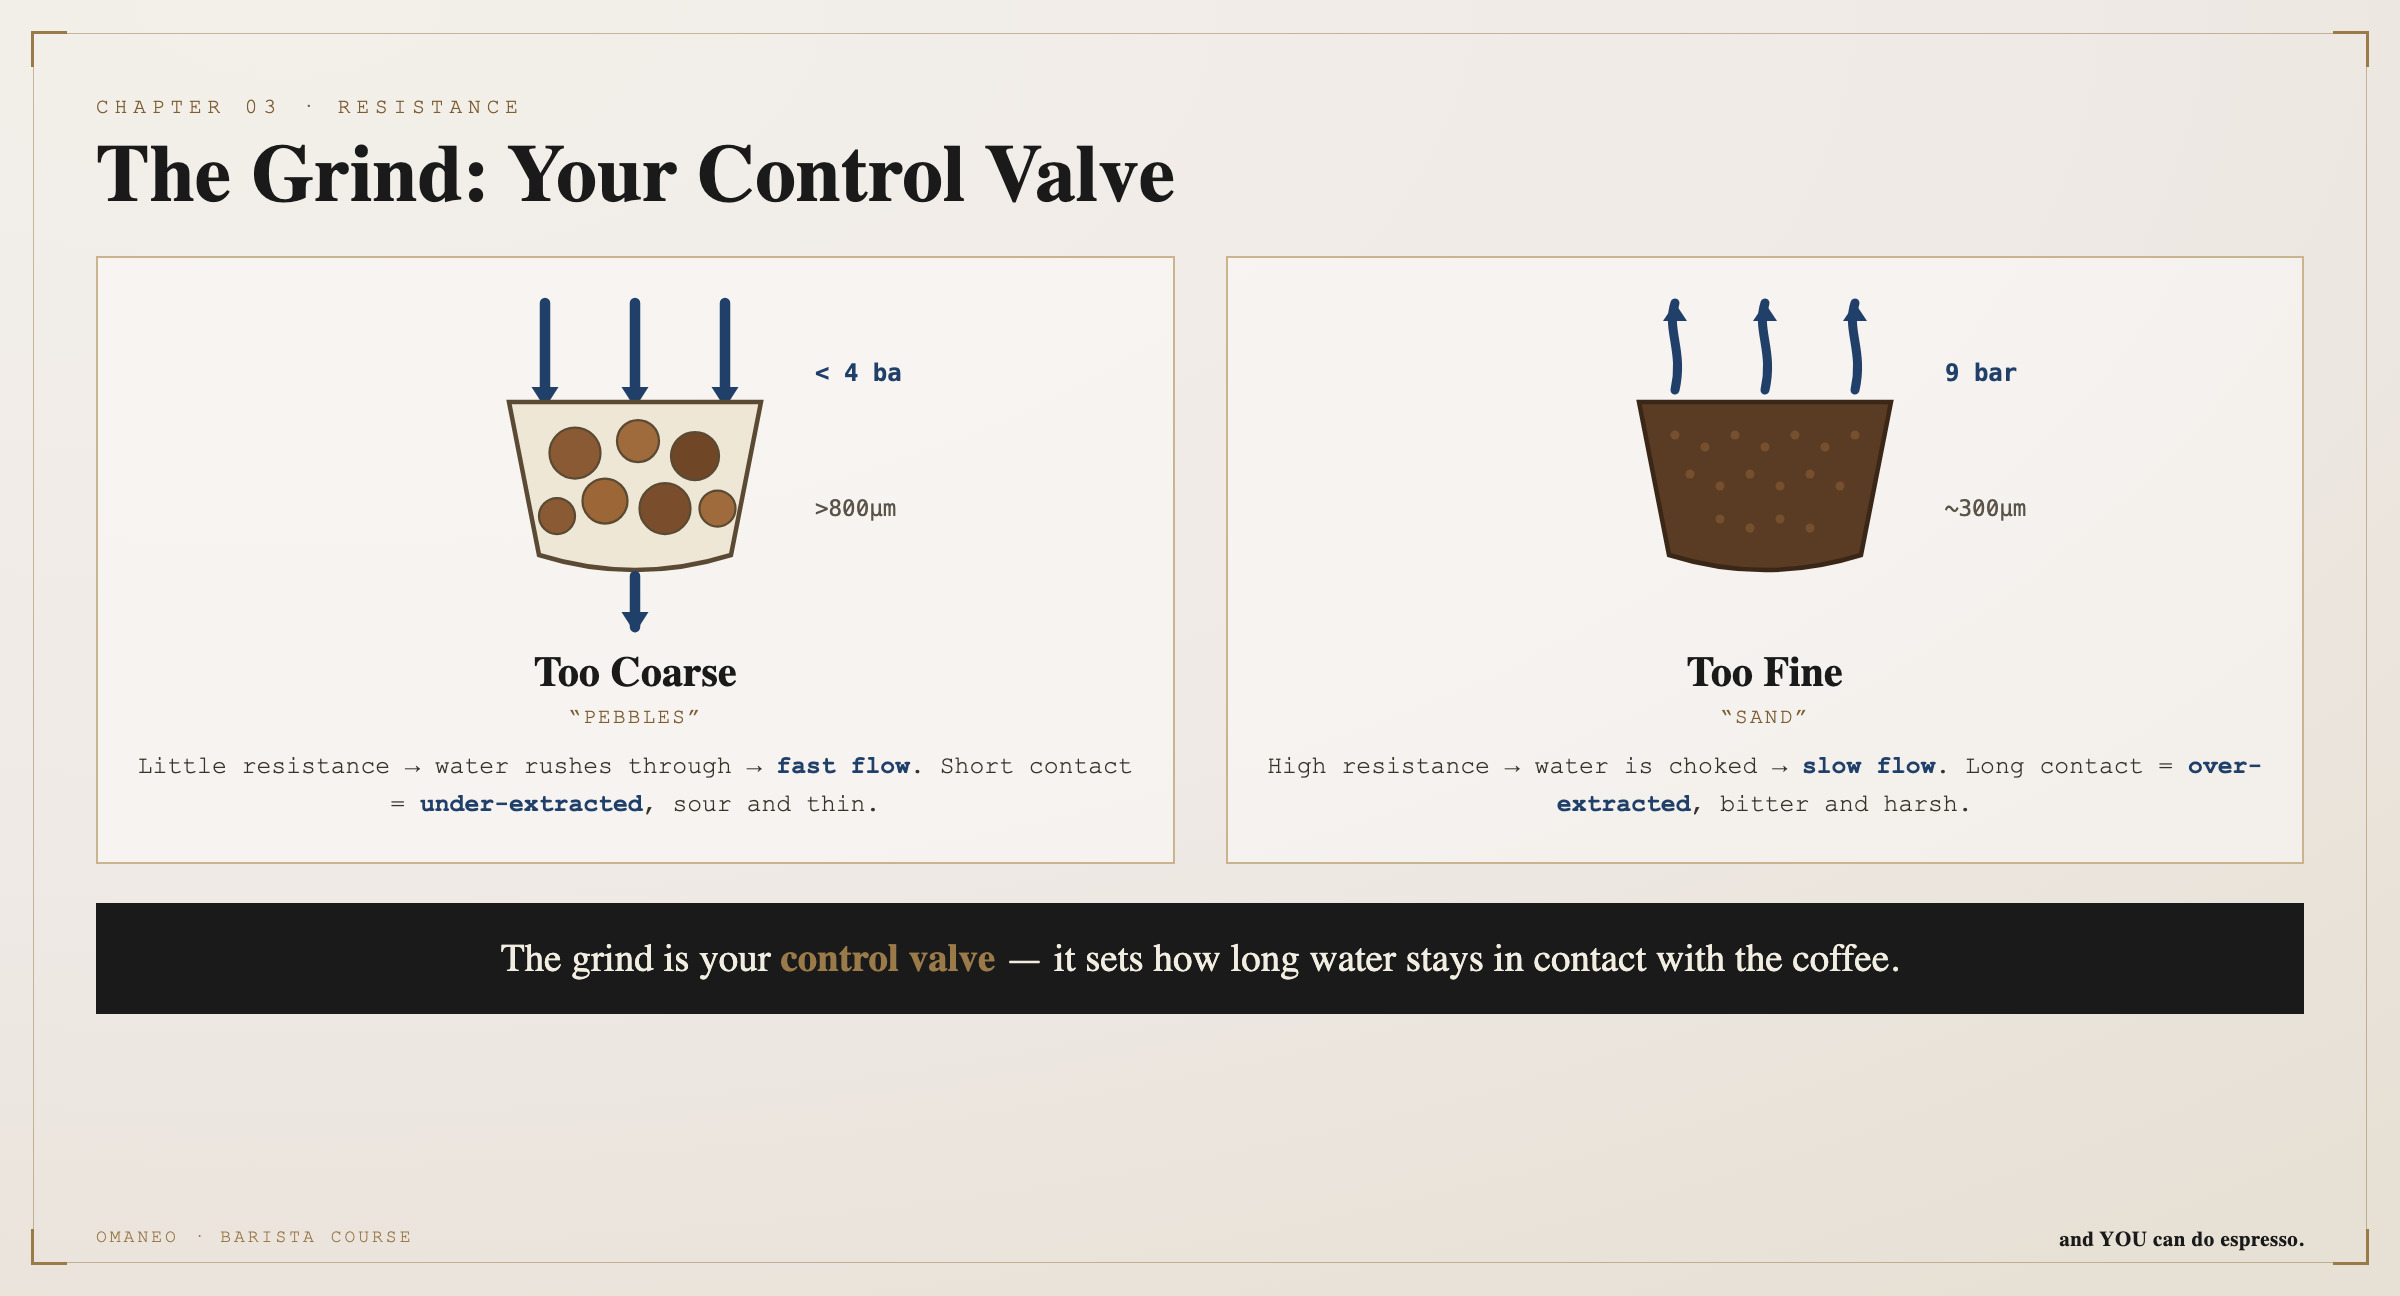
It controls how fast the water runs through the coffee. Grind coarser and the gaps are bigger — the water rushes through too fast and takes too little with it: thin and sour. Grind finer and the resistance grows, the water dissolves more. Go too fine and everything clogs up and it turns bitter.
So the rule is: coarser when it runs too slowly and bitter. Finer when it runs too fast and sour. Those two sentences are half your barista life.
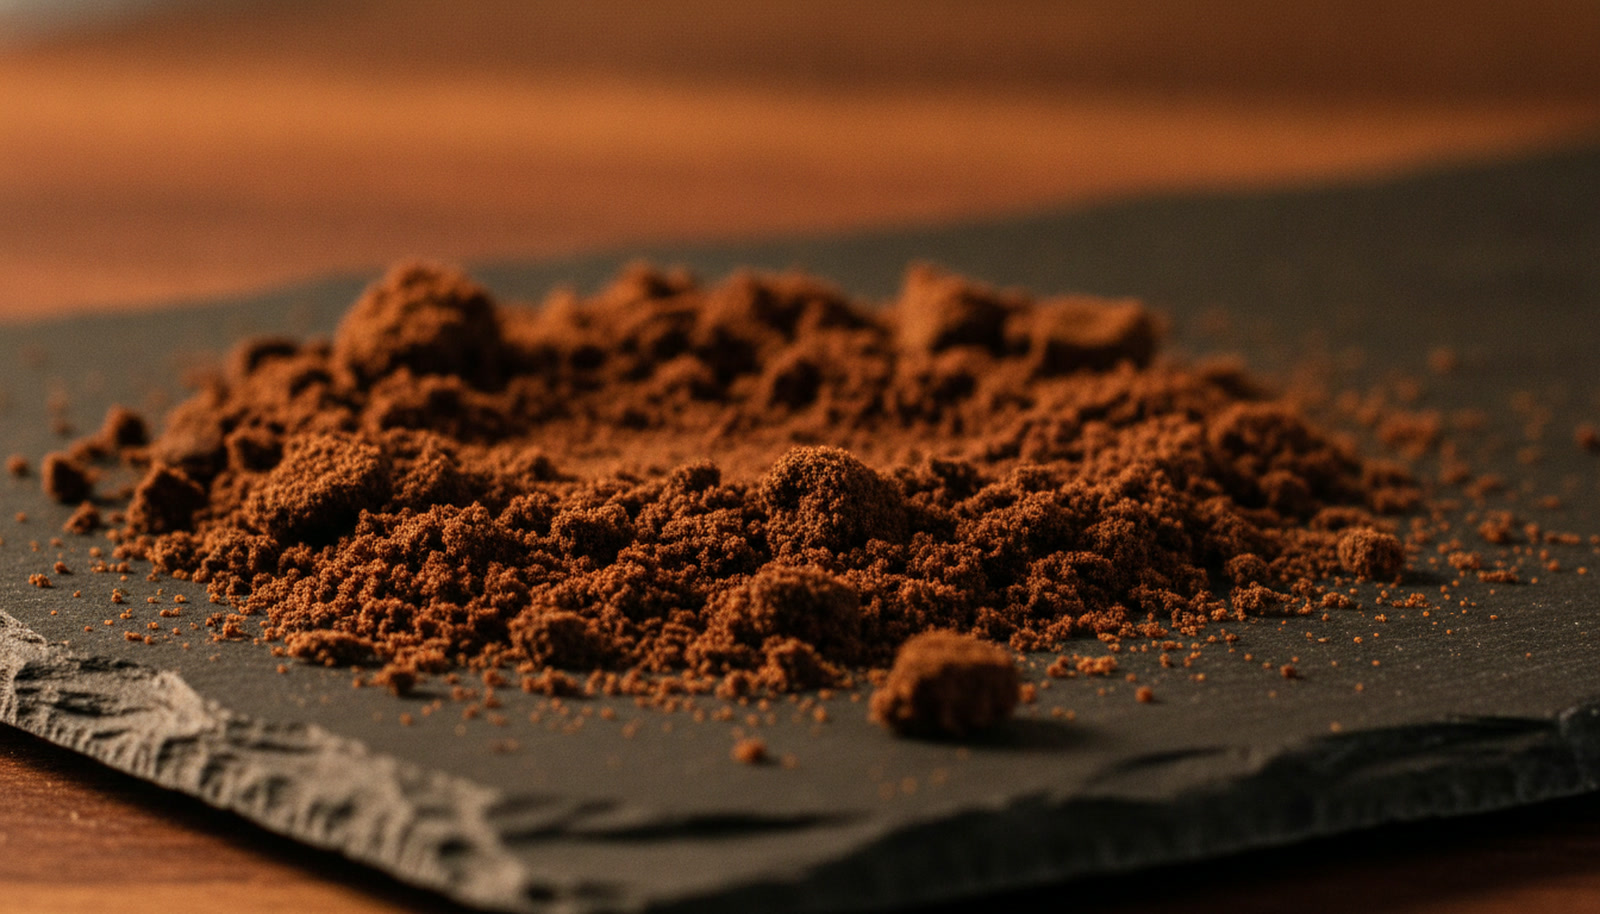
It is not only about how fine you grind, but how evenly. The water is lazy — it looks for the easiest way, shoots through the coarse spots and drills itself a channel. That is called channelling: one part over-extracted and bitter, the other under-extracted and sour, in the same cup.
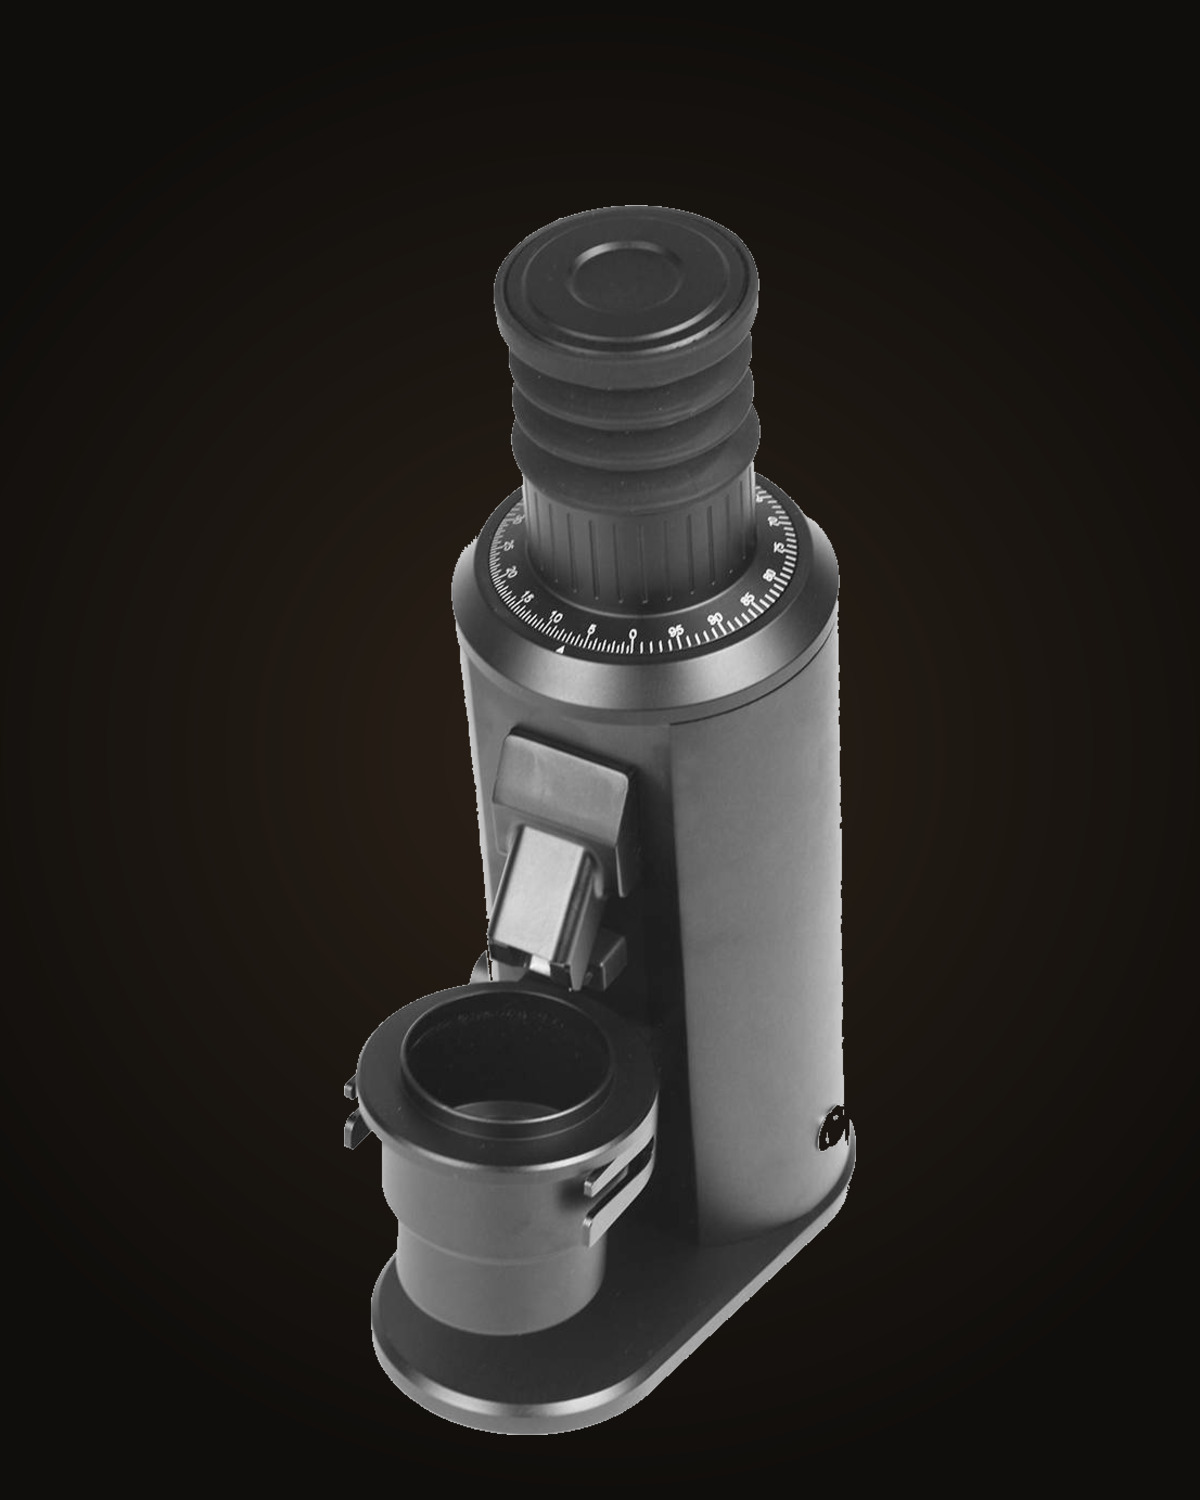
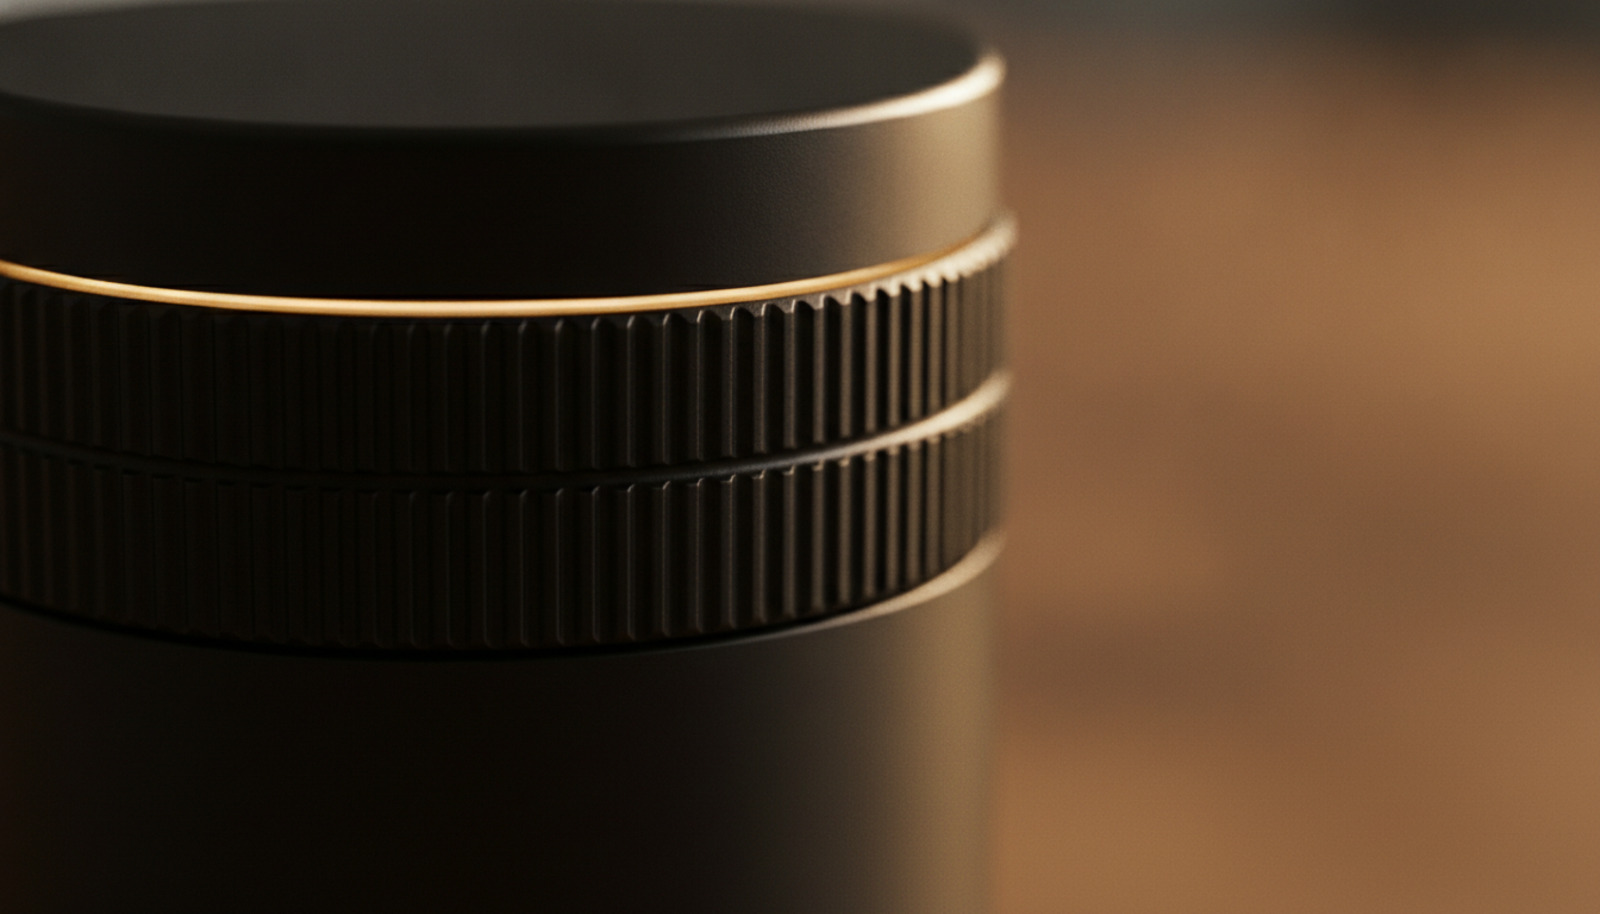
That is why an evenly grinding grinder matters more than almost anything else. The old barista saying: save on the machine rather than on the grinder. Forget the cheap blade mills — what you want is a flat burr or a conical burr grinder. Above all: no blades.

This is the most instructive exercise of the whole course. Set your grinder deliberately too coarse and pull an espresso — it rushes through, pale and watery. Then go markedly finer: now it drips thickly, dark and slow.
Taste both. One sour and thin, the other bitter — and somewhere in between lies your point. You do not have to hit it perfectly today. You are meant to see with your own eyes and your own tongue how much one small turn moves.
Mill
Mill controls the flow time and is your most important adjustment. Too fast and sour? Grind finer. Too slow and bitter? Coarser. Evenness is king — a decent grinder, never a blade mill, and always grind fresh. Your task: go deliberately too coarse once and too fine once, and taste the difference.
The machine
understand
Constant is the key word.
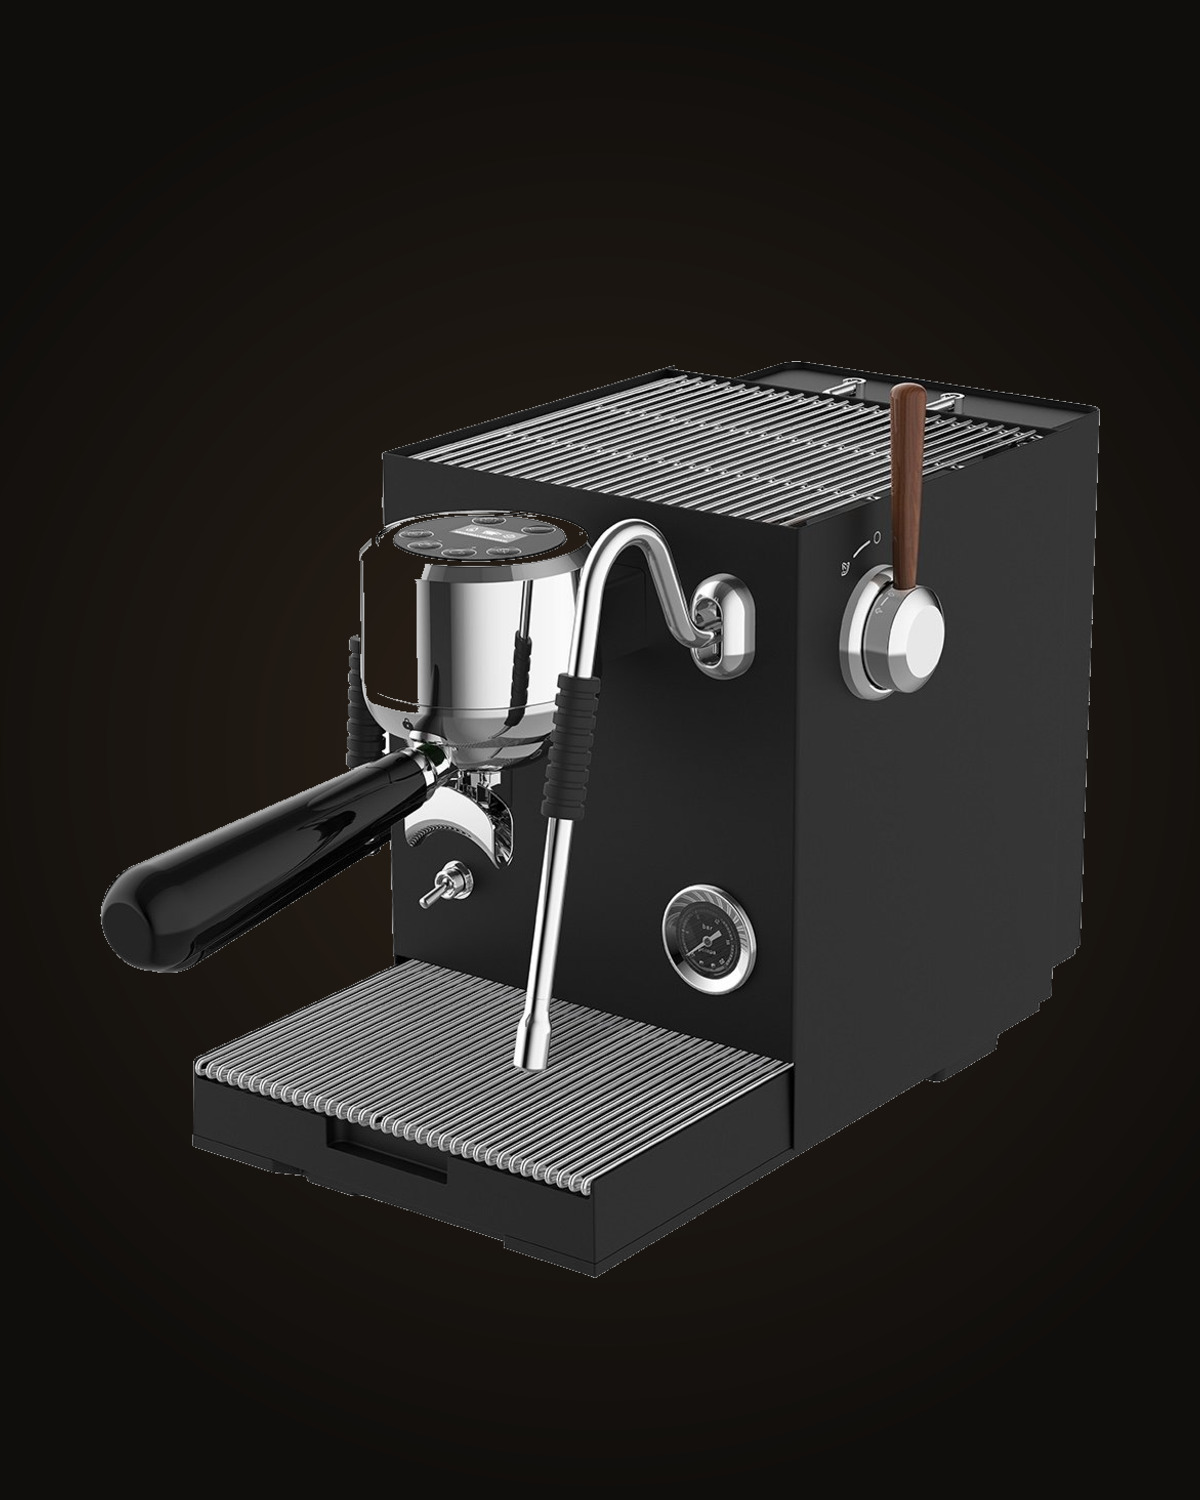
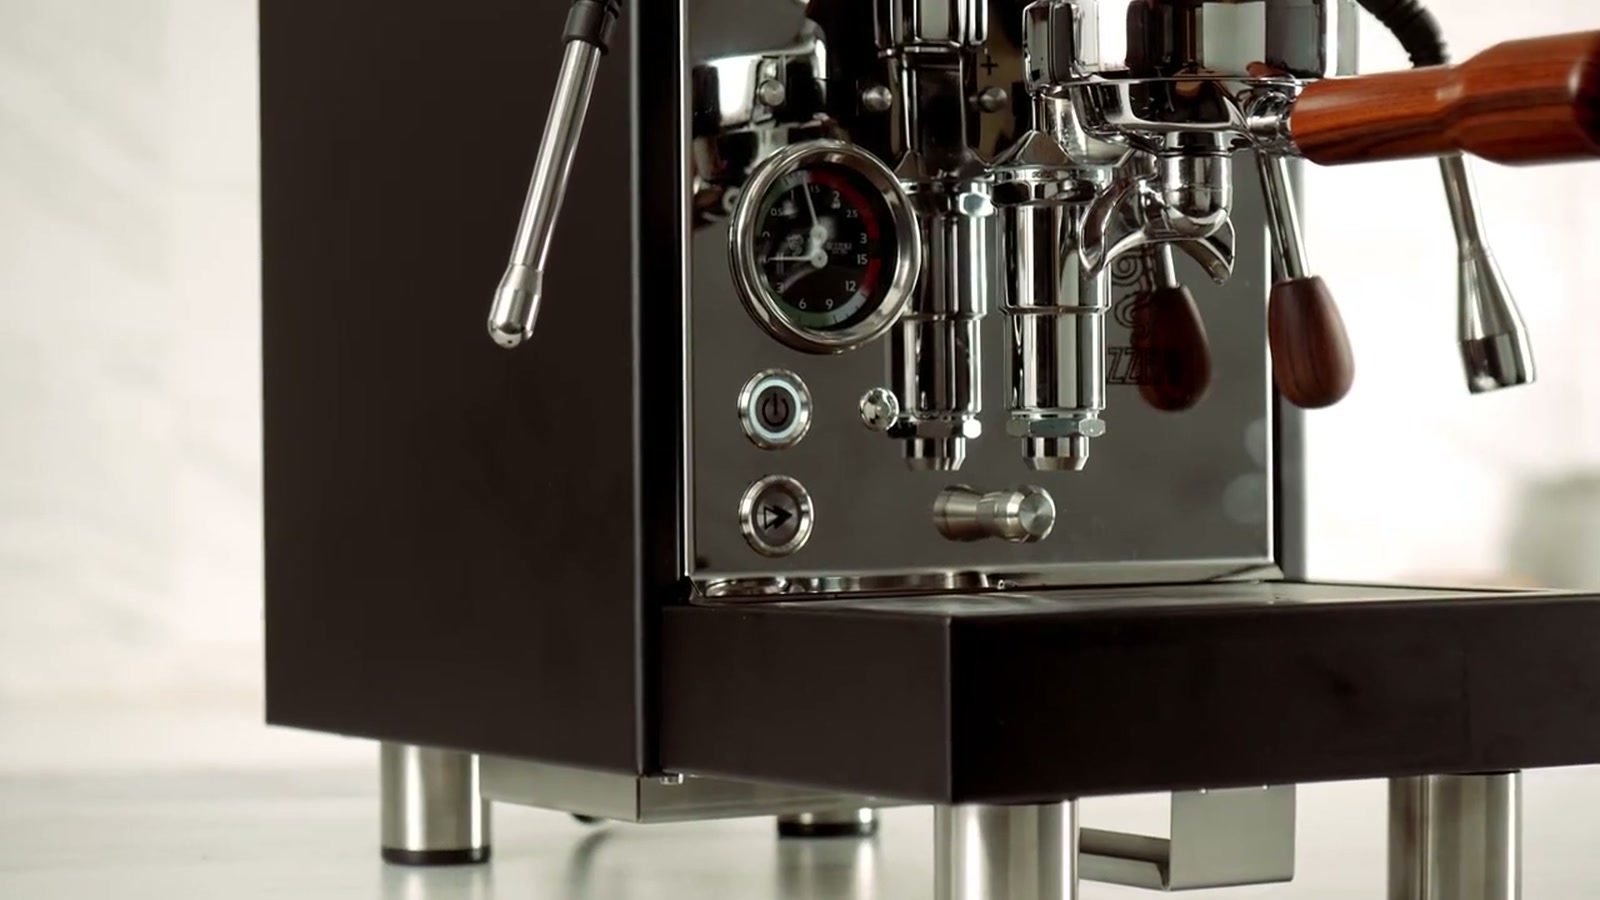
This is your machine. Over the last three chapters we prepared everything — bean, amount, mill. Today you get to know your tool properly: not every screw, but the parts you really have to understand so that it works for you.
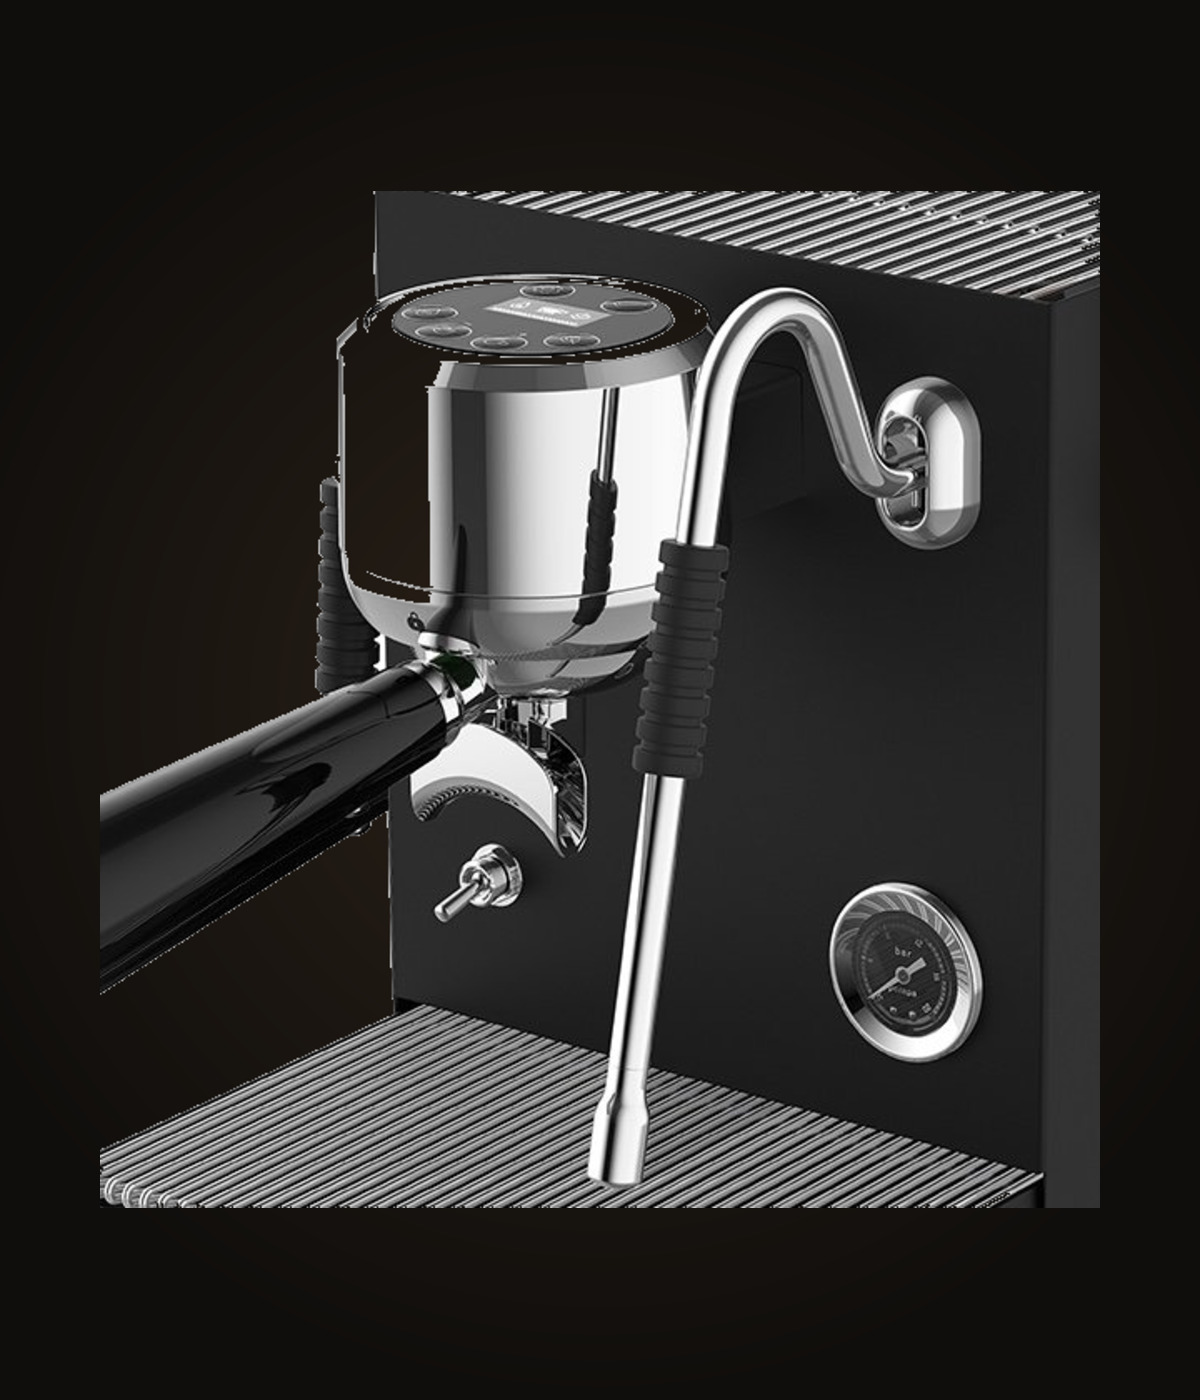
Two things make the difference between “coffee” and “espresso”. The first is the group head — the heavy piece of metal through which the hot water is forced. On a good machine it is solid: that mass stores heat and provides a stable temperature right at the brew head.
The second is PID temperature control: it holds the brew temperature constant to within a few degrees. Weaker machines swing by ten degrees — and ten degrees is the difference between sweet and bitter. A good starting value is around ninety-three degrees.
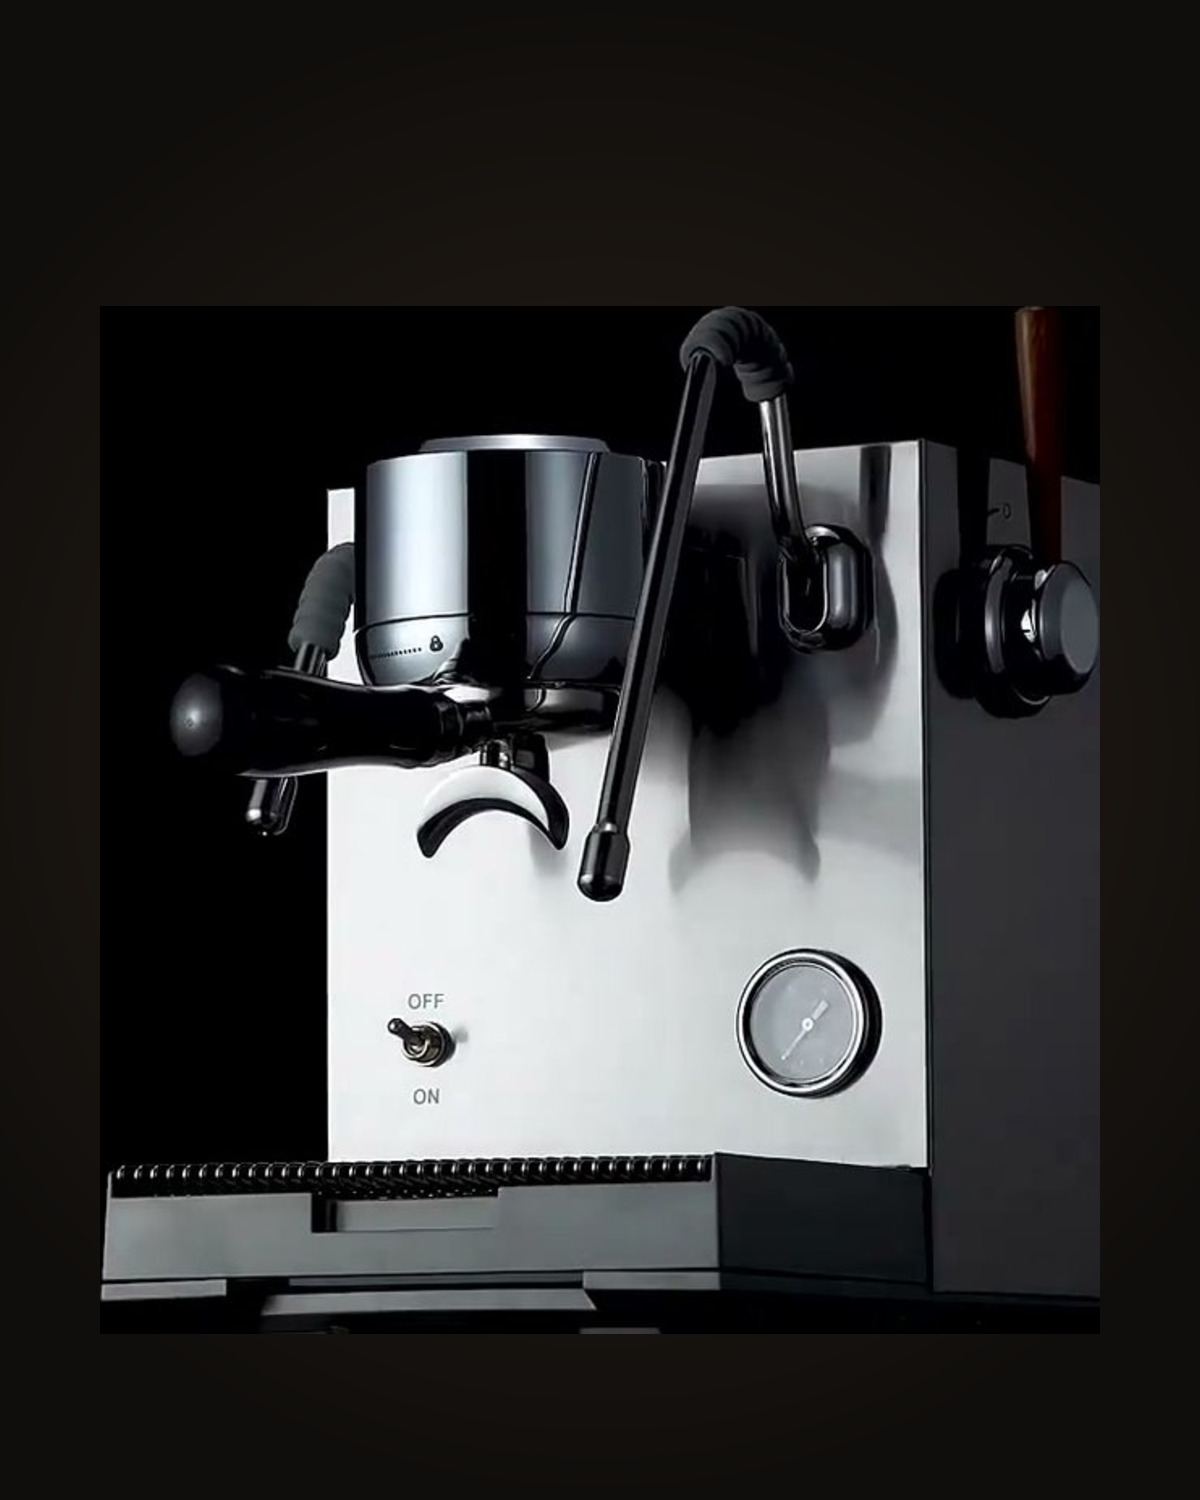
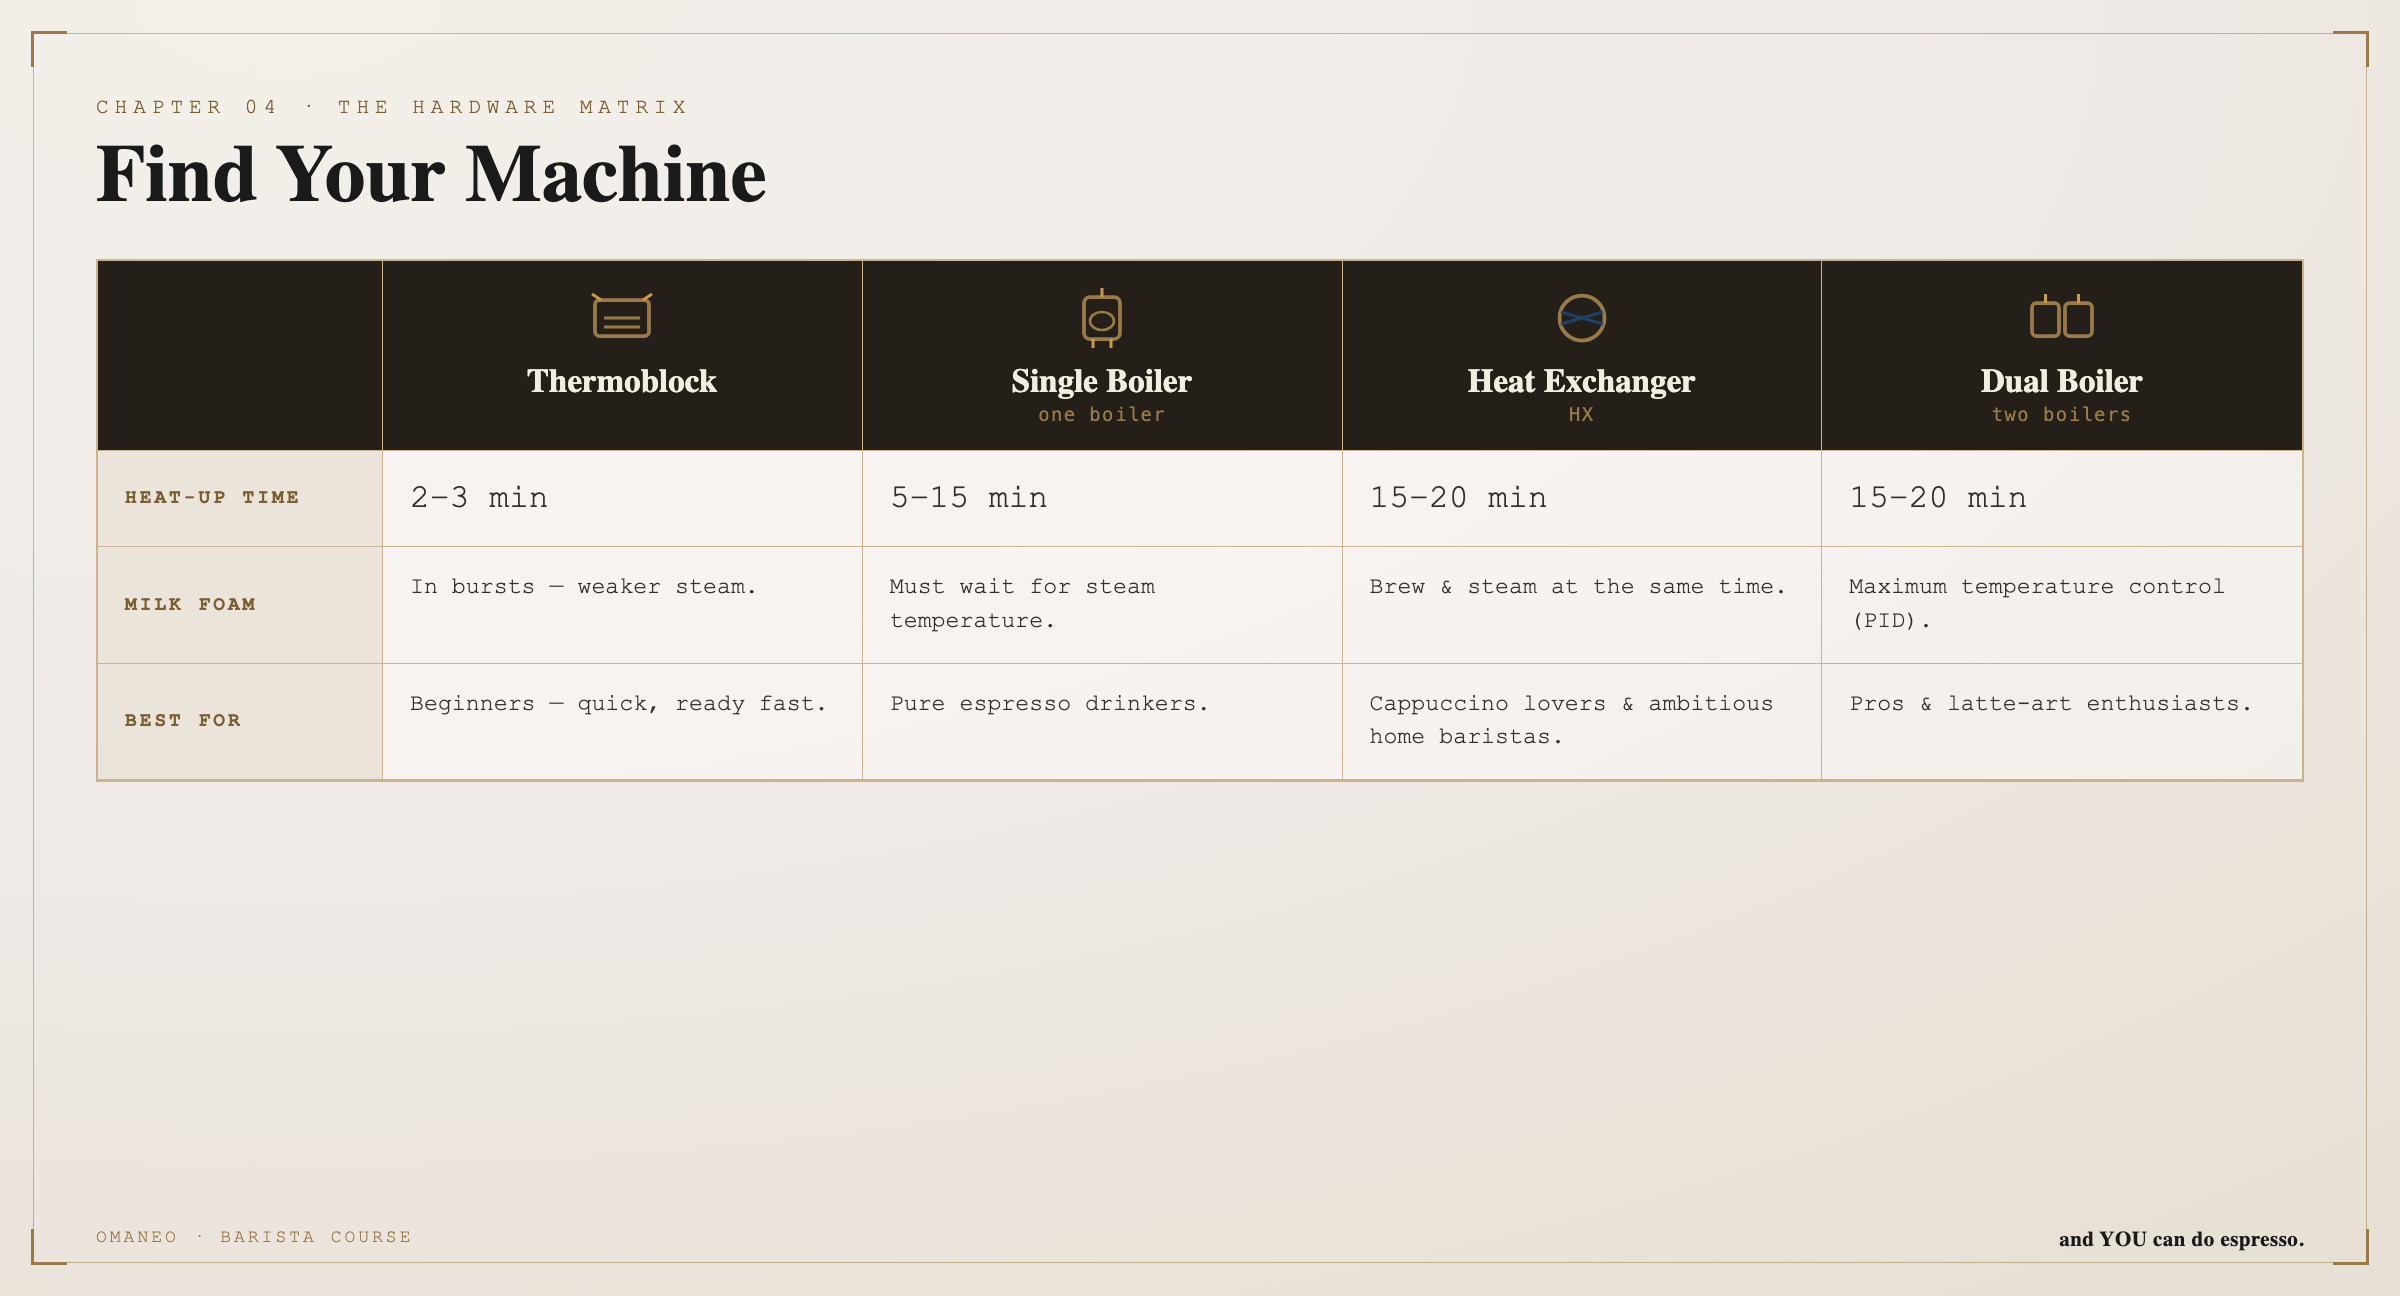
You often read “ready to use in two minutes”. After two minutes the brew water is up to temperature — but the heavy portafilter and the group head are still cold. Pull a shot now and the cold metal cools your water down, and the espresso tastes flat.
The honest answer: give your machine a good eight minutes until everything really is warmed through. That is when it tastes best. Warm does not mean ready — give it time, or flush hot water through once.
Your espresso is more than ninety per cent water — do not use hard, heavily chlorinated tap water, use filtered or soft water. You can taste it, and your machine scales up more slowly.
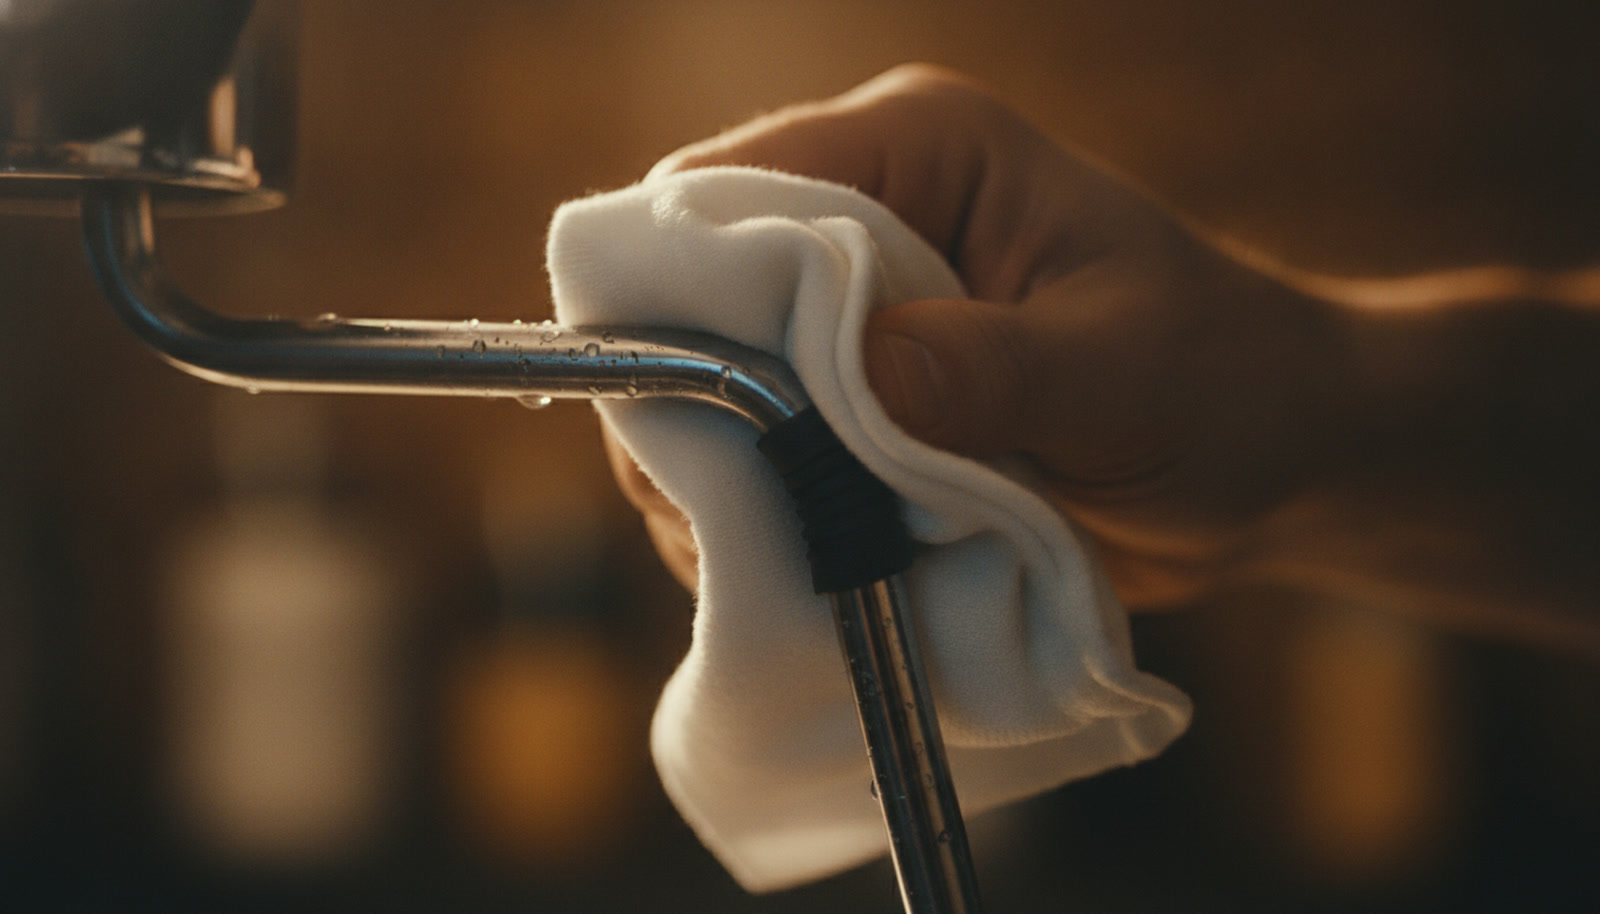
And the steam wand — the movable metal arm we later use to foam milk. One important habit from today on: after every foaming, wipe the wand at once with a damp cloth and blow it through briefly. Dried-on milk is otherwise almost impossible to remove.
The machine
understand
The solid group head and the PID control provide the constant temperature that makes good espresso possible in the first place. Warm does not mean ready — give it time, or flush. Use good water. And wipe the wand. Your task: heat your machine properly, flush once and get familiar with every part.
The perfect
Puck
The fifth and biggest M: the human being. That is you.
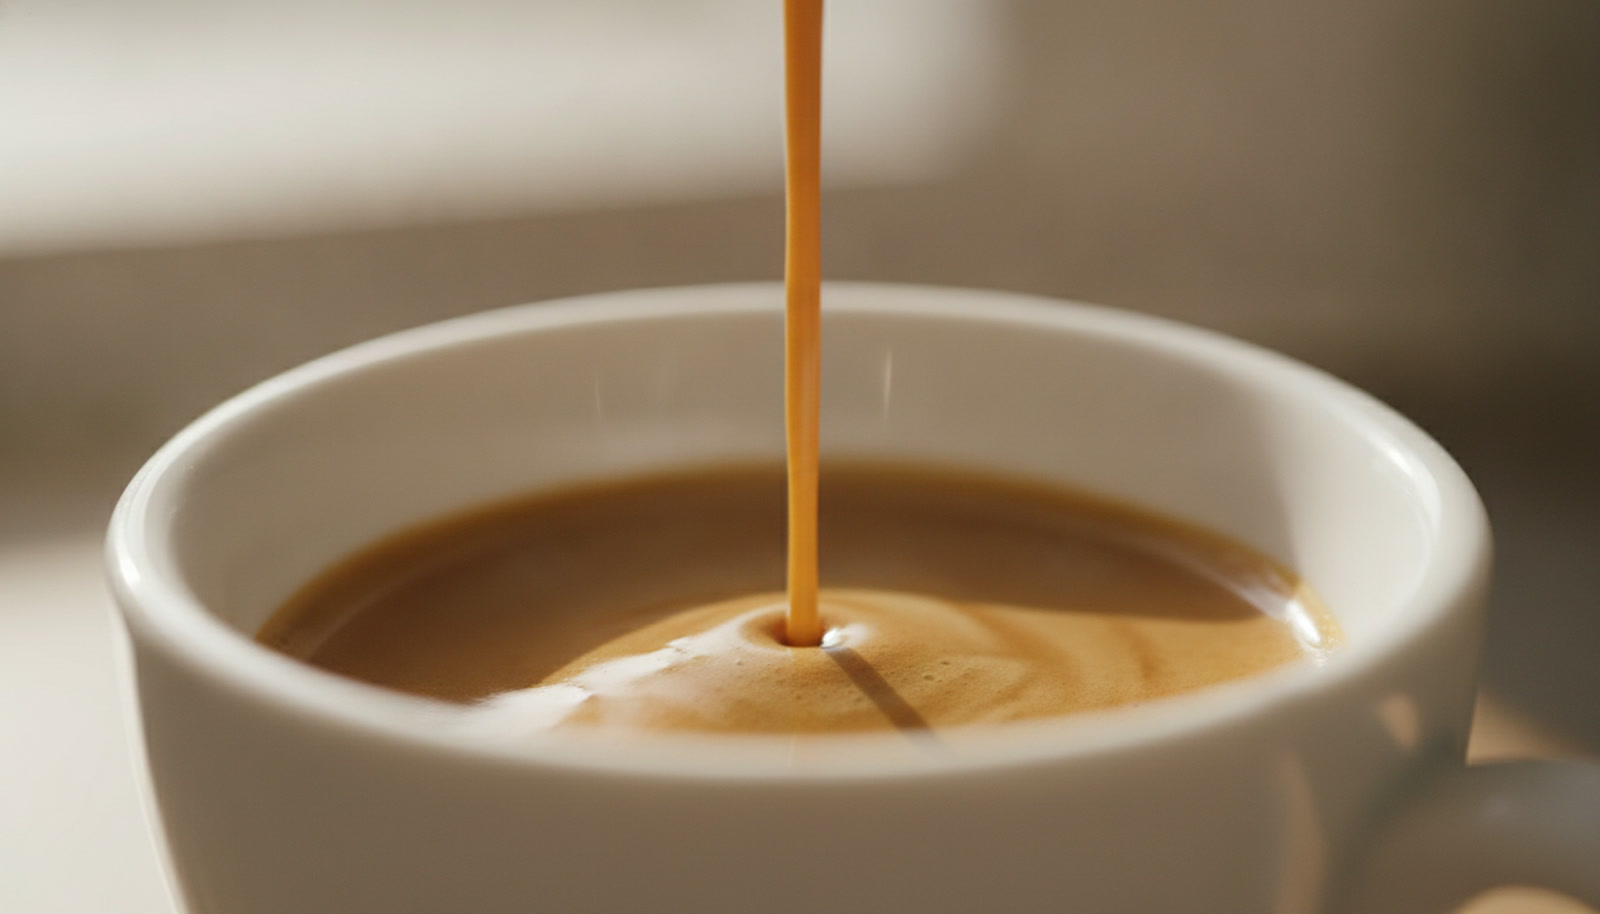
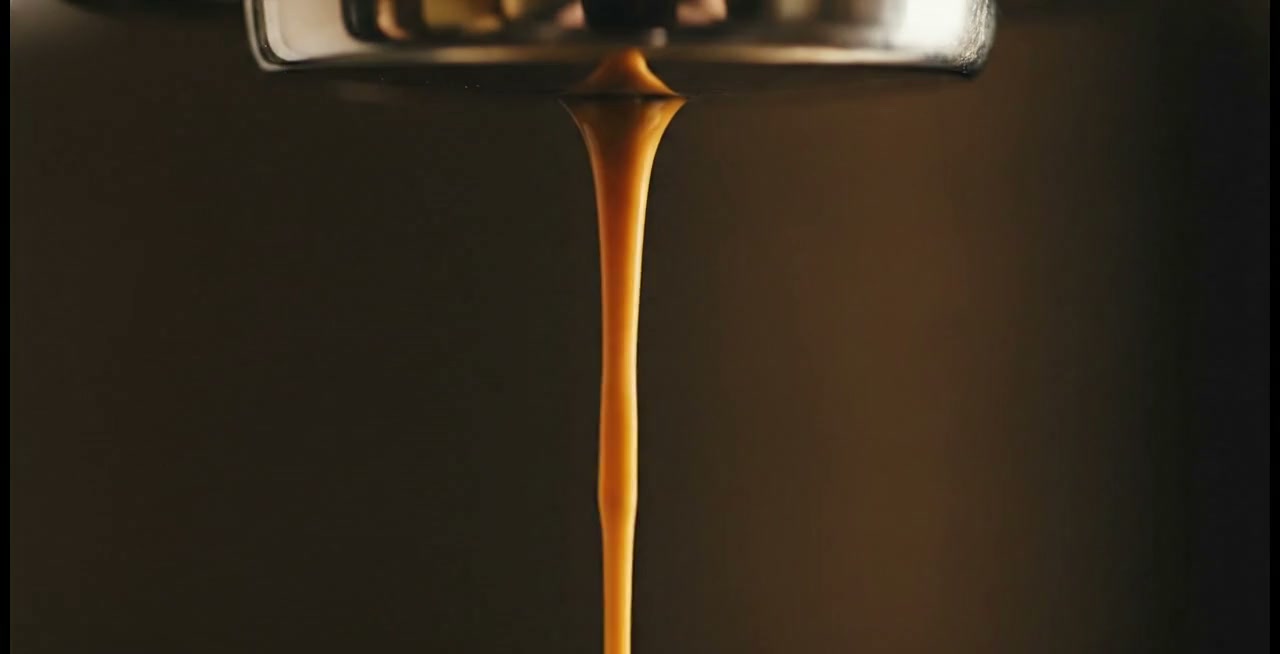
Look at this stream: a single, centred thread, even, honey-coloured. That is what it looks like when everything is right — and it is decided in the thirty seconds before you press the button, when you prepare the coffee bed. Professionals call it the puck.
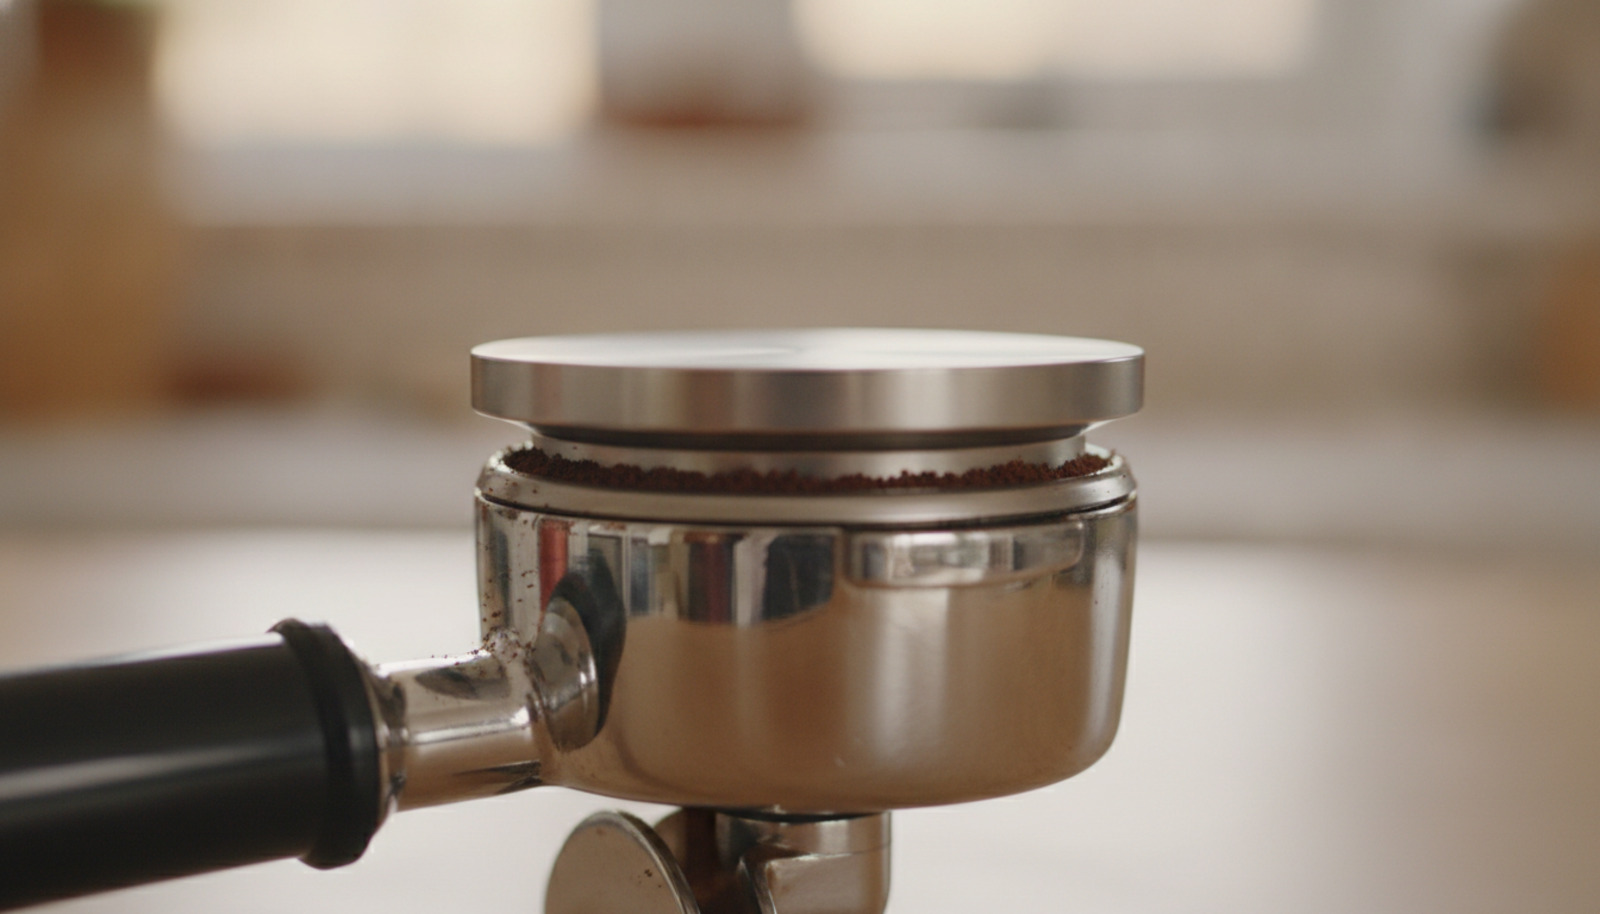
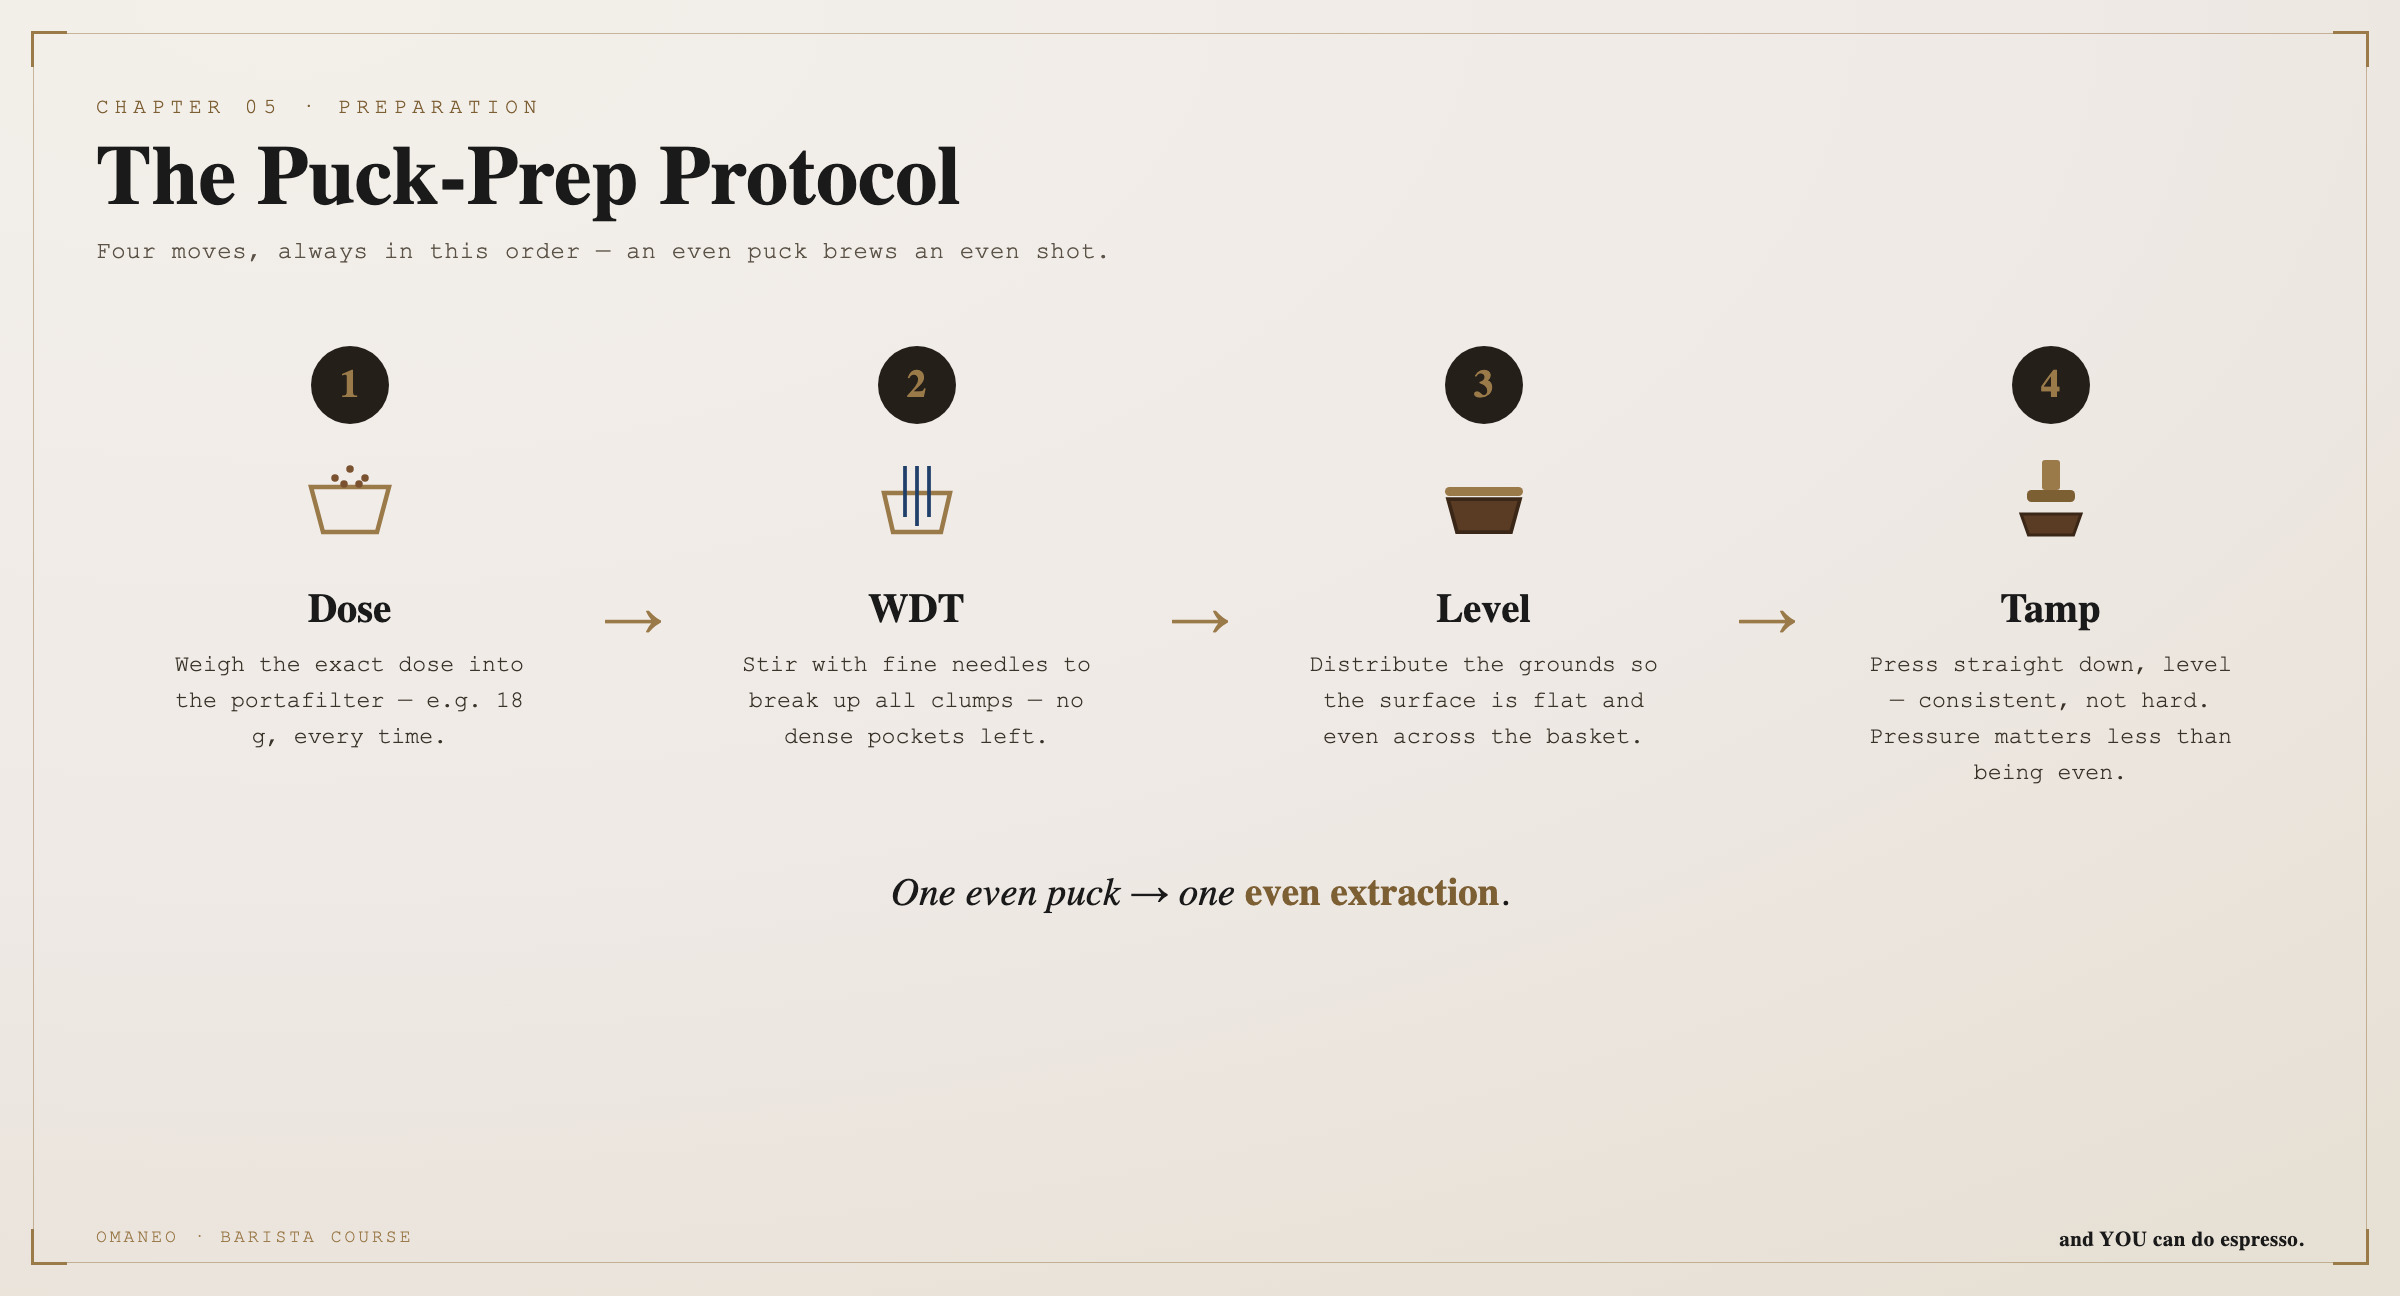
Four steps, always in this order. One, dosing: your eighteen grams go into the basket as evenly as possible. Two, WDT: with a tool of fine needles you go through the grounds and break up every clump — the most effective trick against uneven extraction.
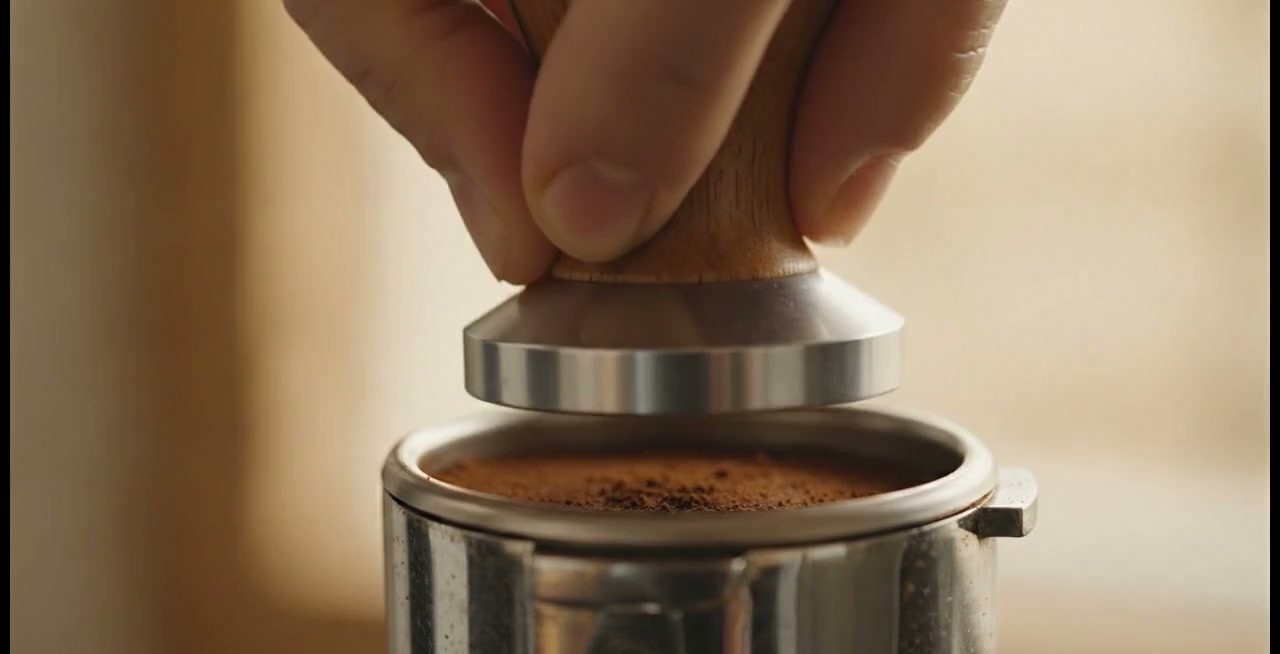
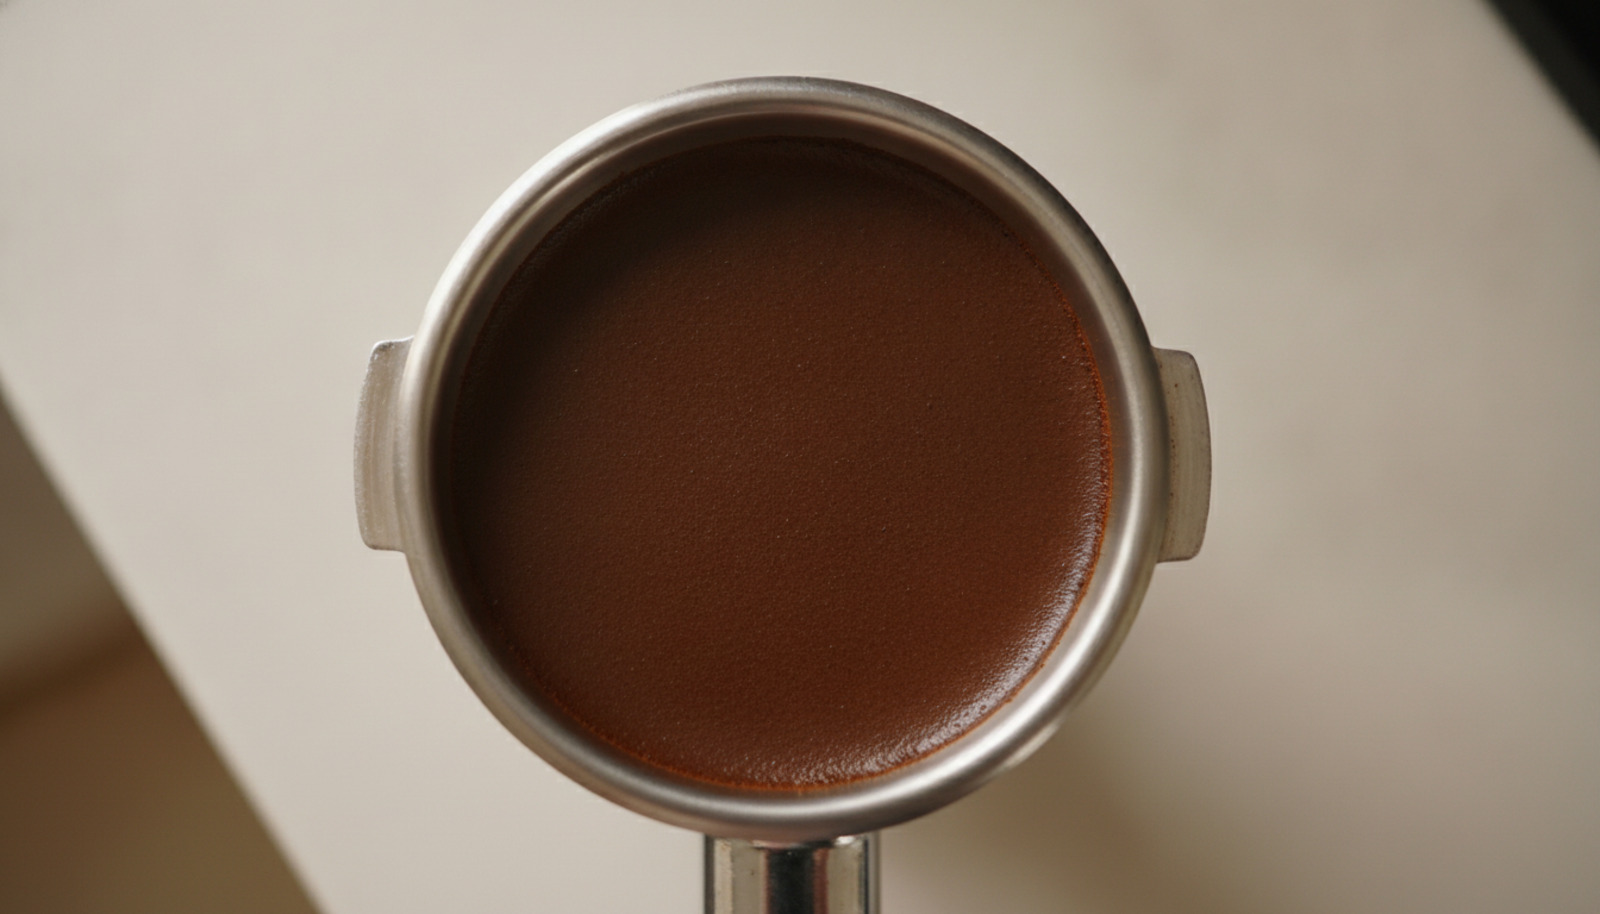
Three, levelling: spread the surface smooth and even. Four, tamping: press the grounds down firmly — and here only one thing counts: level. Not especially forceful, but absolutely horizontal, the tamper set down flat. Your puck is ready.
Remember the lazy water from the mill chapter? It always looks for the easiest way. Press the tamper down crookedly and one side of the puck is packed more densely. The water ignores the dense side and shoots through the loose one — channelling, right through your beautiful puck.
So no acrobatics when tamping — calm, flat, level. Better slow and even than forceful and crooked.
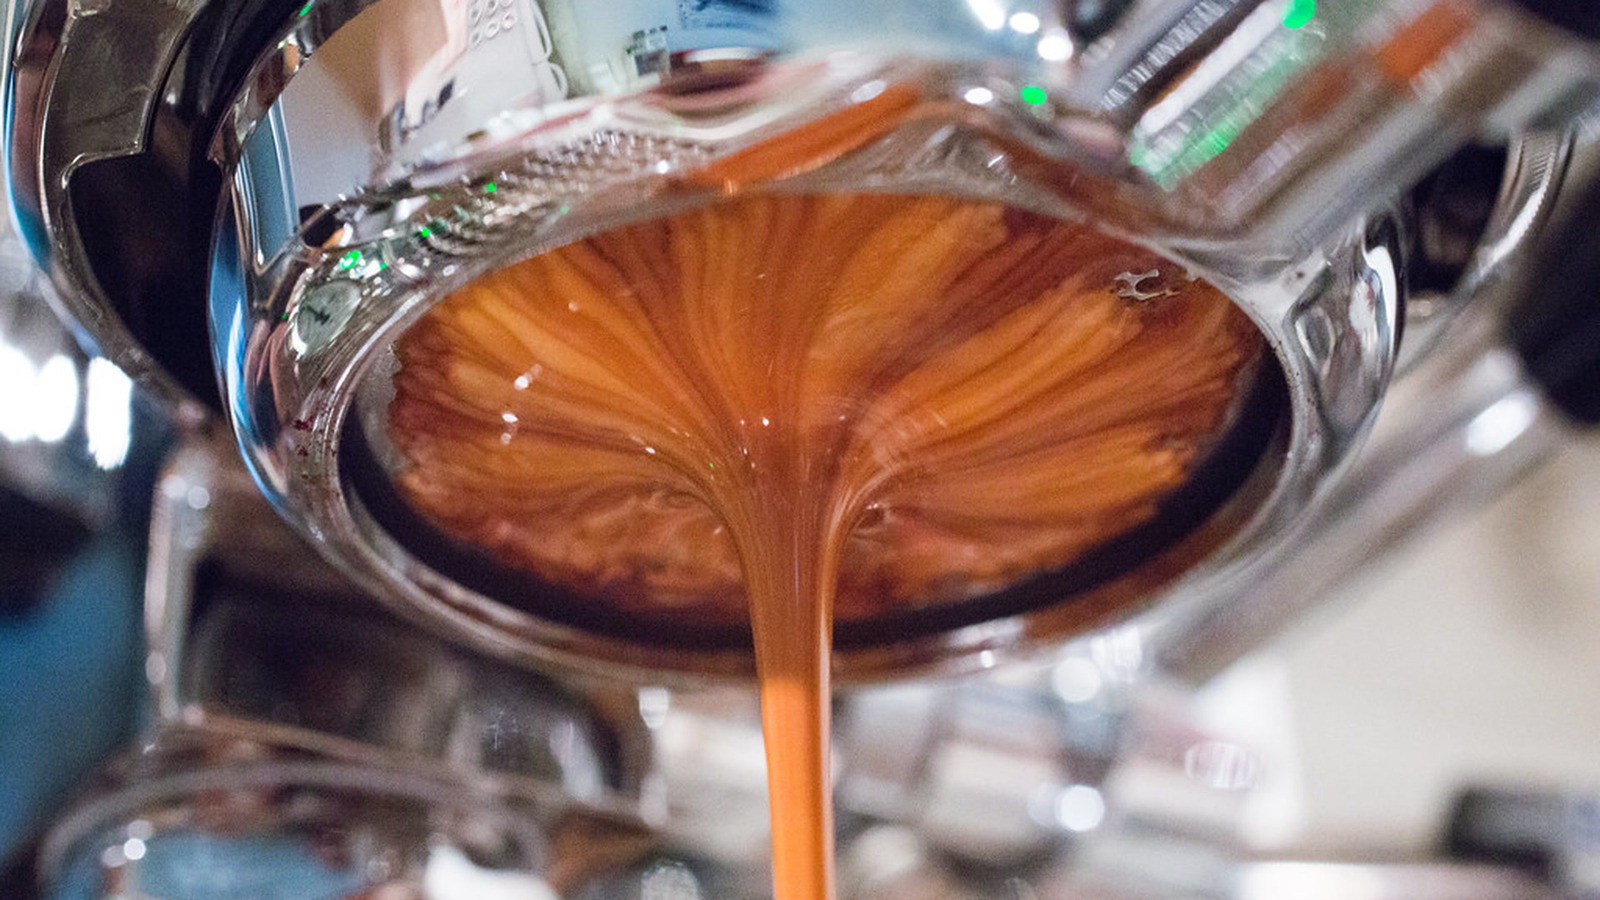
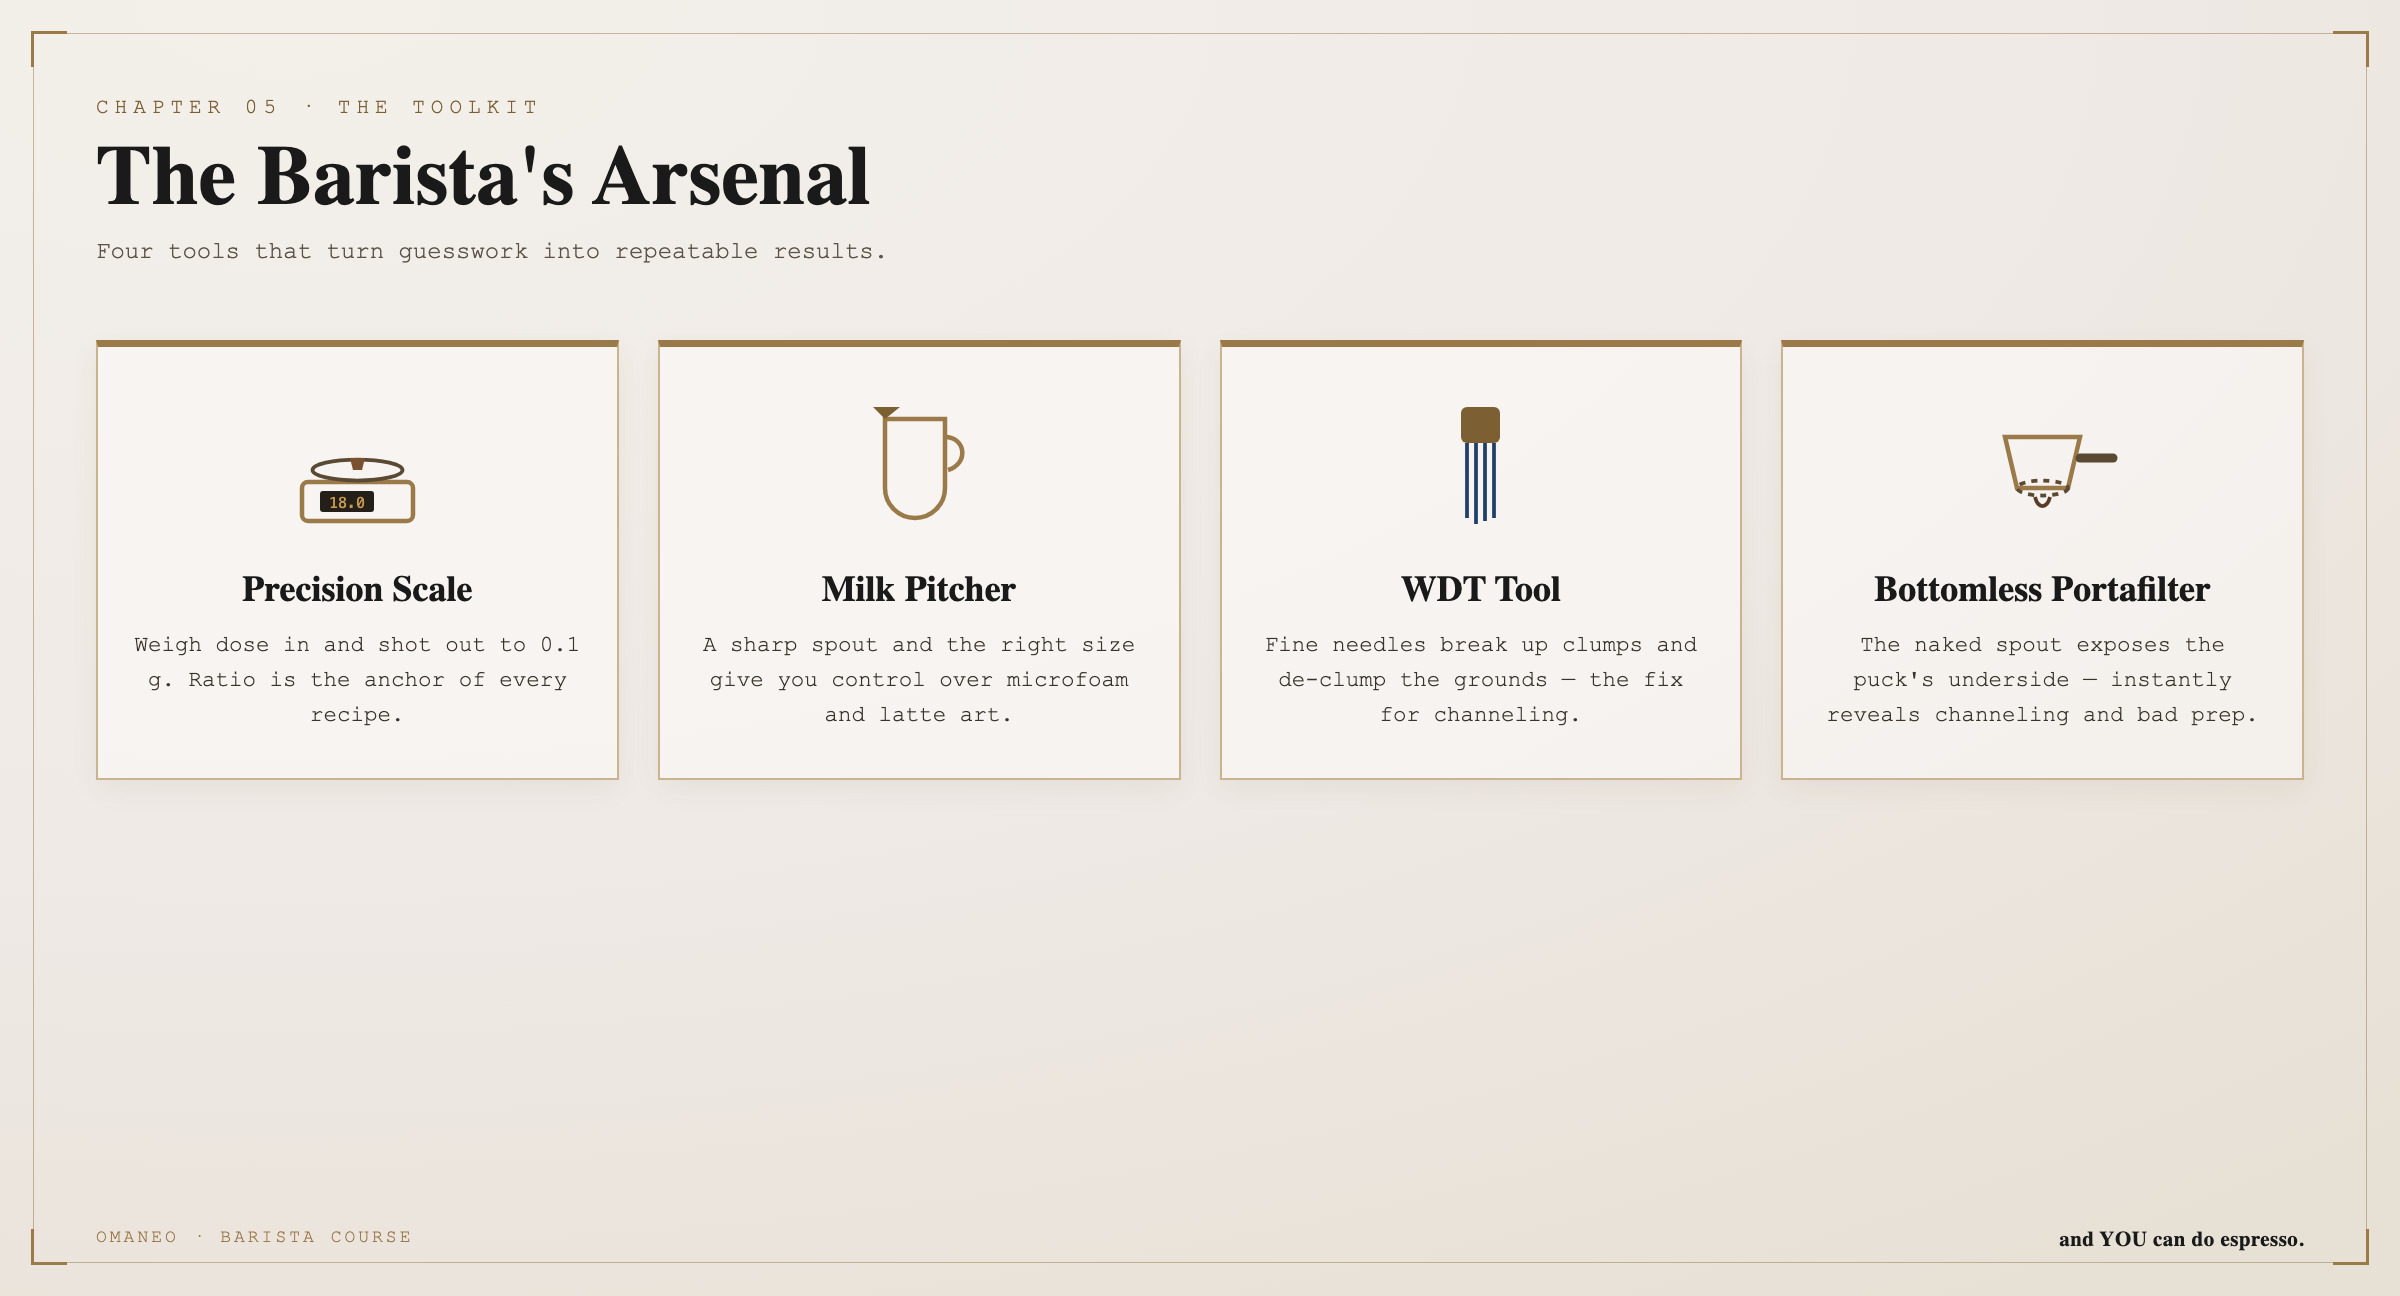
And now for the best learning tool there is: the bottomless portafilter. Its bottom is open, you watch the coffee run out from below — and it shows you every mistake without mercy.
If the stream runs nicely from the centre and joins into one thread — perfect. If it drips on one side only — your tamp was crooked. If it sprays wildly — that is channelling. The bottomless portafilter is your most honest teacher. It makes the invisible visible.
The perfect
Puck
Four movements, always the same — dose, break up the clumps, distribute smooth, tamp level. Level beats forceful. And the bottomless portafilter is your most honest teacher. Your task: build three pucks, pull them bottomless and watch the stream — where does it run crooked, and why?
Dialling in
Set it, taste it, adjust — until it sits.
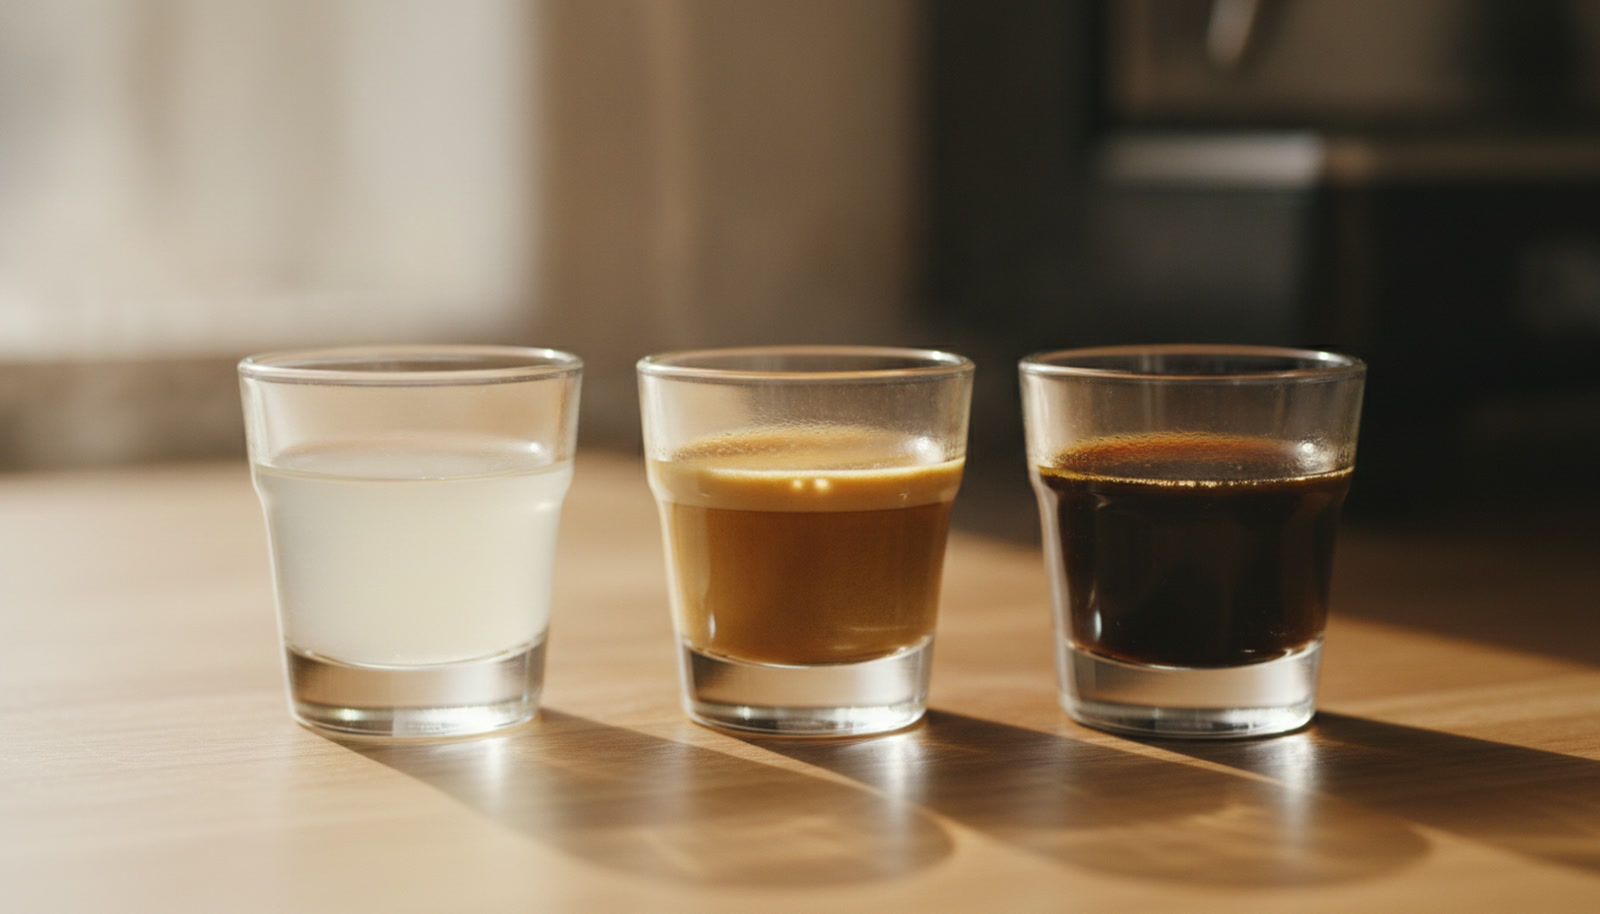
Three espressos, same bean, same machine. The left one rushes through and is pale. The right one drips thickly and dark. Only the middle one is just right. Today you learn to read every shot and to steer it into the middle on purpose — that is called dialling in.
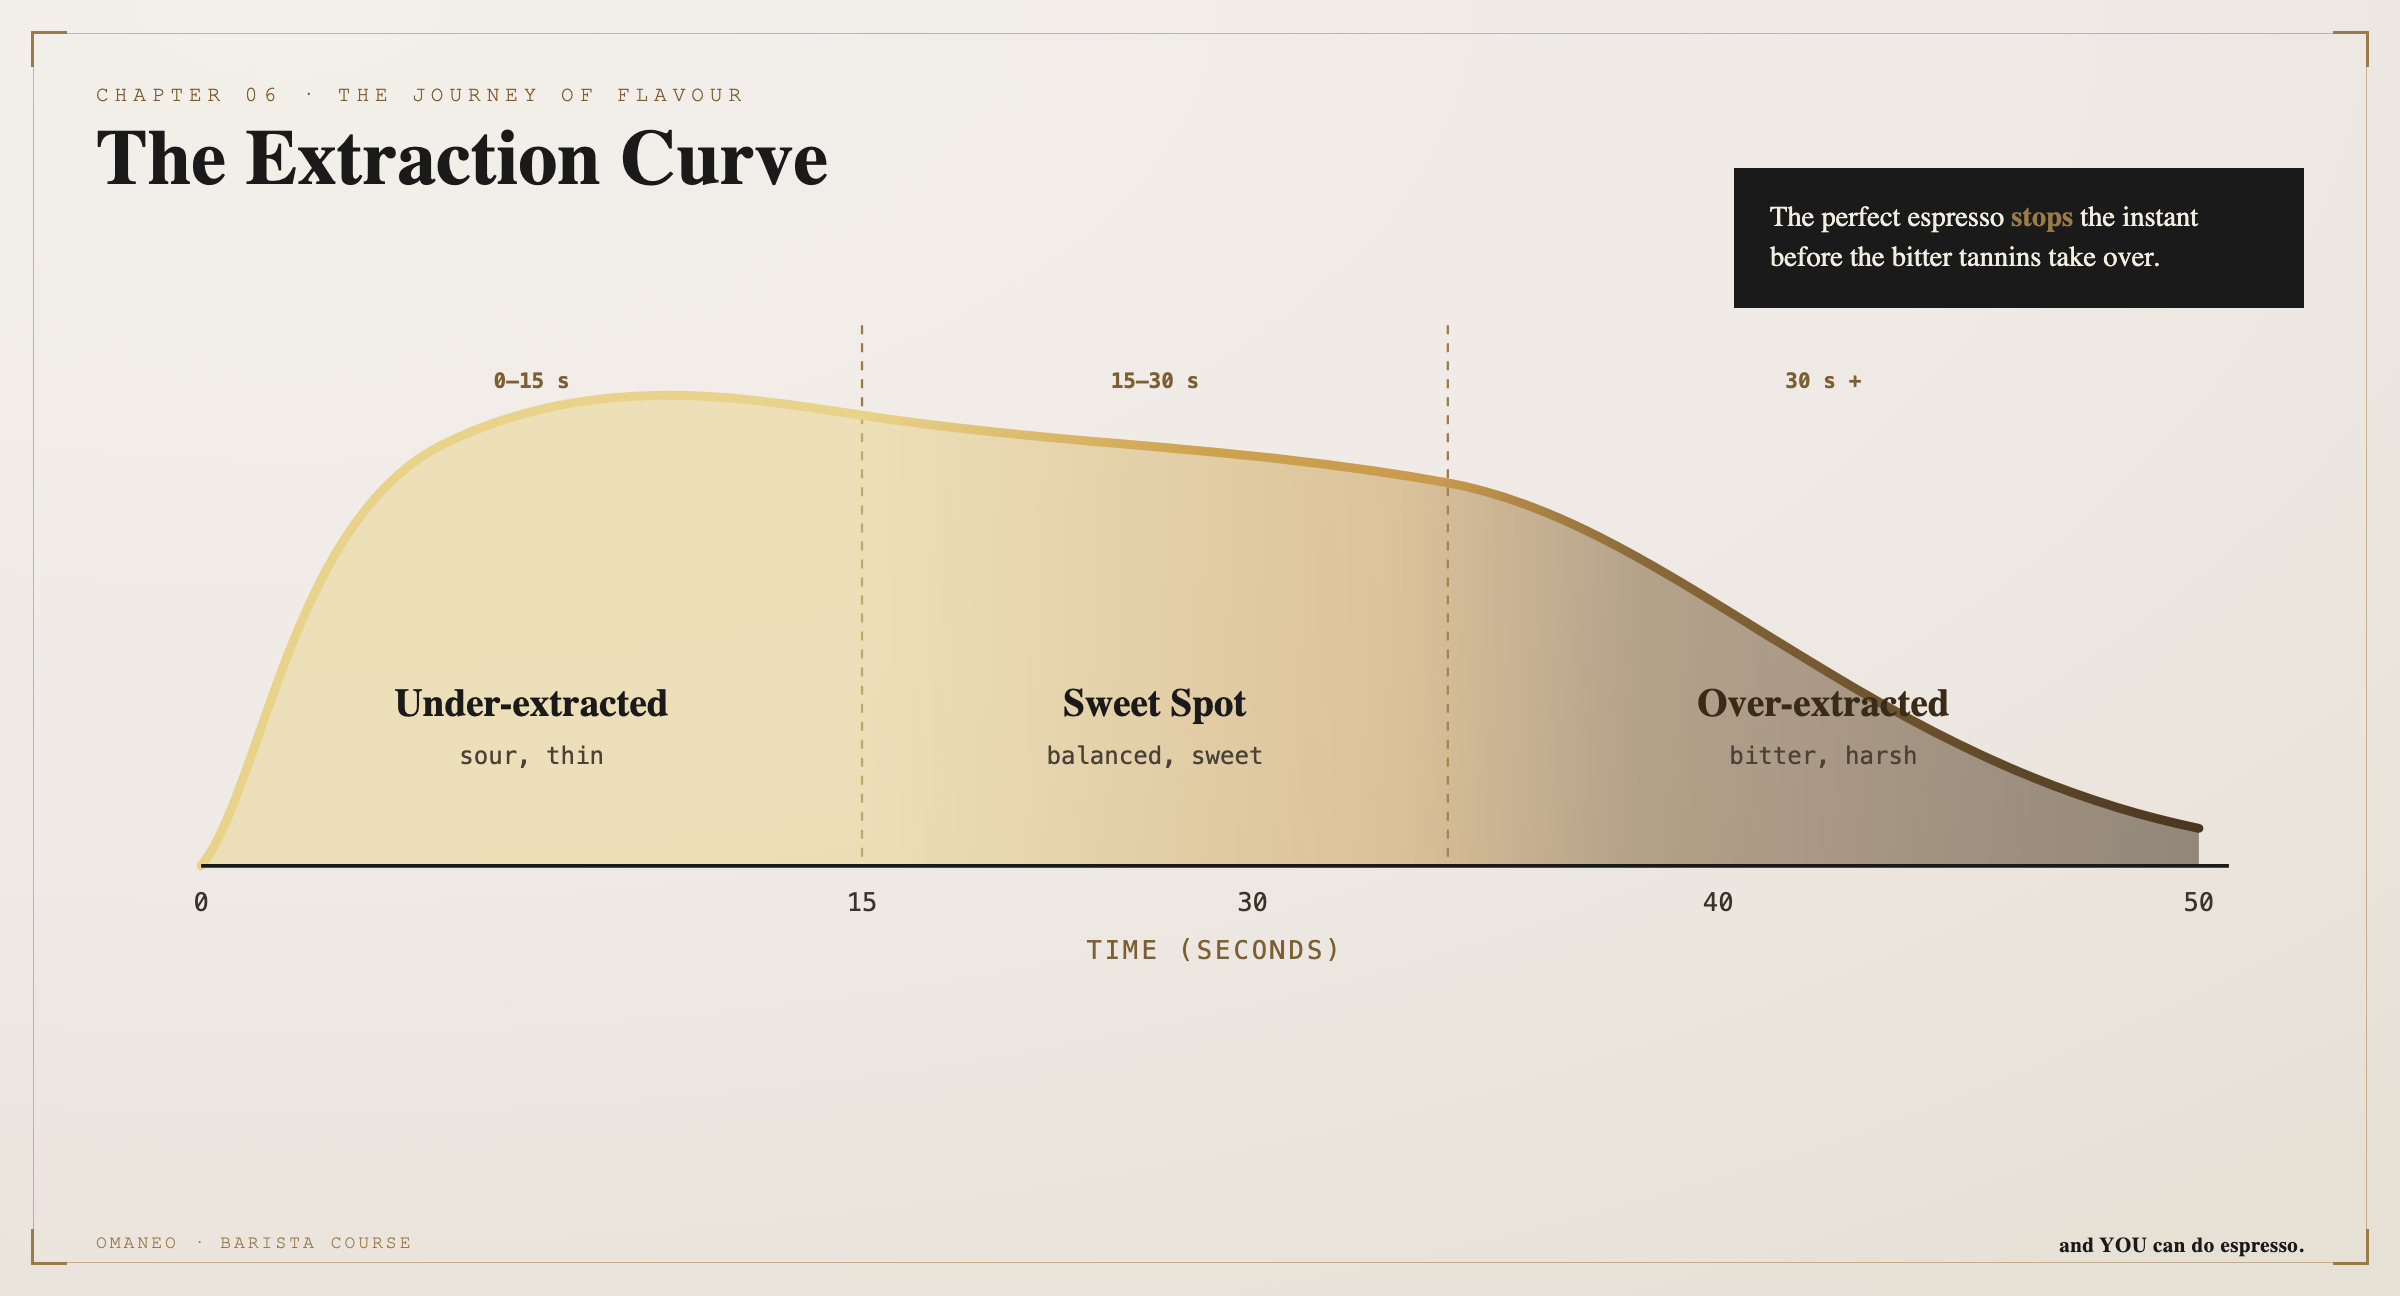
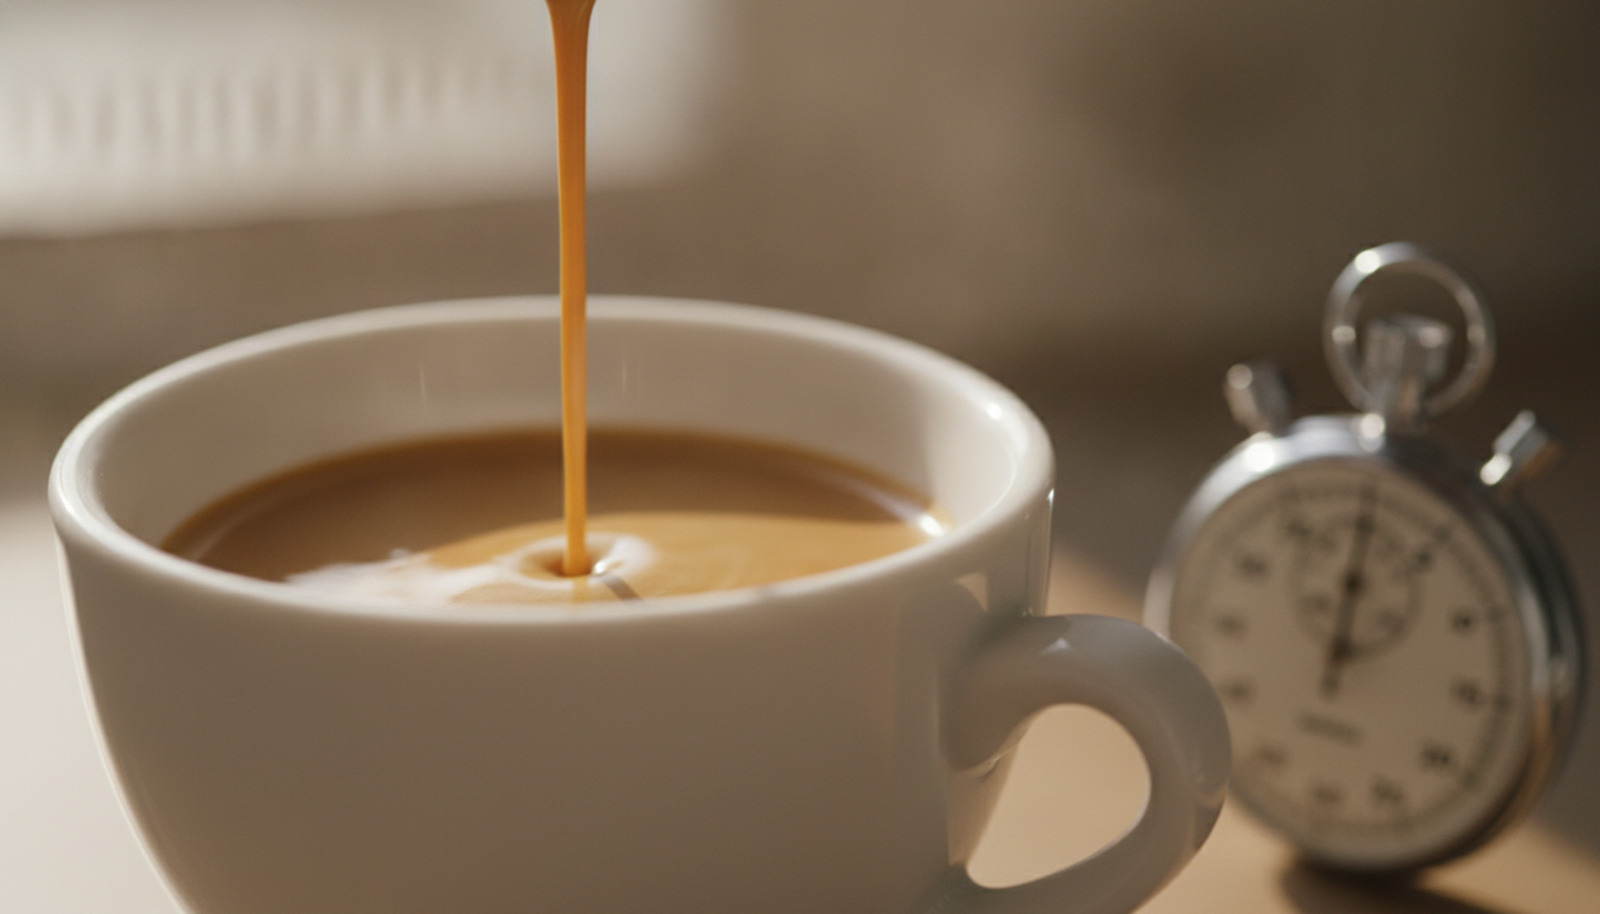
You need three anchors, and you already know two. First the amount in: eighteen grams, weighed. Second the amount out: thirty-six grams, a ratio of one to two. And third, new: the time — a good espresso runs through in about twenty-five to thirty seconds, from the moment you start the pump.
Those three together are your recipe. And usually it is the time that is off — and you control that, as you might guess, through the mill.

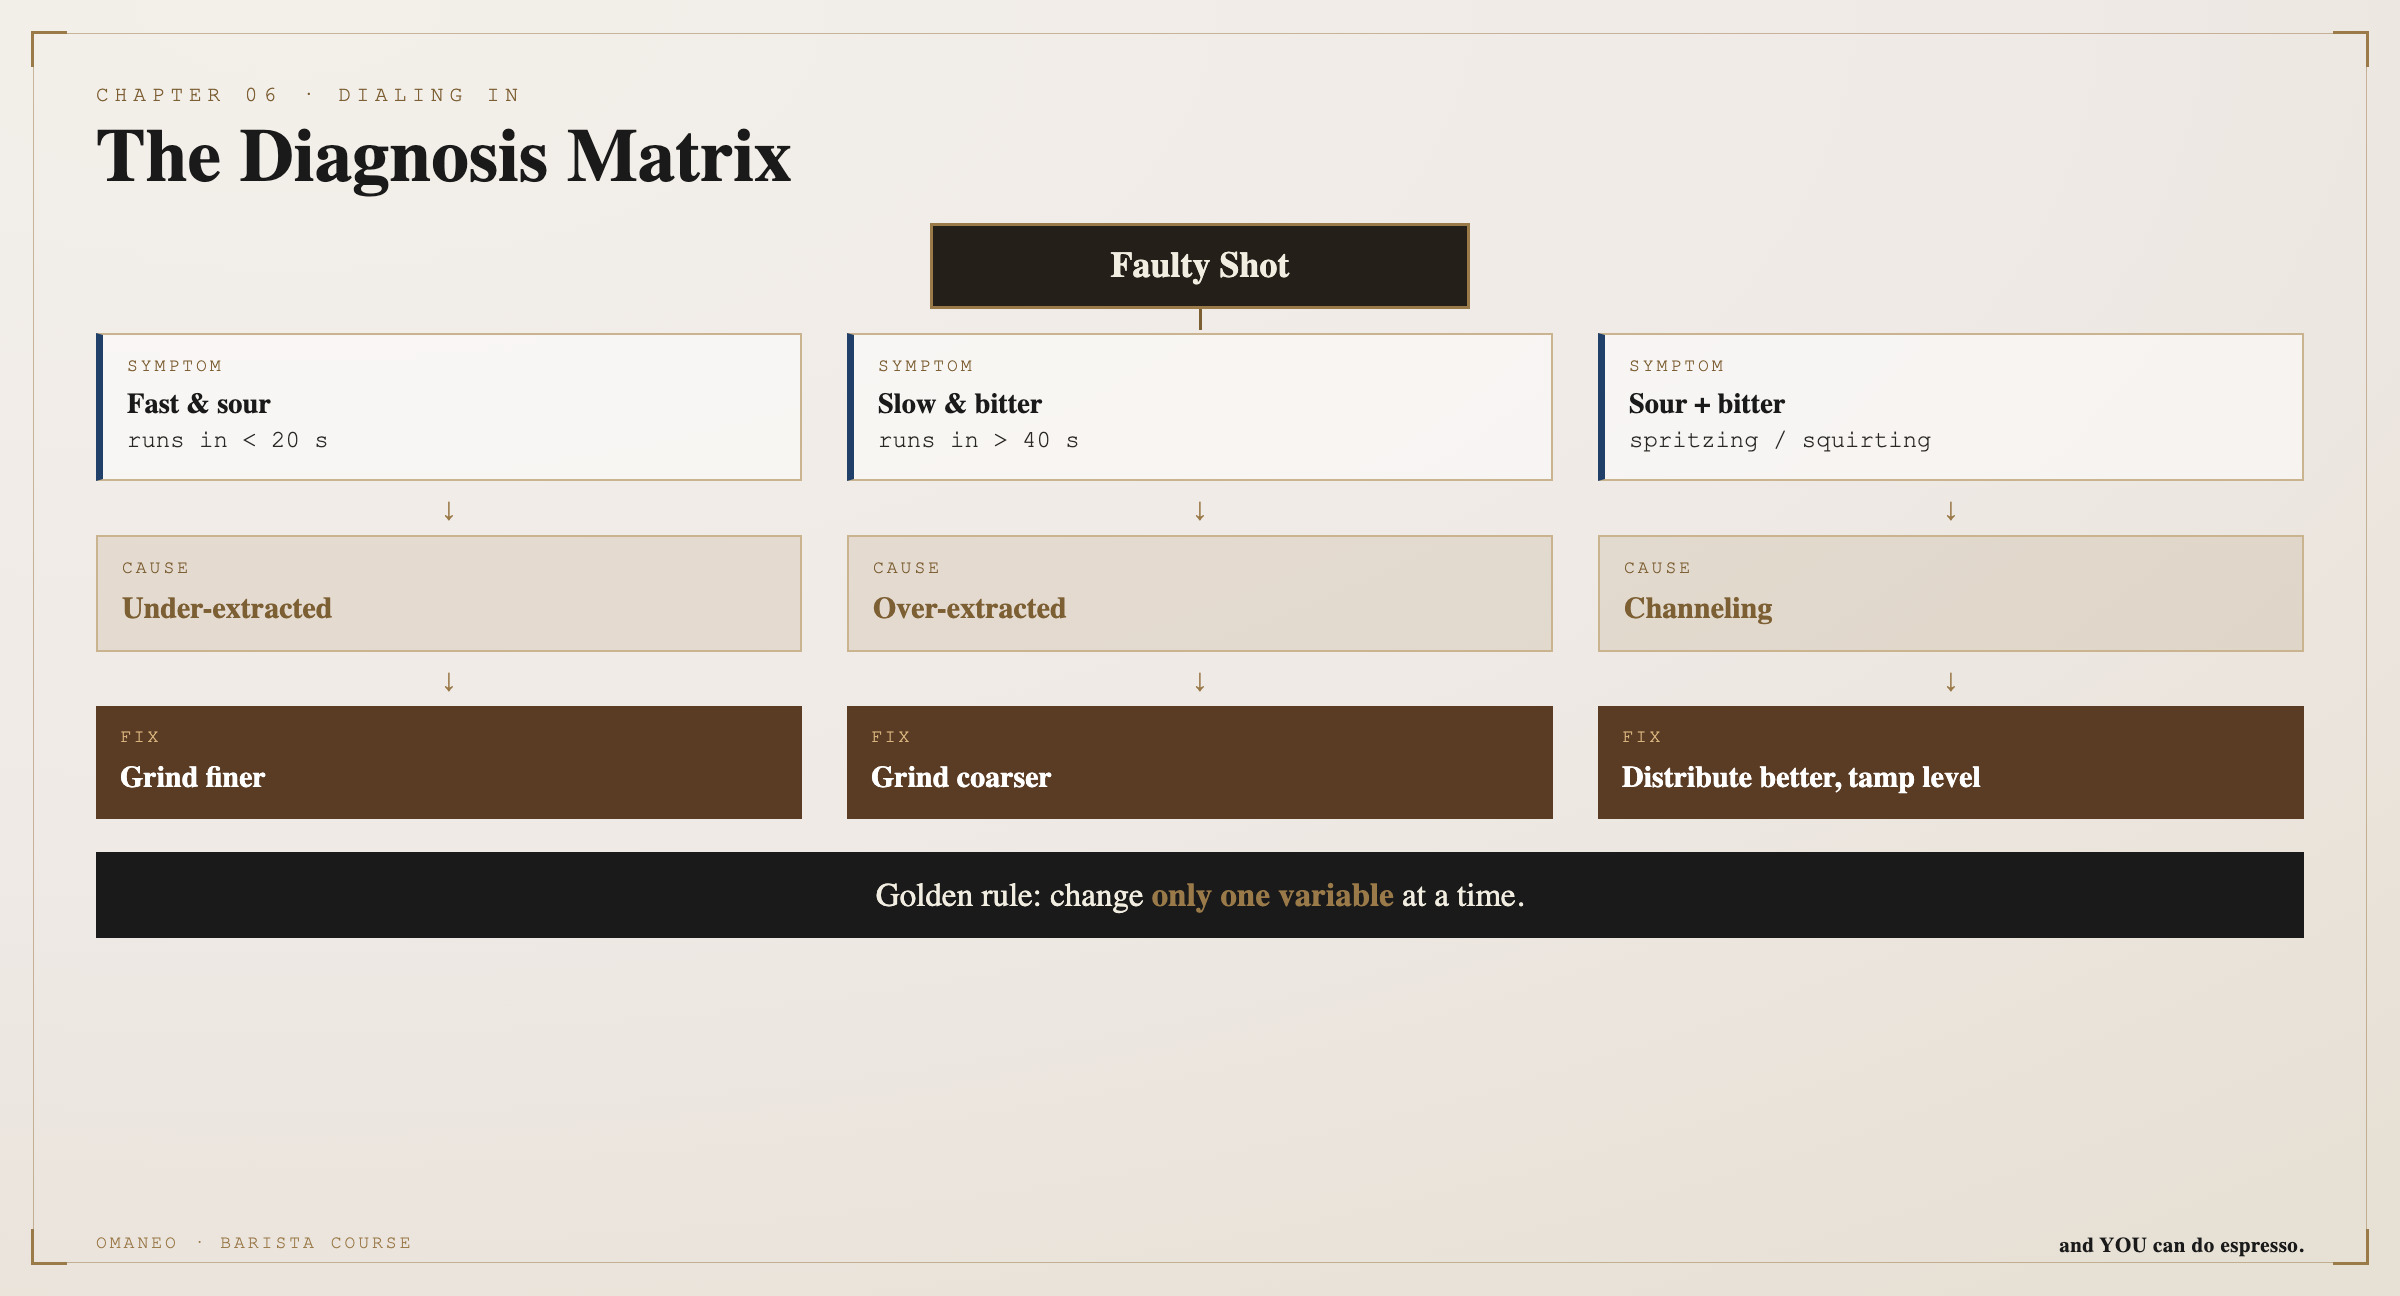
If your espresso runs through in under twenty seconds, spitting and pale — then the water ran too fast and dissolved too little: under-extracted, sour and thin. Your measure: grind finer. If it drips thickly and dark for over forty seconds — over-extracted and bitter: grind coarser.
Sometimes it is not the mill that is at fault but the preparation: if it tastes sour one time and bitter the next without you changing anything, and the bottomless portafilter sprays — then you have channelling. The answer is in chapter five: distribute more cleanly, tamp level.
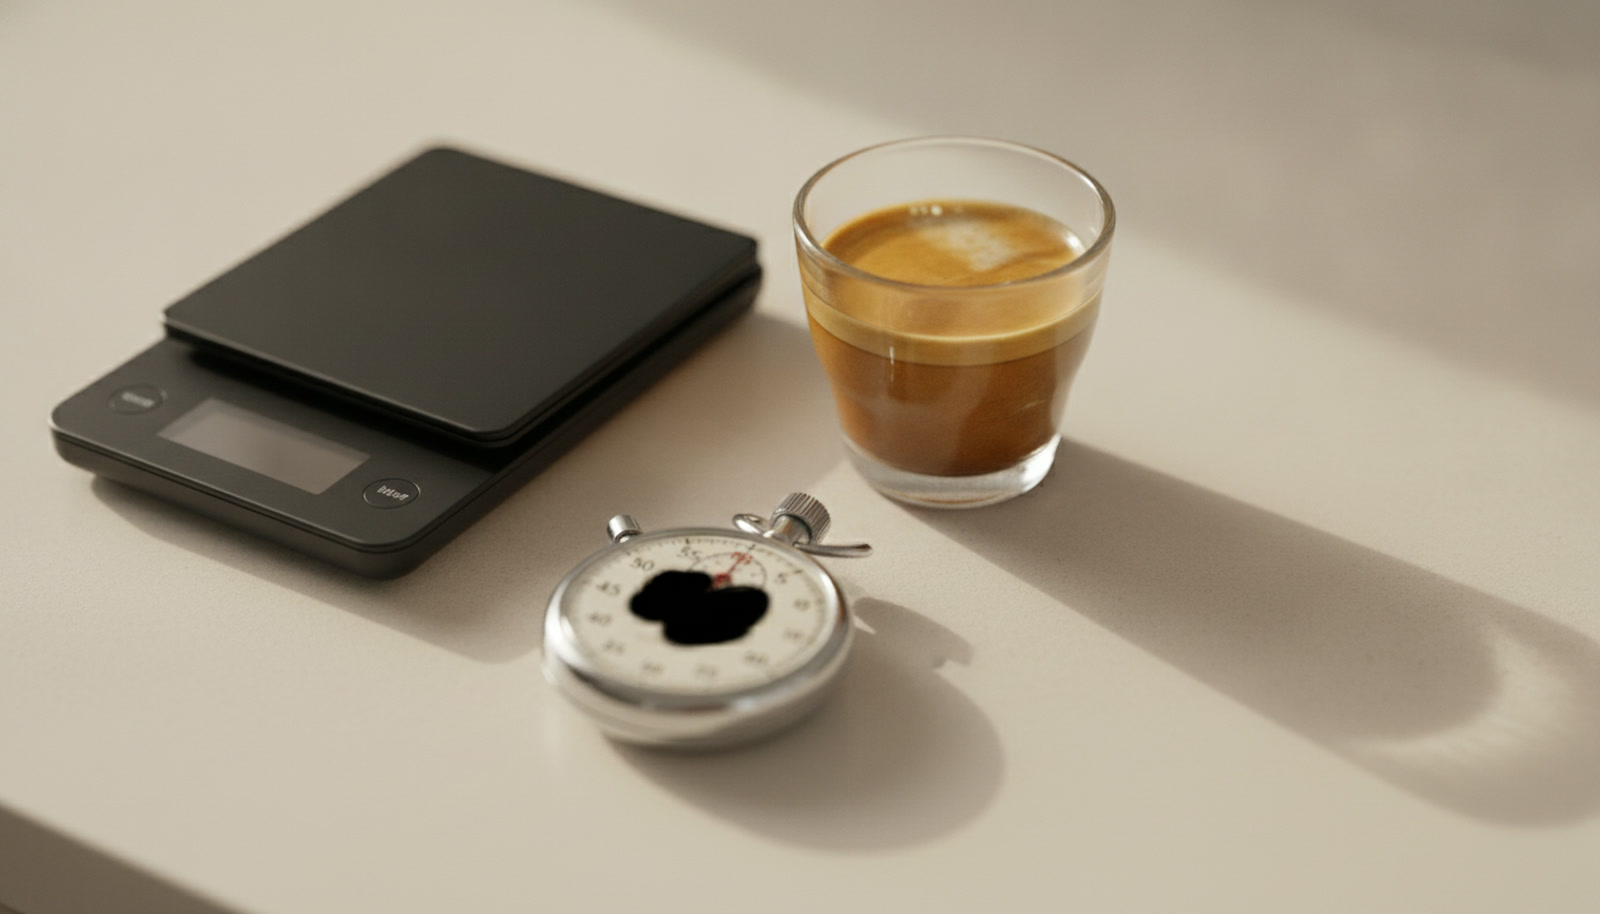
Pull an espresso with your eighteen grams and take the time. Taste it and look at the clock. Too fast and sour? Set the grinder one step finer and pull again — change the mill only, nothing else.
Feel your way, attempt by attempt, until you land at twenty-five to thirty seconds and a round taste. And then, very important: write down the bean, the grinder setting and the time. That is your recipe for exactly this bag.
Dialling in
Three anchors — eighteen in, thirty-six out, twenty-five to thirty seconds. Sour and fast? Finer. Bitter and slow? Coarser. Only ever one screw. And write the recipe down. Your task: dial in your current bean until it tastes round, and note the values.
Milk foam
Air in first, then roll it fine.
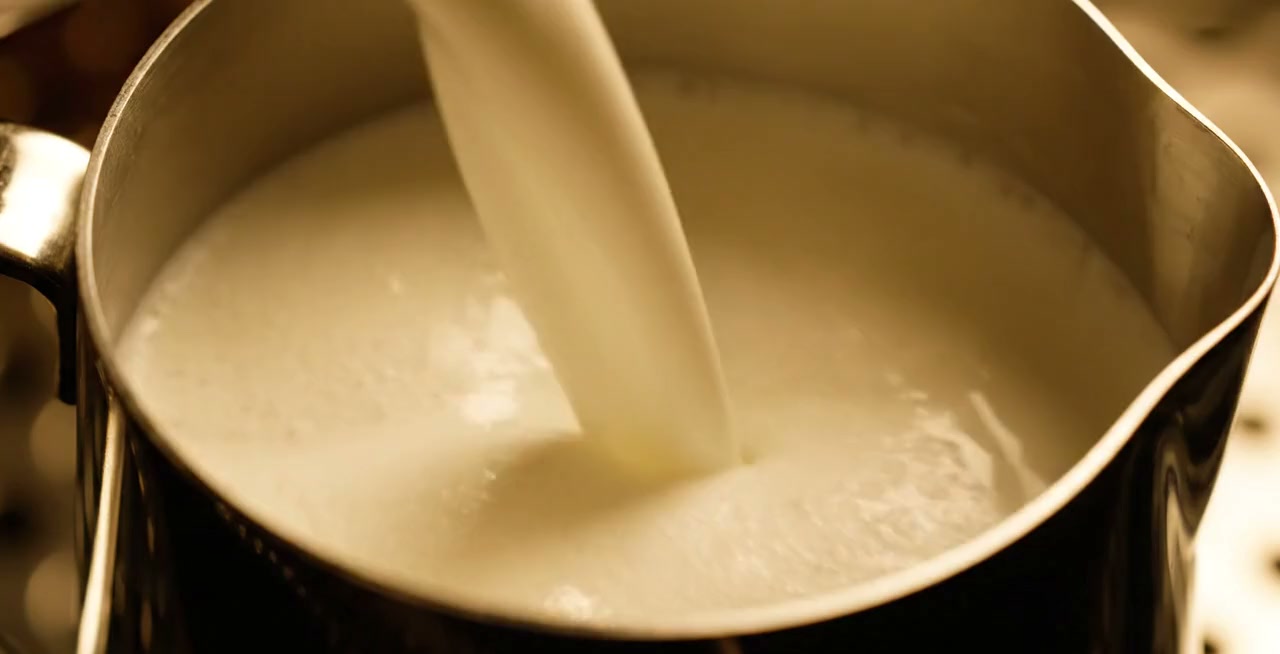
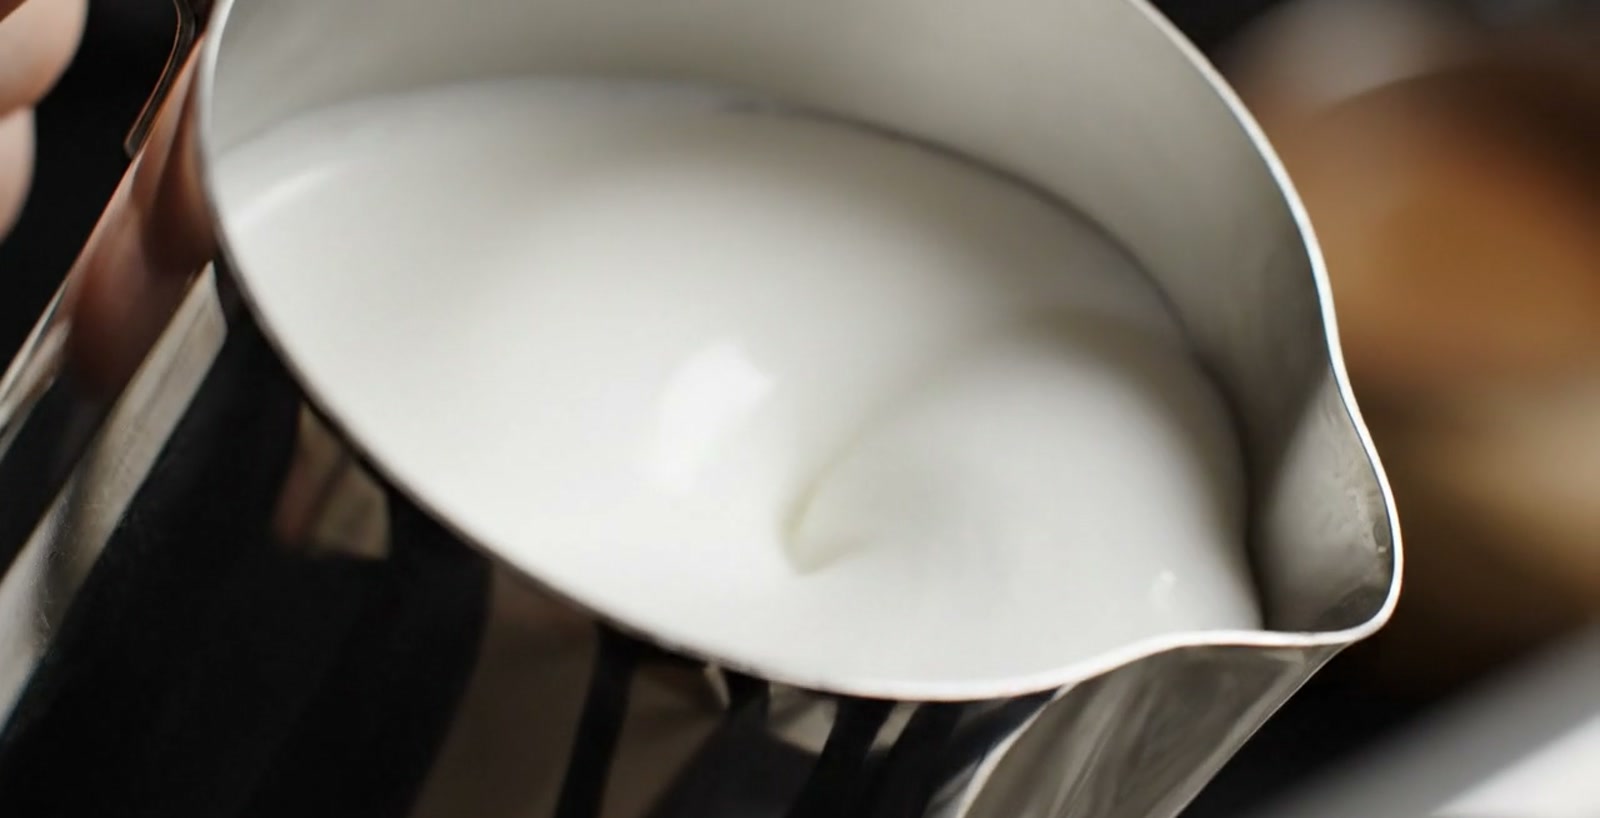
Look at this — it gleams like wet paint and flows like silk. This is not foam with big bubbles, the kind a spoon makes. This is microfoam: velvety, fine-pored, sweet. And it is easier than it looks once you understand two things: when to let air in, and when to stop.
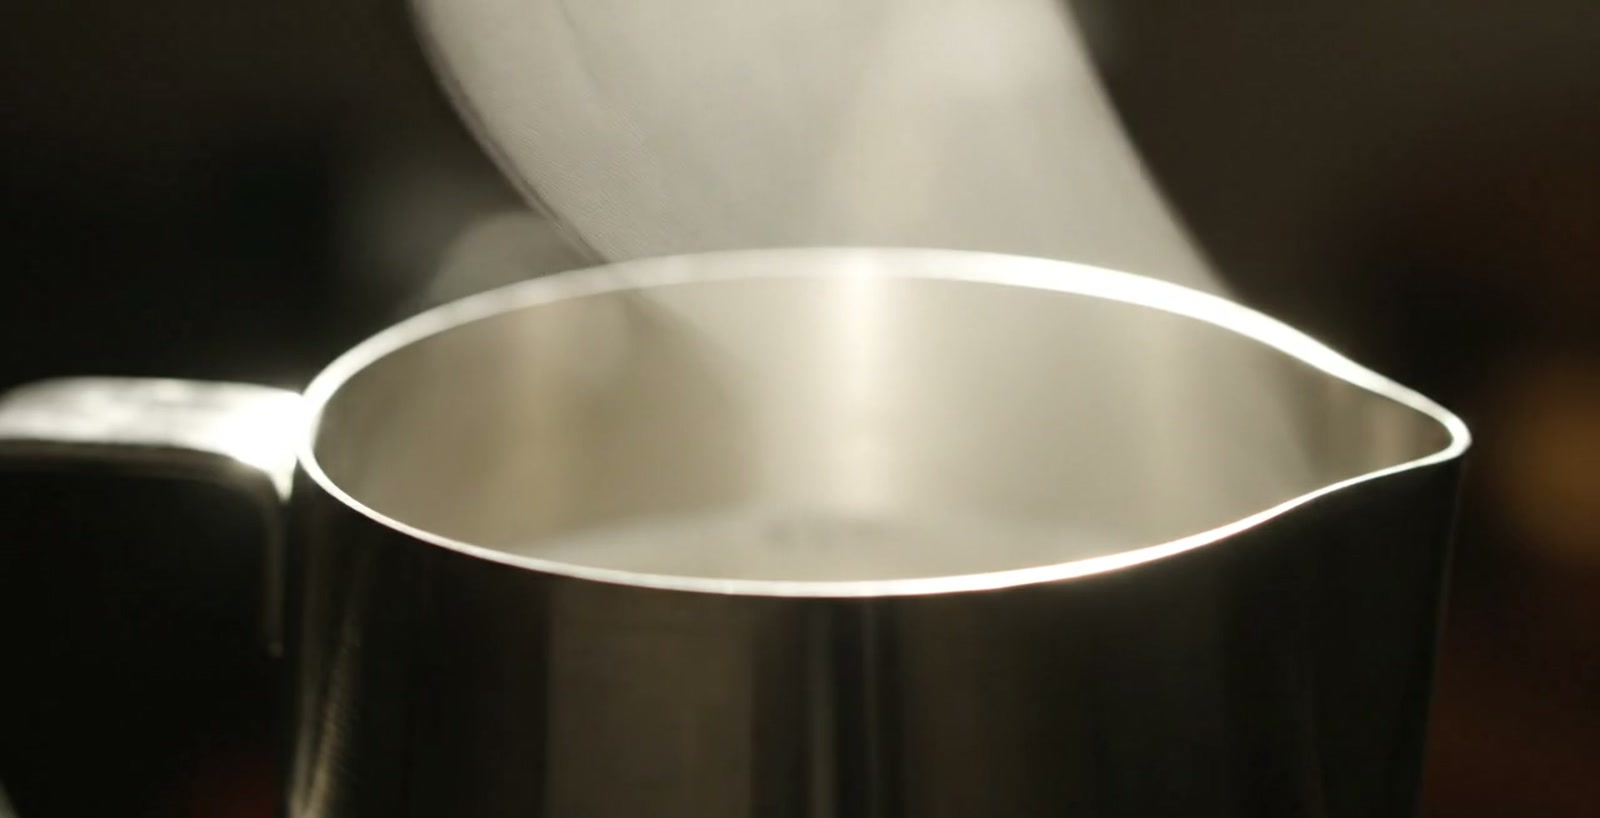
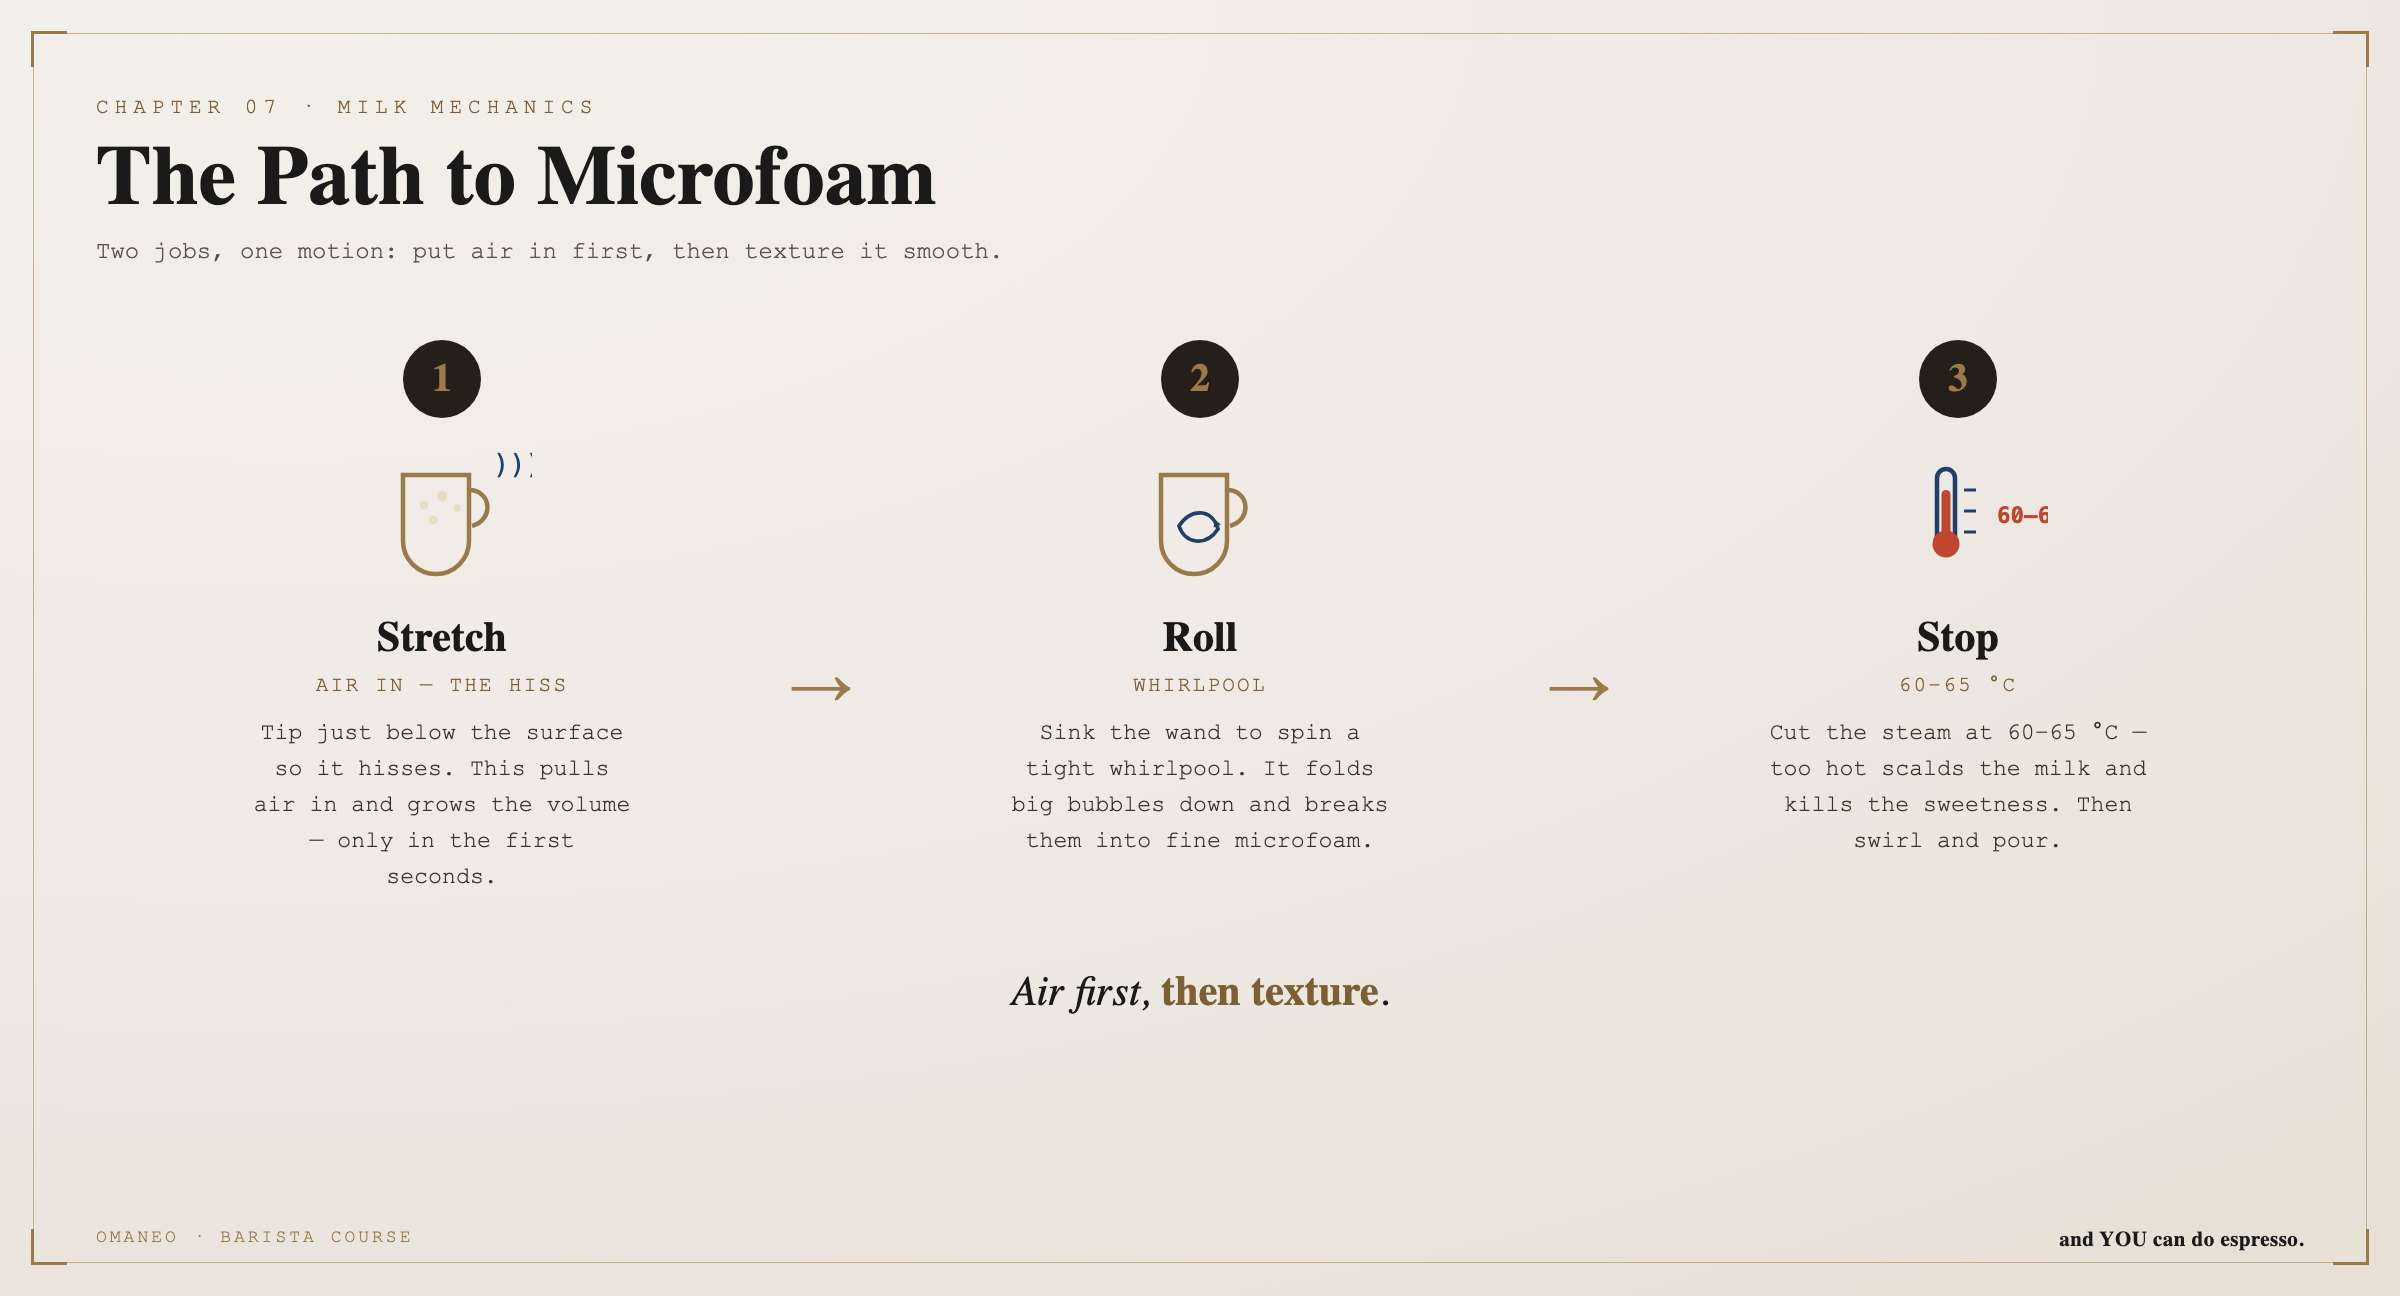
Two things happen one after the other when you foam milk. First you draw air into the milk — that makes volume and foam. Then you roll that air into very fine bubbles until nothing coarse is left. Air in first, then roll it fine.
You steer this with your ears. Phase one, drawing air: wand just below the surface, open it up — a gentle, regular hiss, each one a small sip of air. Lower the jug slowly as the milk rises.
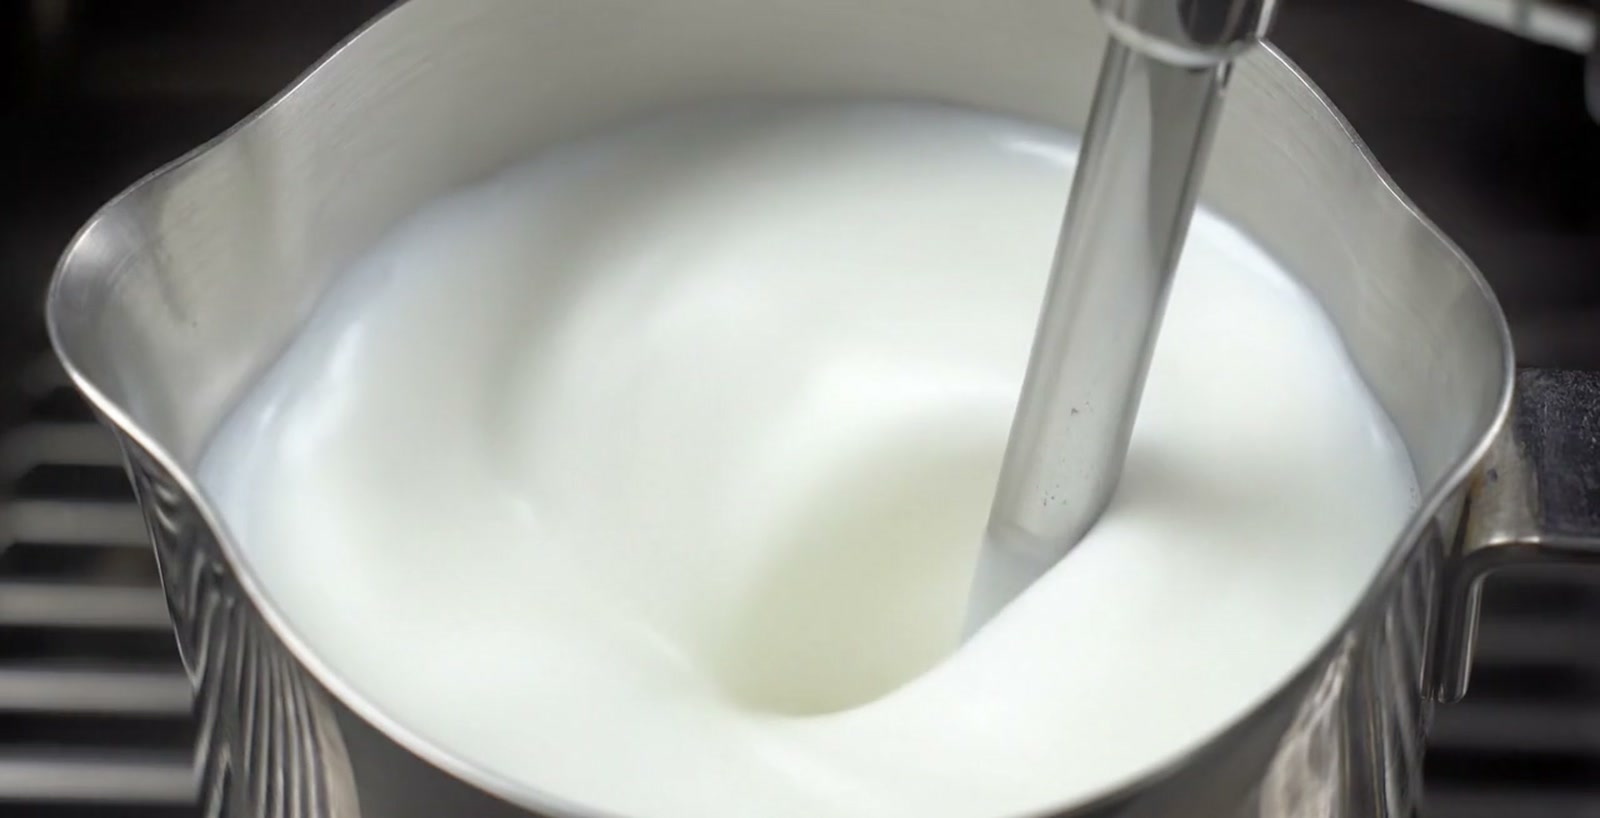
Phase two, rolling: wand a little deeper, tilt the jug and look for the whirlpool until the hissing disappears and it only rolls richly. That breaks the coarse bubbles fine.
You feel the temperature with your hand on the jug. Target: sixty to sixty-five degrees — nicely warm, and at that point the milk turns naturally sweeter. When it gets too hot to hold, stop. Above seventy degrees the milk burns and loses its gloss. Better to stop a little early than a little late.
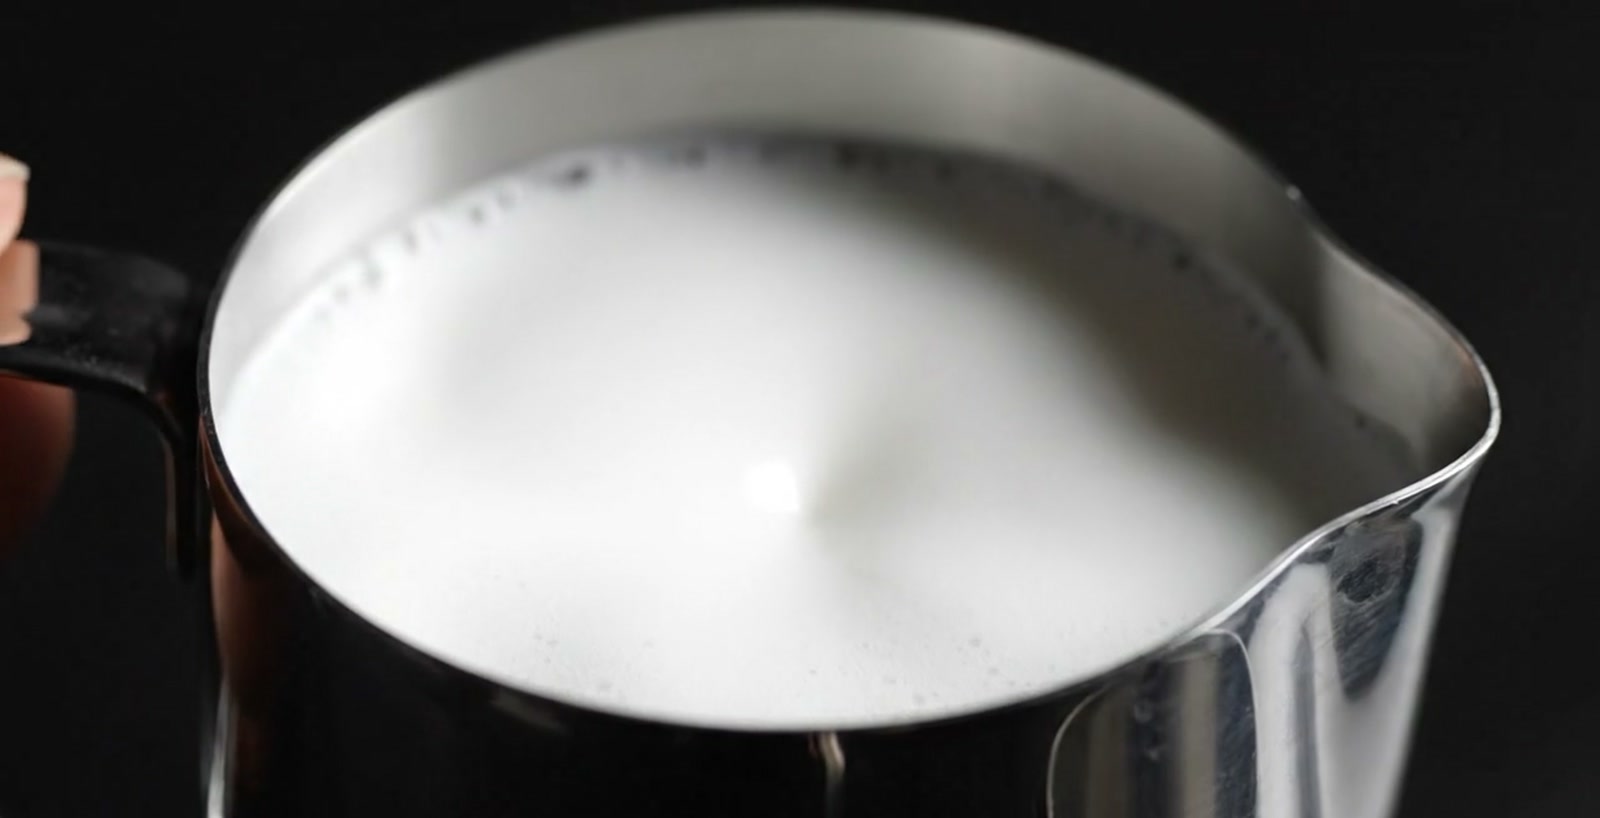
Cold jug, cold milk, up to the spout. Wand just below the surface, open it up — and listen to the hiss. Draw air for a few seconds, lower the jug slowly. Then wand deeper, tilt the jug, look for the whirlpool.
Feel the warmth. Is it glossy? Then stop. Wipe the wand. Forget latte art at the beginning — practise the consistency only: glossy, silky, no coarse bubbles.
Milk foam
First draw air — the hiss — then roll — the whirlpool — then polish until it gleams. Sixty to sixty-five degrees, felt with your hand. And clean the wand at once. Your task: foam milk three times and chase one goal only — the look of wet paint.
Latte art
Ninety per cent basis, ten per cent hand.
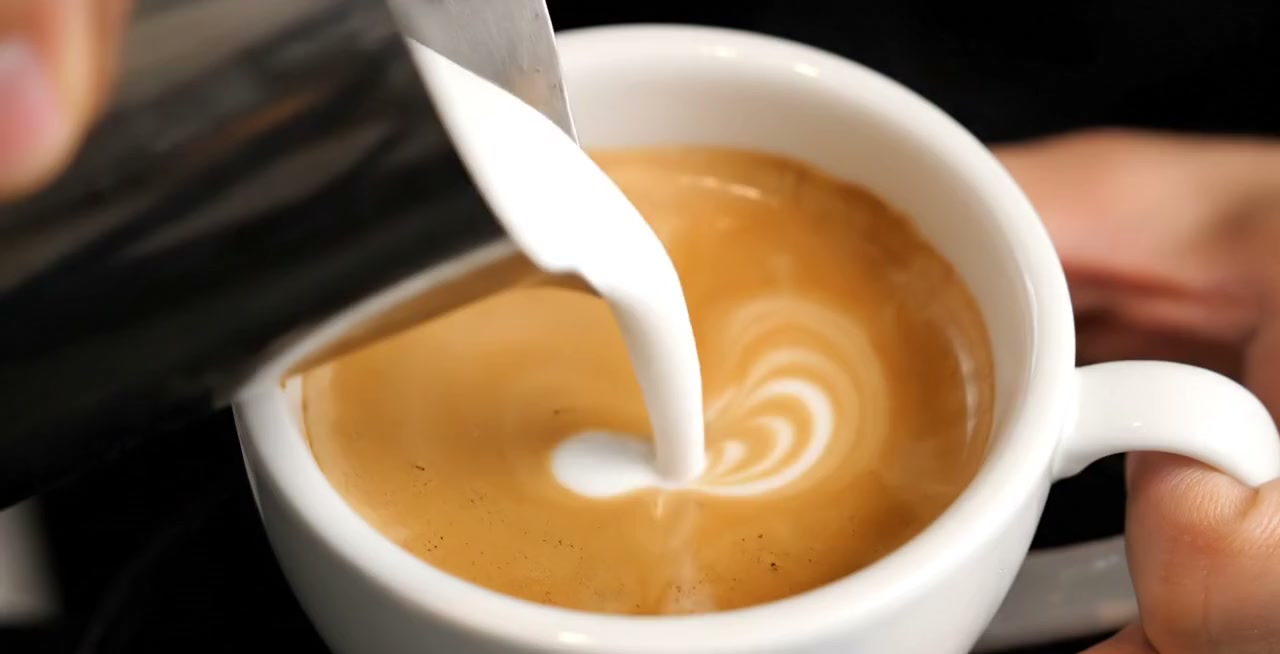
One last pull — and the white spot becomes a heart. Latte art is the icing on everything you have learned. The most important part of it happens before you pour — and I can explain that to you just like this.
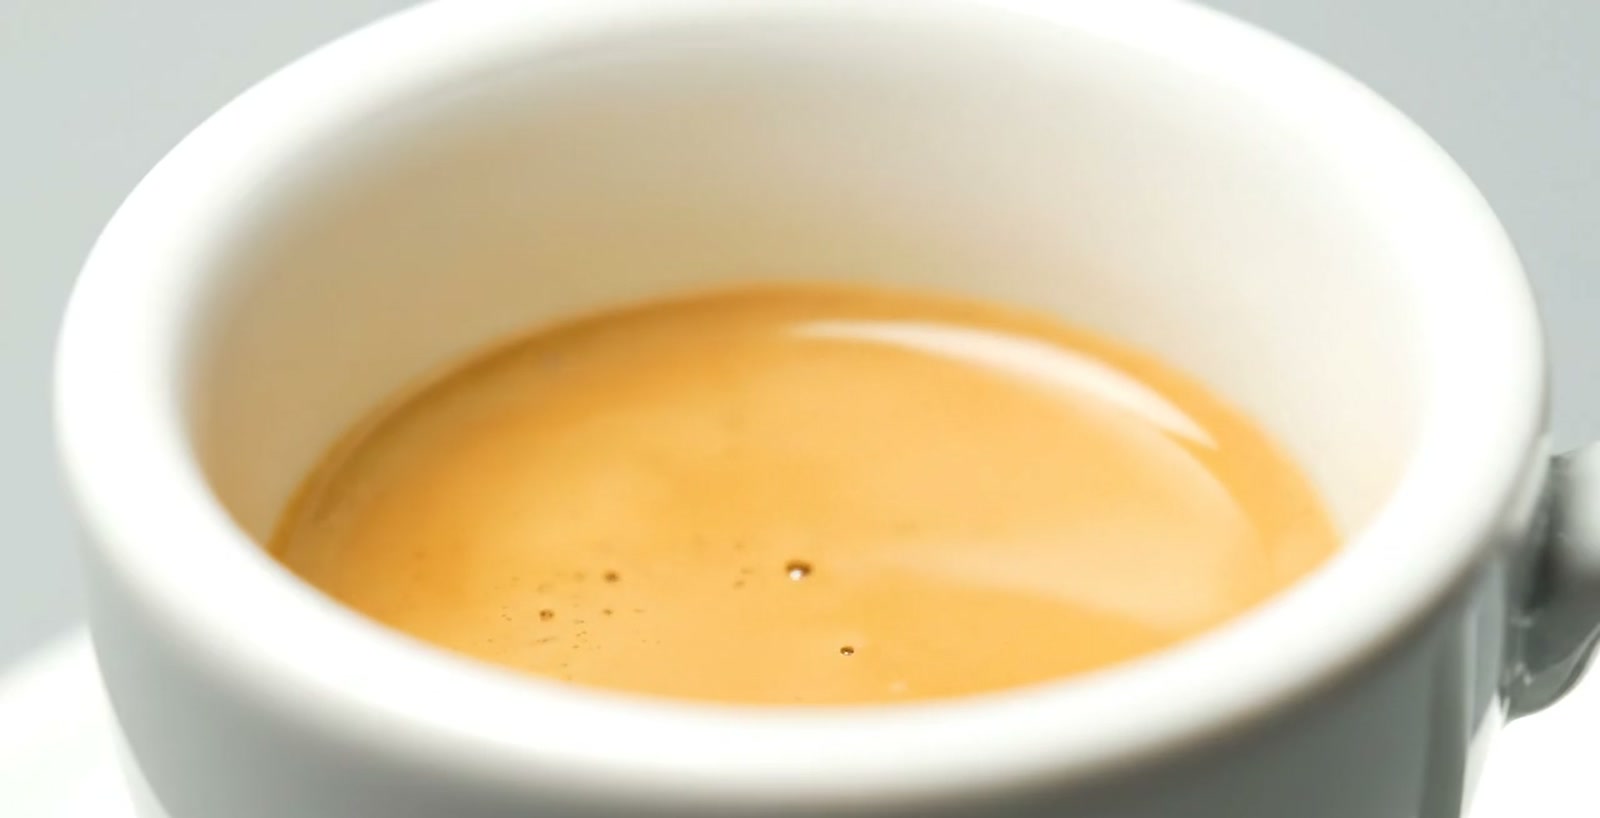
Listen closely, this is the most important minute: latte art is ninety per cent the result of good espresso and good microfoam — and only ten per cent hand movement. Without a decent crema the brown canvas is missing. If the foam is too stiff it plops in as a lump; if it is too liquid the pattern sinks.
Which means: before you think about pouring, chapters six and seven have to sit — round espresso, glossy microfoam. Get the basis right and the pattern almost comes by itself.
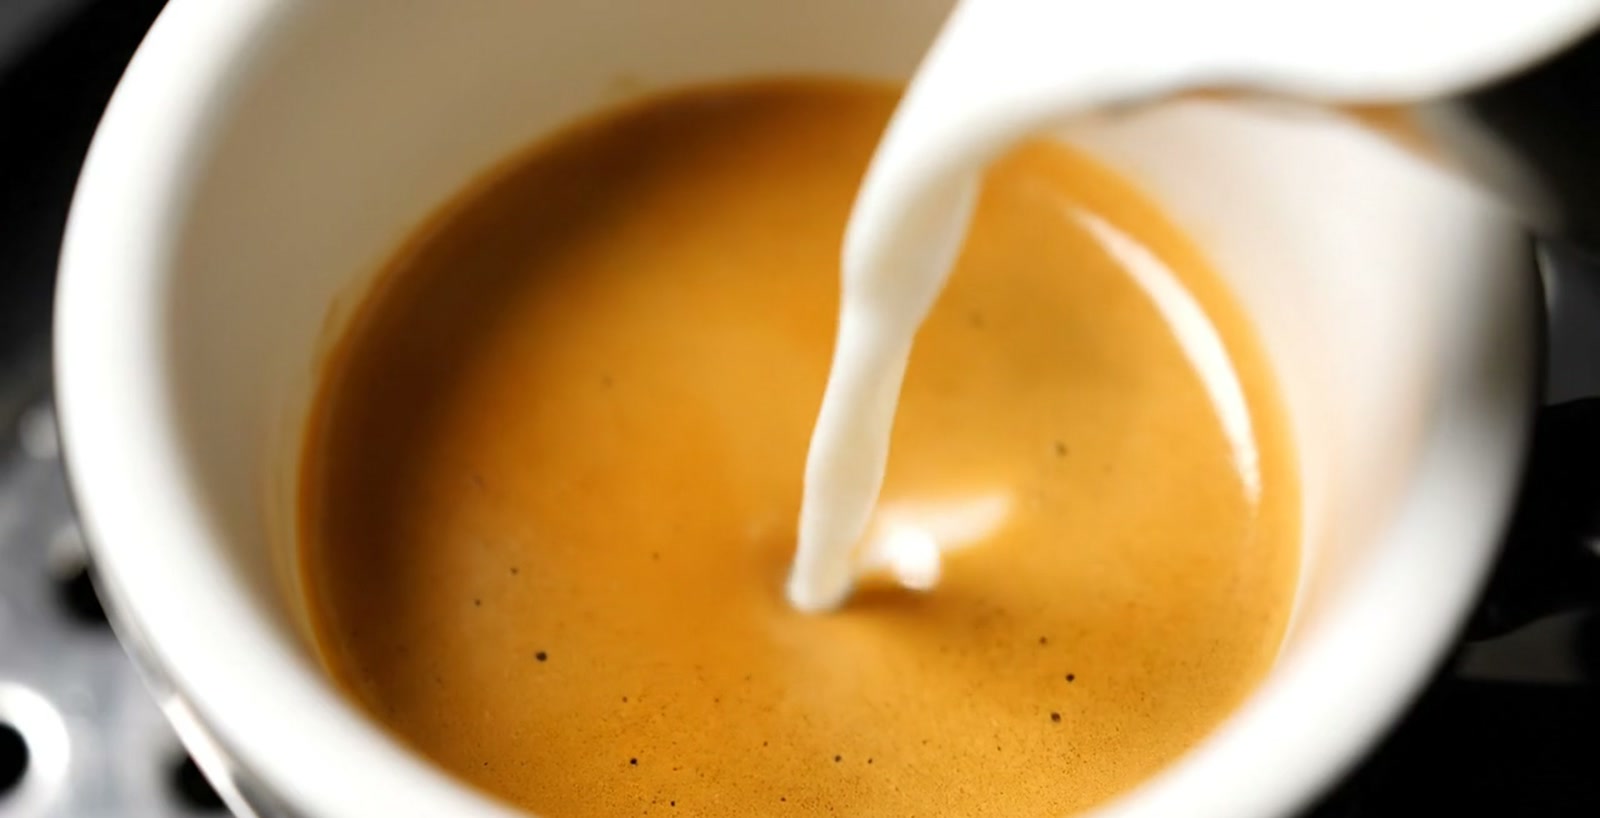
Two levers control everything: height and closeness. At the start you pour from a little height and thin — that way the white milk dives under the crema and fills the cup without anything showing yet. Only when the cup is half full do you go close to the surface and pour a little faster — now the foam visibly settles on top.
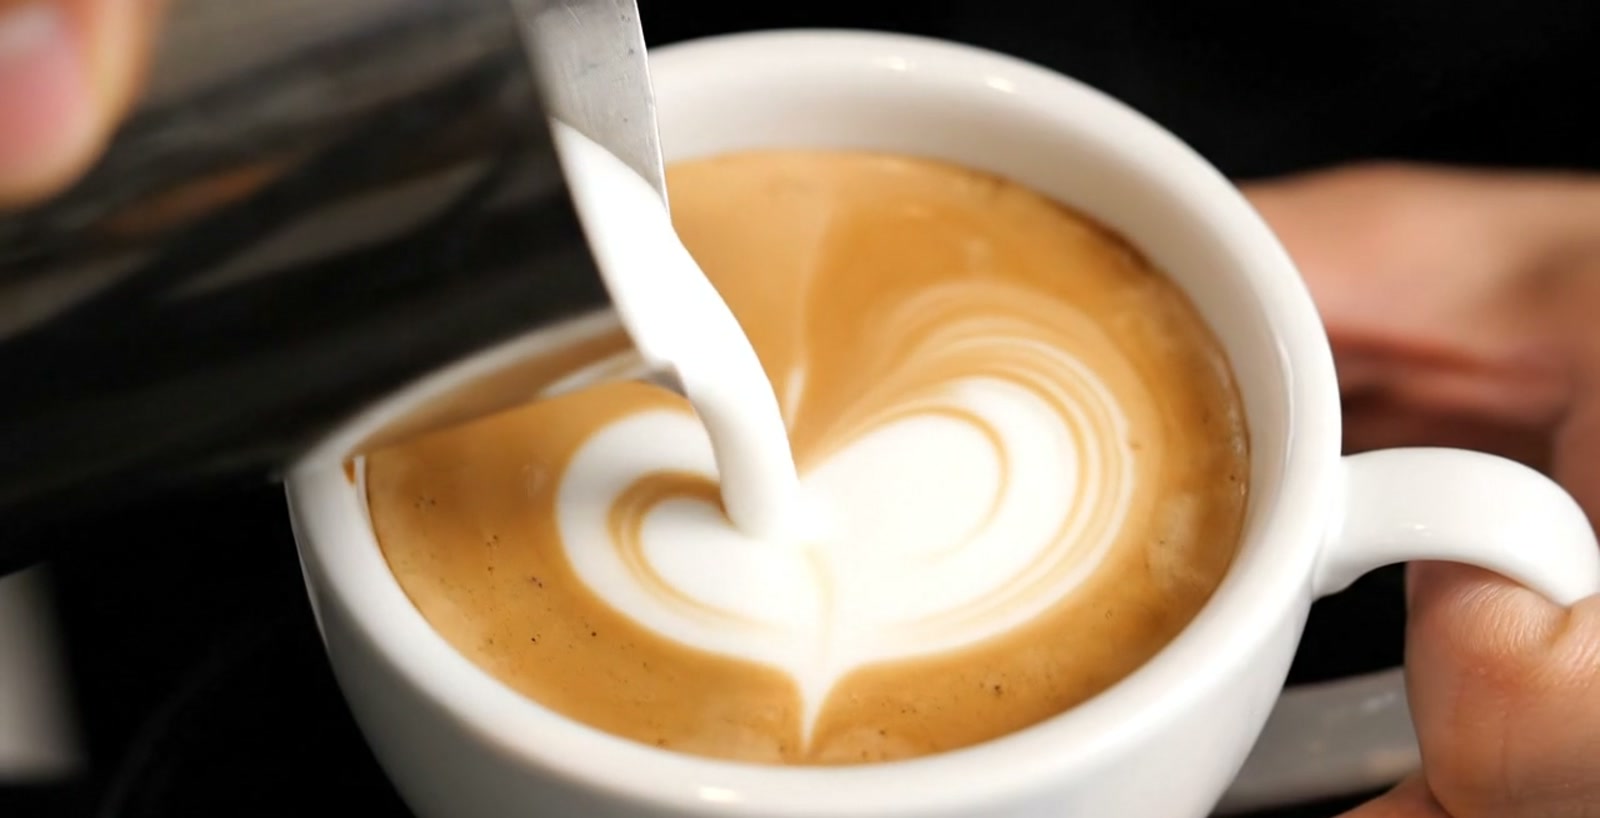
The whole secret: low and close draws, high and thin fills. And the finishing line: at the end lift the jug and pull a thin stream backwards through the pattern — that cuts the heart and the rosetta cleanly.

Latte art
Latte art is ninety per cent basis — good espresso, good foam — and ten per cent hand. High and thin fills, low and close draws, the finishing line cuts through. The family tree: dot, heart, tulip, rosetta — start with the heart. Your task: pour five hearts, photograph them and look at your progress.
The drinks
One espresso in ten different outfits.
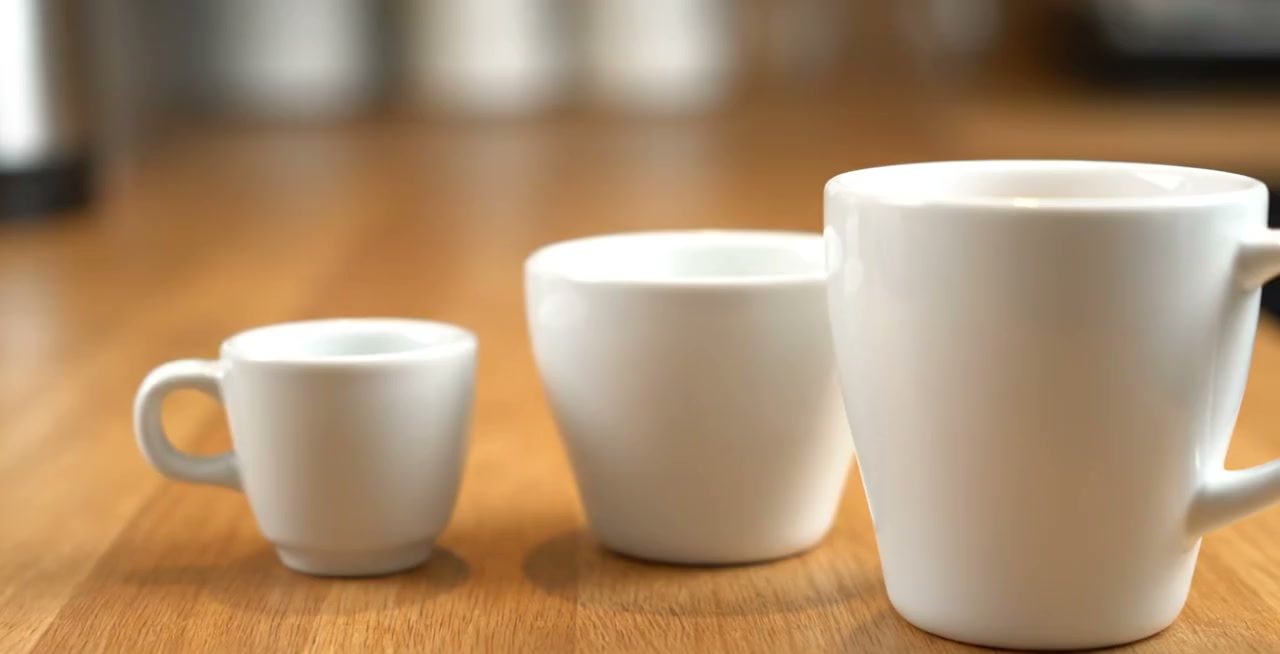
Look at this row, from the tiny cup to the large one. They all begin with the same thing: your espresso. Ristretto, cappuccino, flat white, americano — these are not ten different coffees but one espresso in ten different outfits.
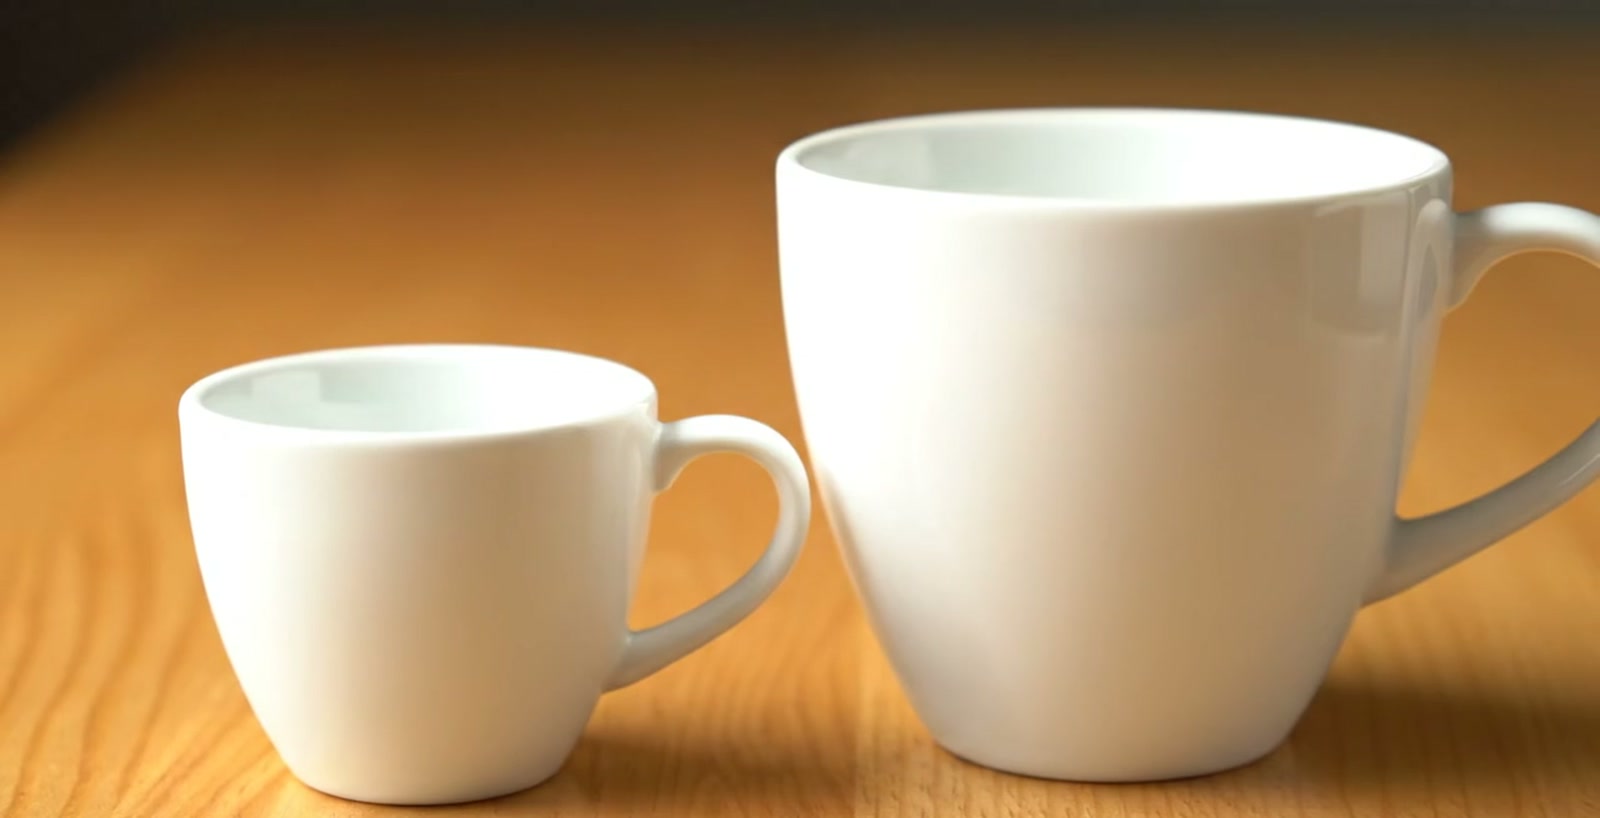
You now have all the building blocks — espresso, water, milk, foam. The secret is simple: almost every drink is just a different ratio of those four things.
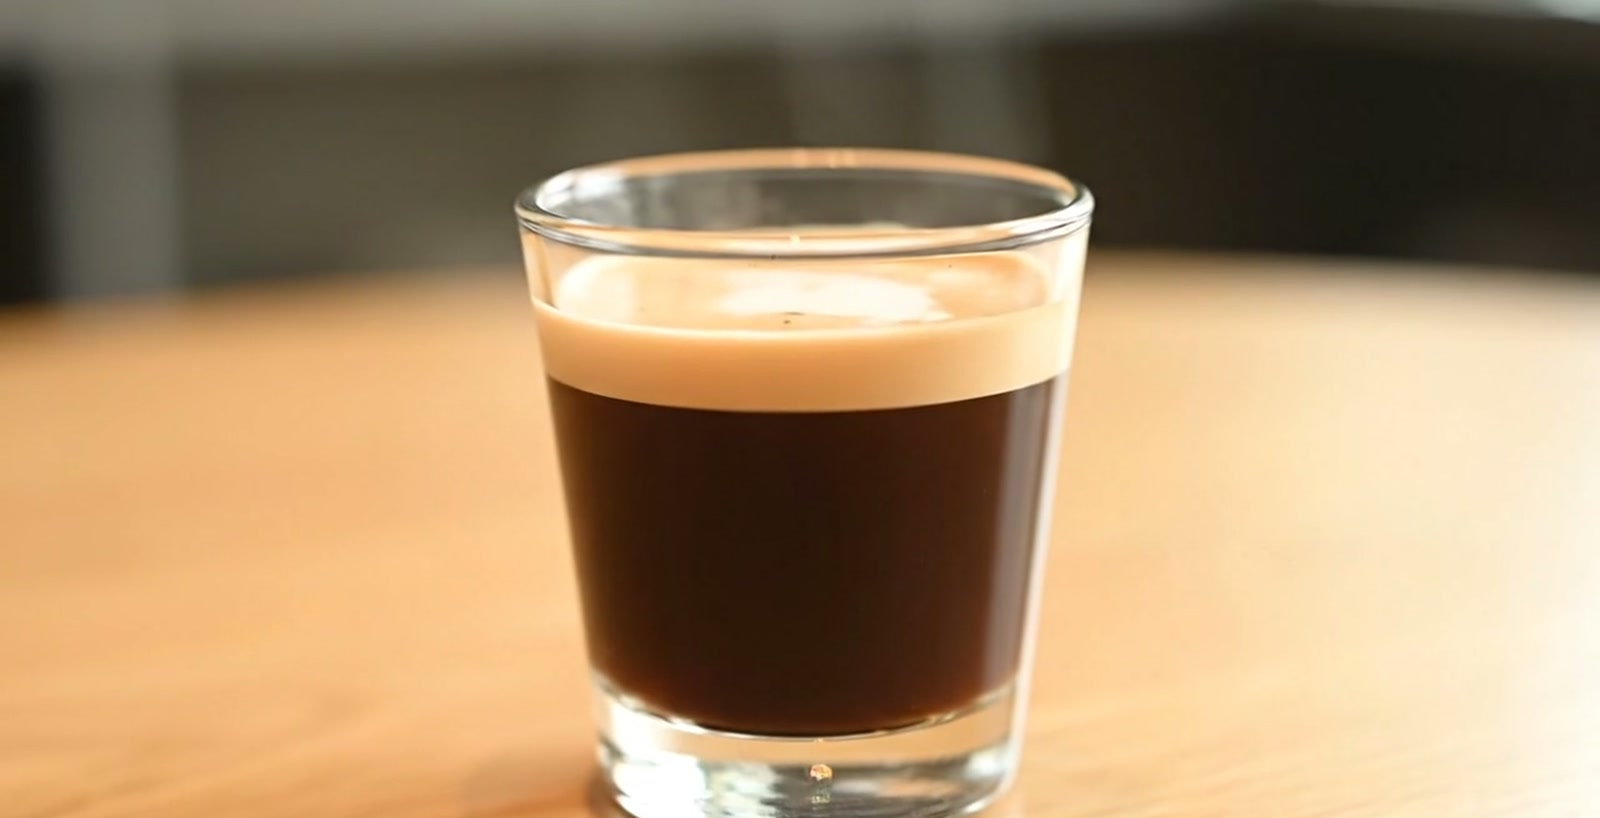
In the middle stands the espresso — neat, the core of everything. Let less run through with the same amount of coffee and you get a ristretto: shorter, denser, more intense. Let more water run through and you get a lungo: longer, milder. An americano is espresso with hot water, a cortado mild with a little milk.
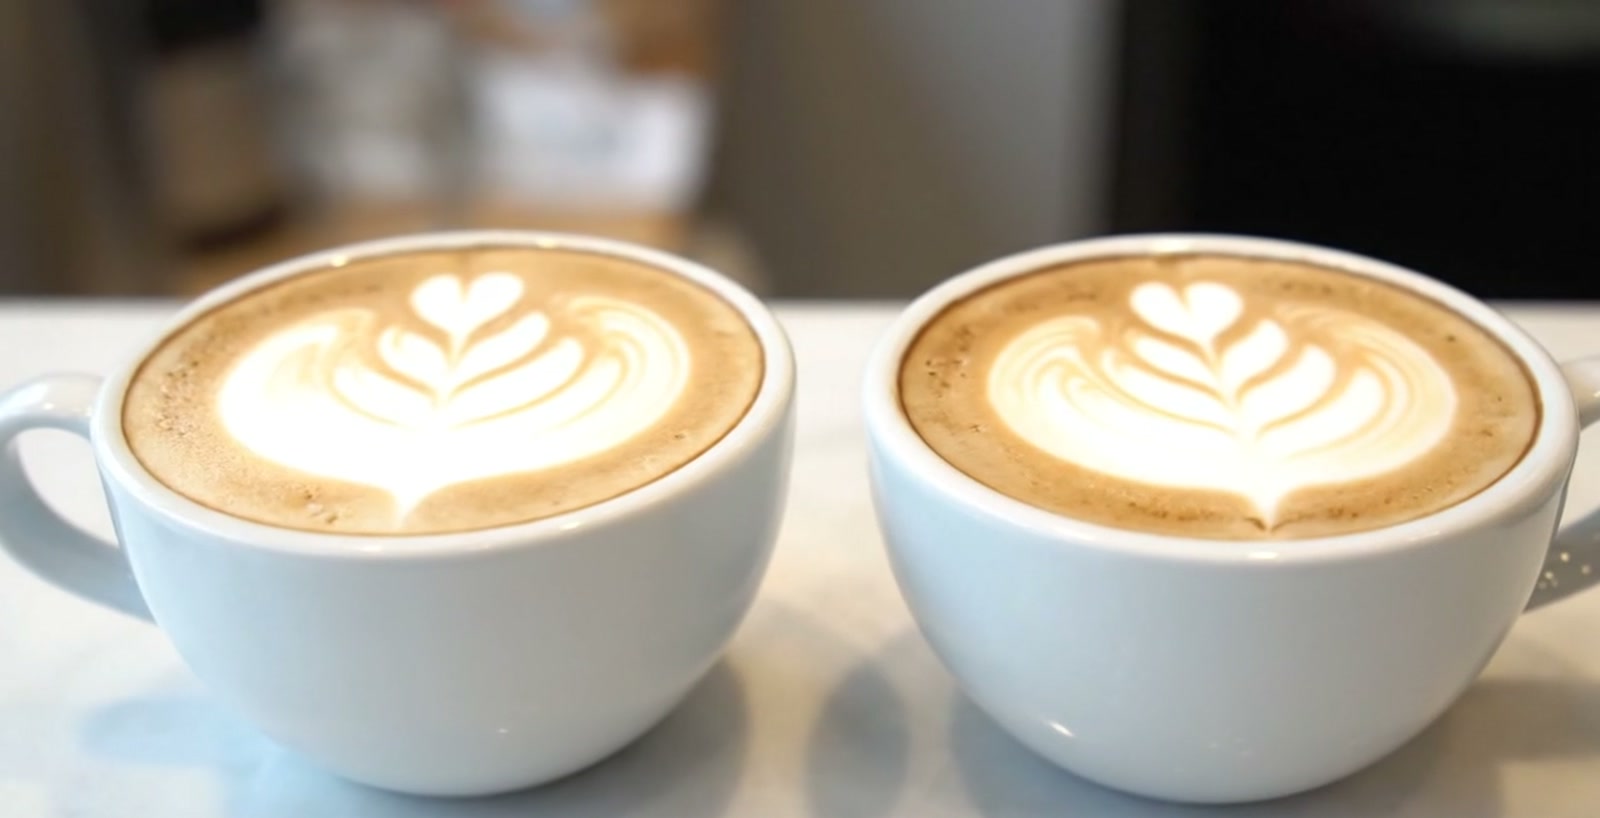
The most common mix-up: cappuccino and flat white. Both are espresso with milk — the difference is the foam. The cappuccino has a thick, airy cap of foam, about a third of the cup; it is looser and foamier.
The flat white has far more liquid milk and only a thin, glossy layer of foam on top — flat. That makes it taste milkier and lets the coffee come through more directly. Know this one difference and you understand half the menu.

The drinks
Every drink is one espresso in different proportions — more or less water, milk and foam. Ristretto short, lungo long, americano with water, cortado mild, cappuccino with a cap of foam, flat white milky and flat. Your task: build your three favourite drinks once, deliberately, by ratio.
Care &
Mastery
Keeping good espresso good for the long run.
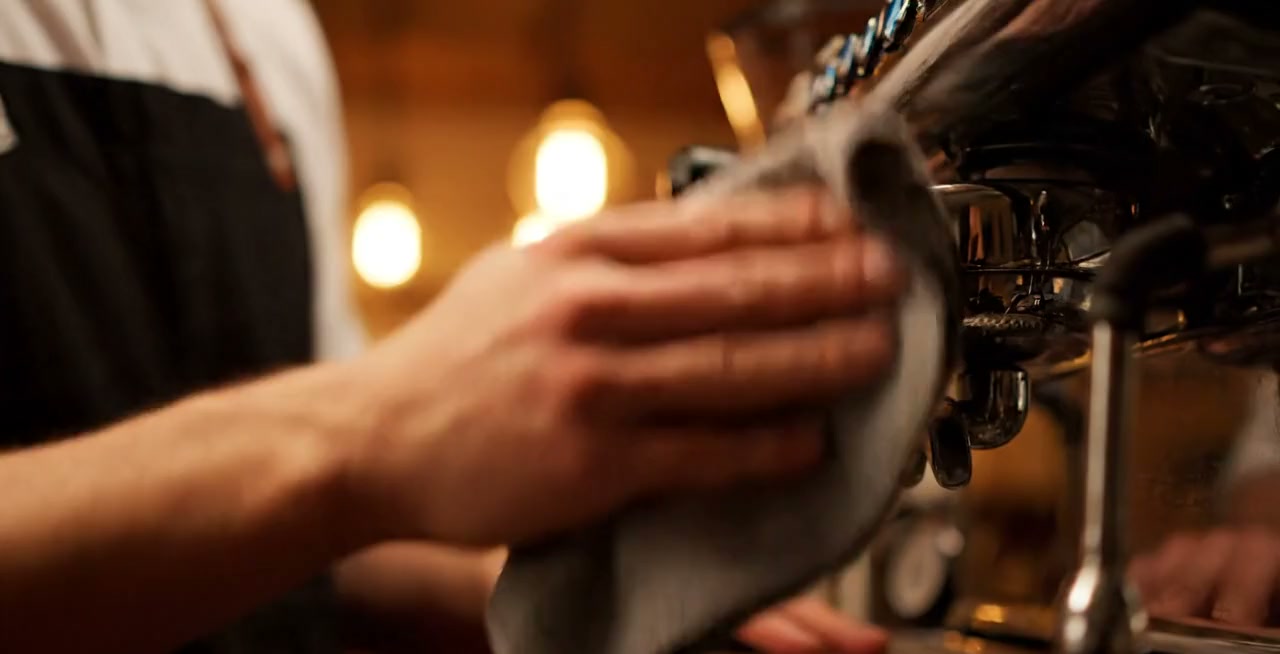
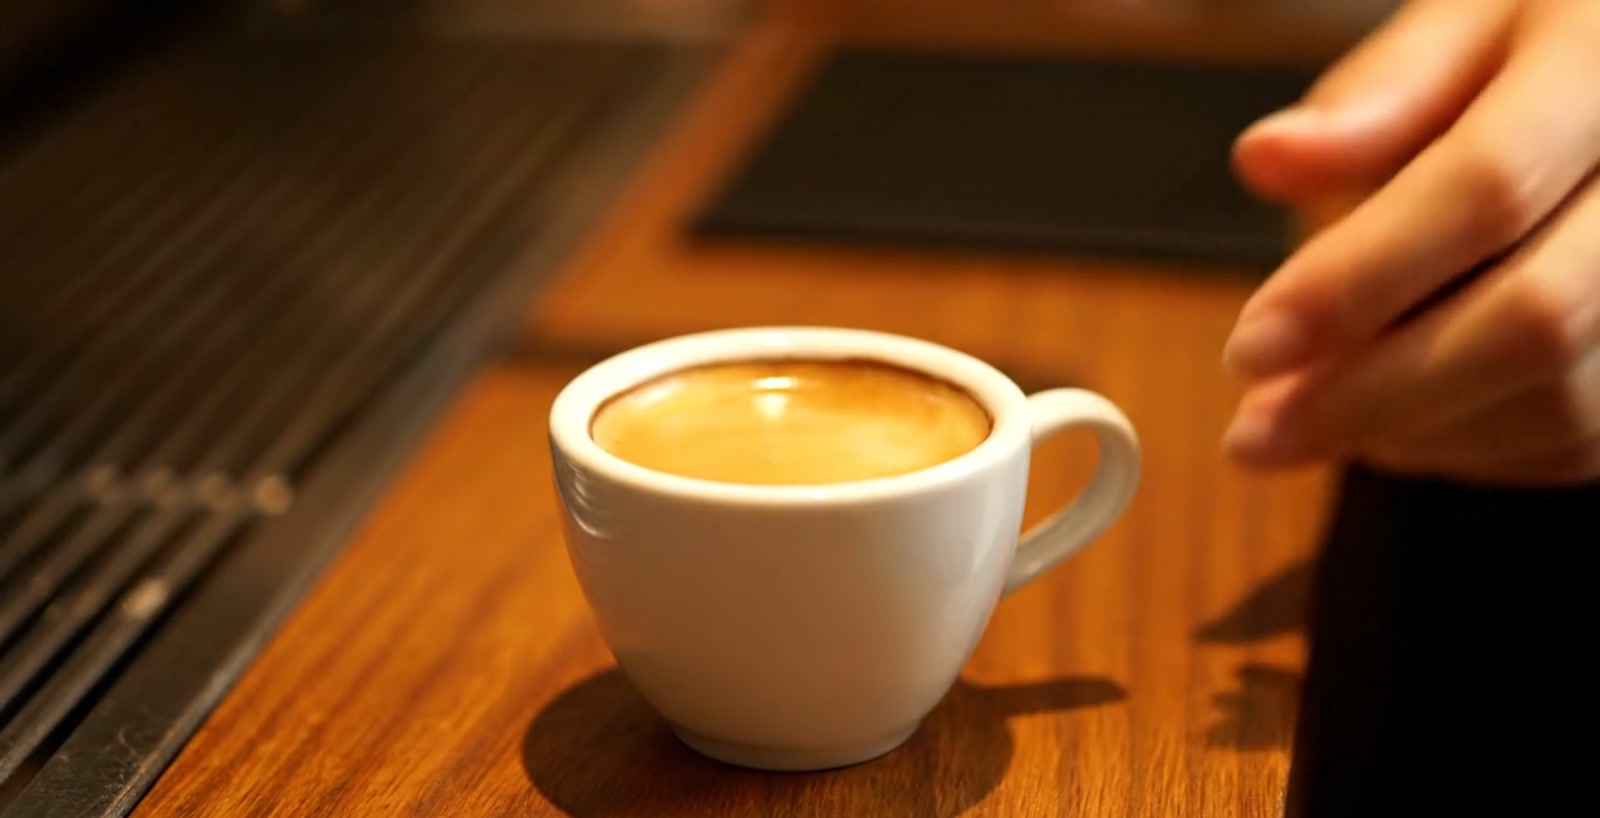
The last espresso of the day. The machine gleams, everything is clean — and that is no accident, it is habit. This final episode is about what keeps your good espresso good for the long run: care and routine.
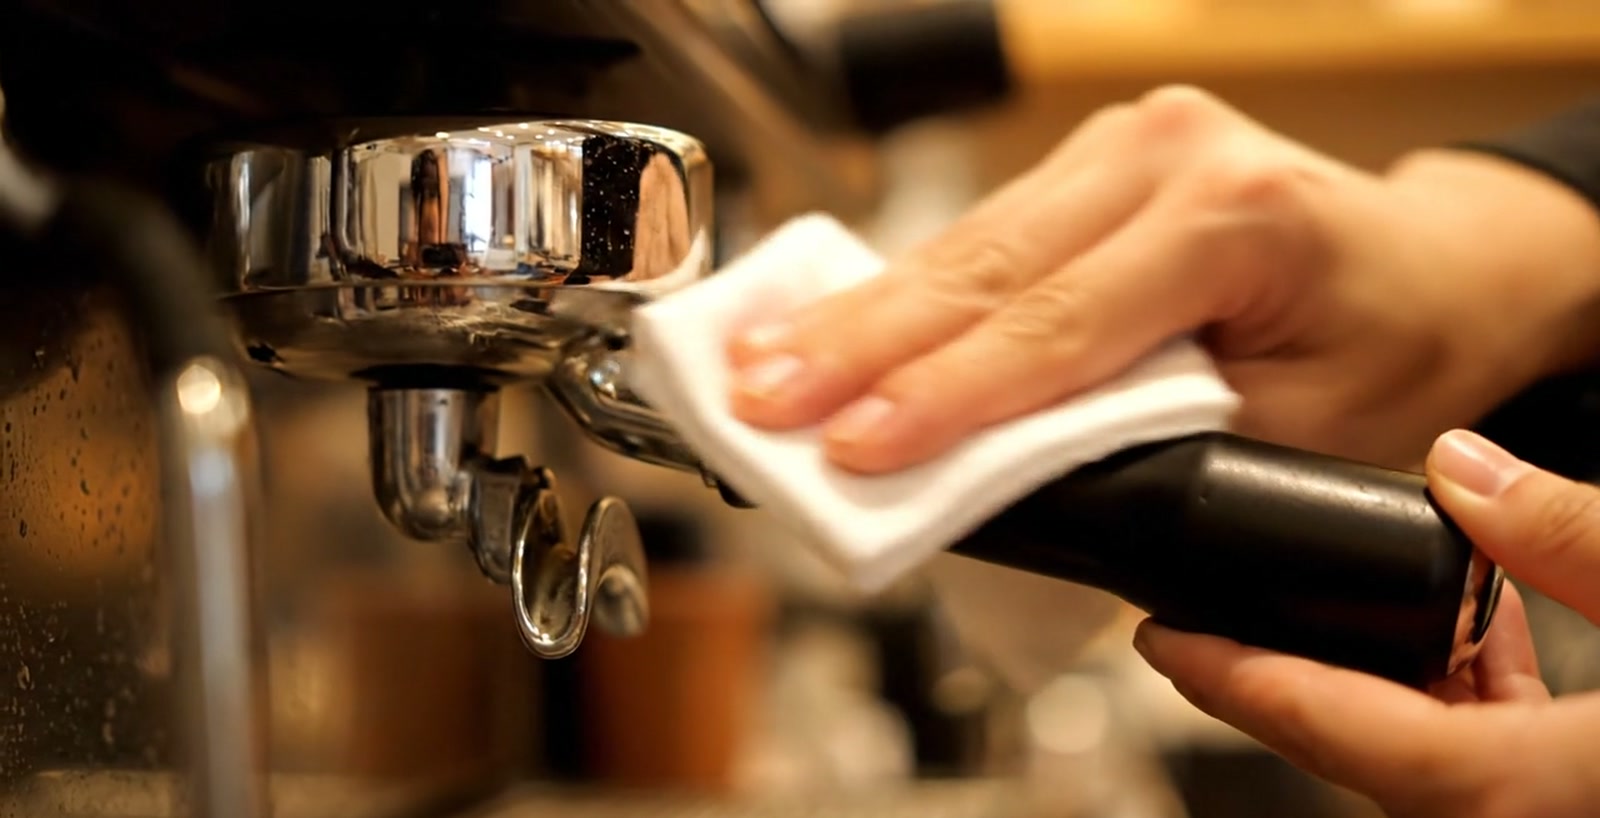
A well-kept machine is half the battle — dirty baskets, old coffee oils and limescale can be tasted. Care runs in three rhythms, and then you never forget anything.
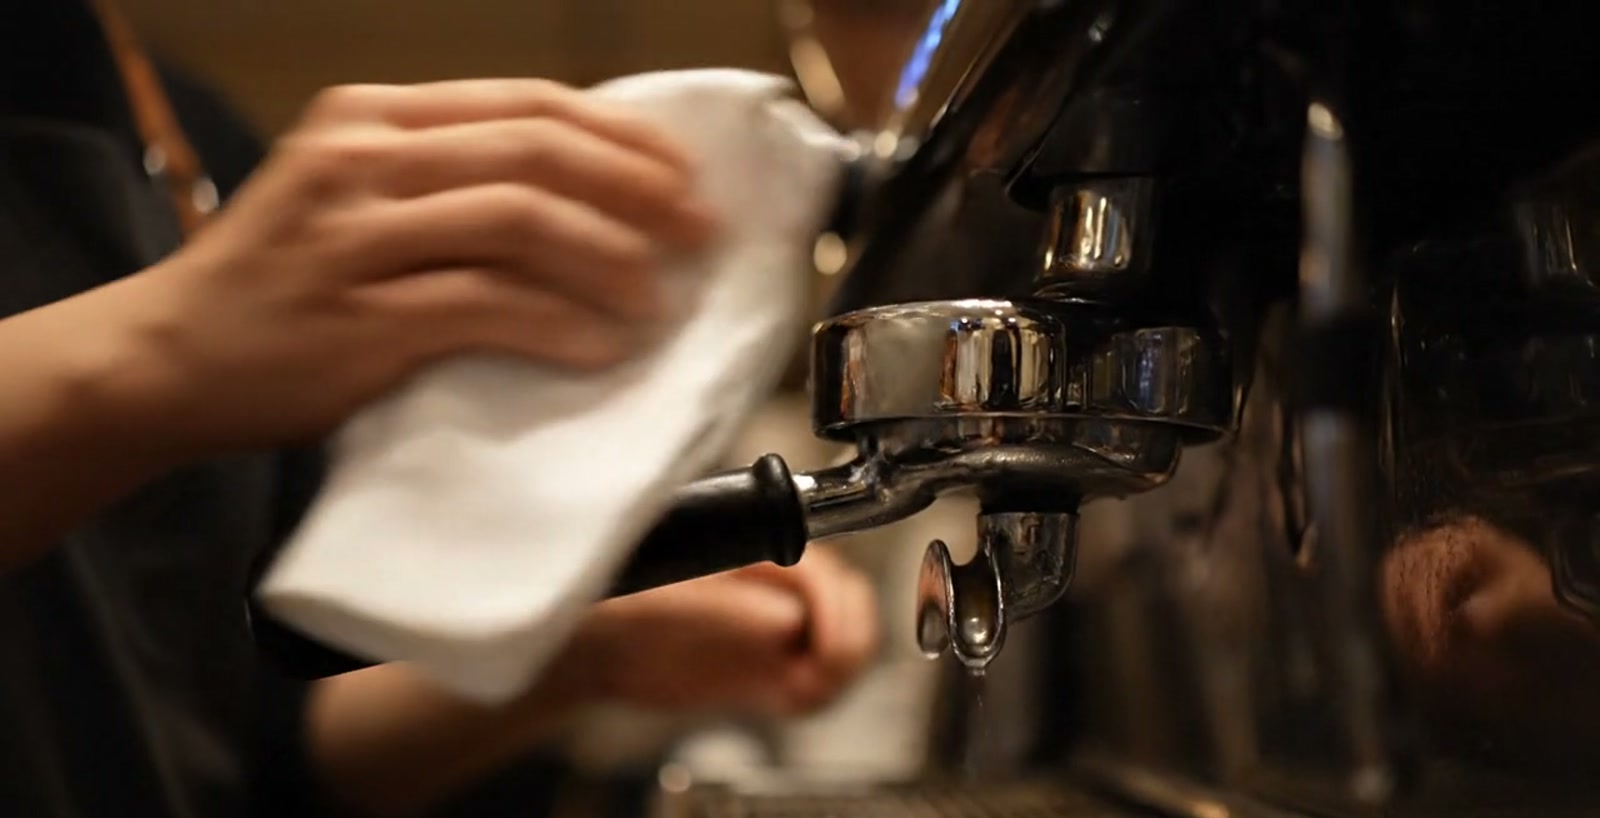
First rhythm, after every shot, thirty seconds: briefly flush the group head, wipe the steam wand and blow it through — the most important movement — and knock out the portafilter. Add a weekly backflush and, now and then, a descaling run.
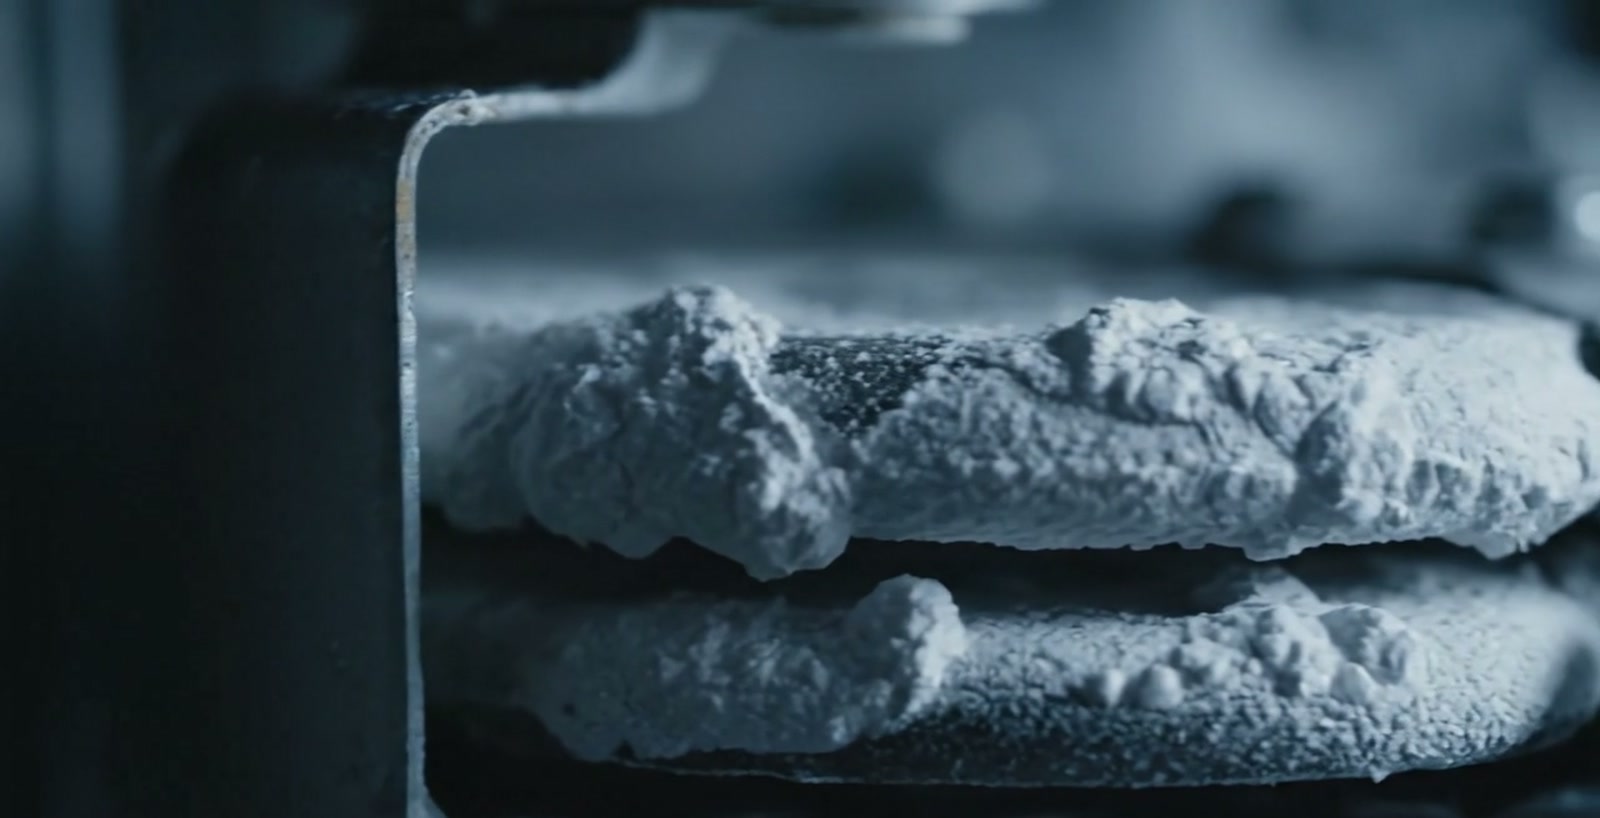
One important point you need to know: damage from limescale is not covered by the warranty — with practically every manufacturer. The reason is simple: limescale can be avoided.
With good, soft or filtered water and regular descaling your machine will barely scale up at all. It is the cheapest protection there is — pay a little attention to the water instead of risking expensive damage later.
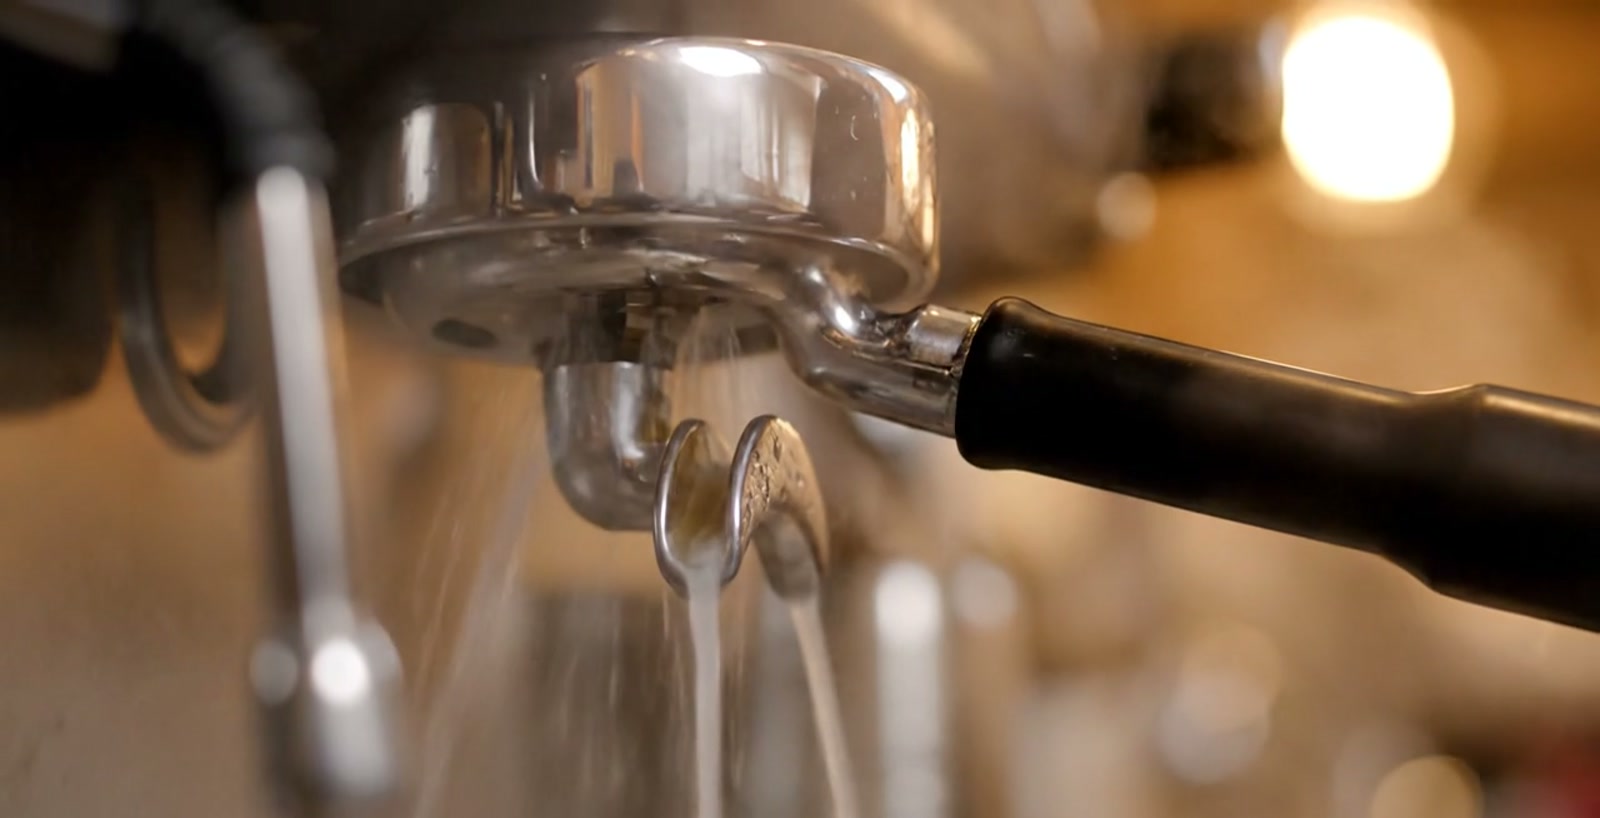
If something does get stuck: no pressure and the espresso only drips? Usually ground too fine — grind coarser. No crema? Beans too old, or machine and cup too cold — back to freshness and heating up. Milk will not foam? Wand blocked or milk not cold.
Espresso suddenly tastes different? A new bag of beans — you have to dial in again. You see: almost every problem leads back to one of the five Ms, and you now have all of them in hand.
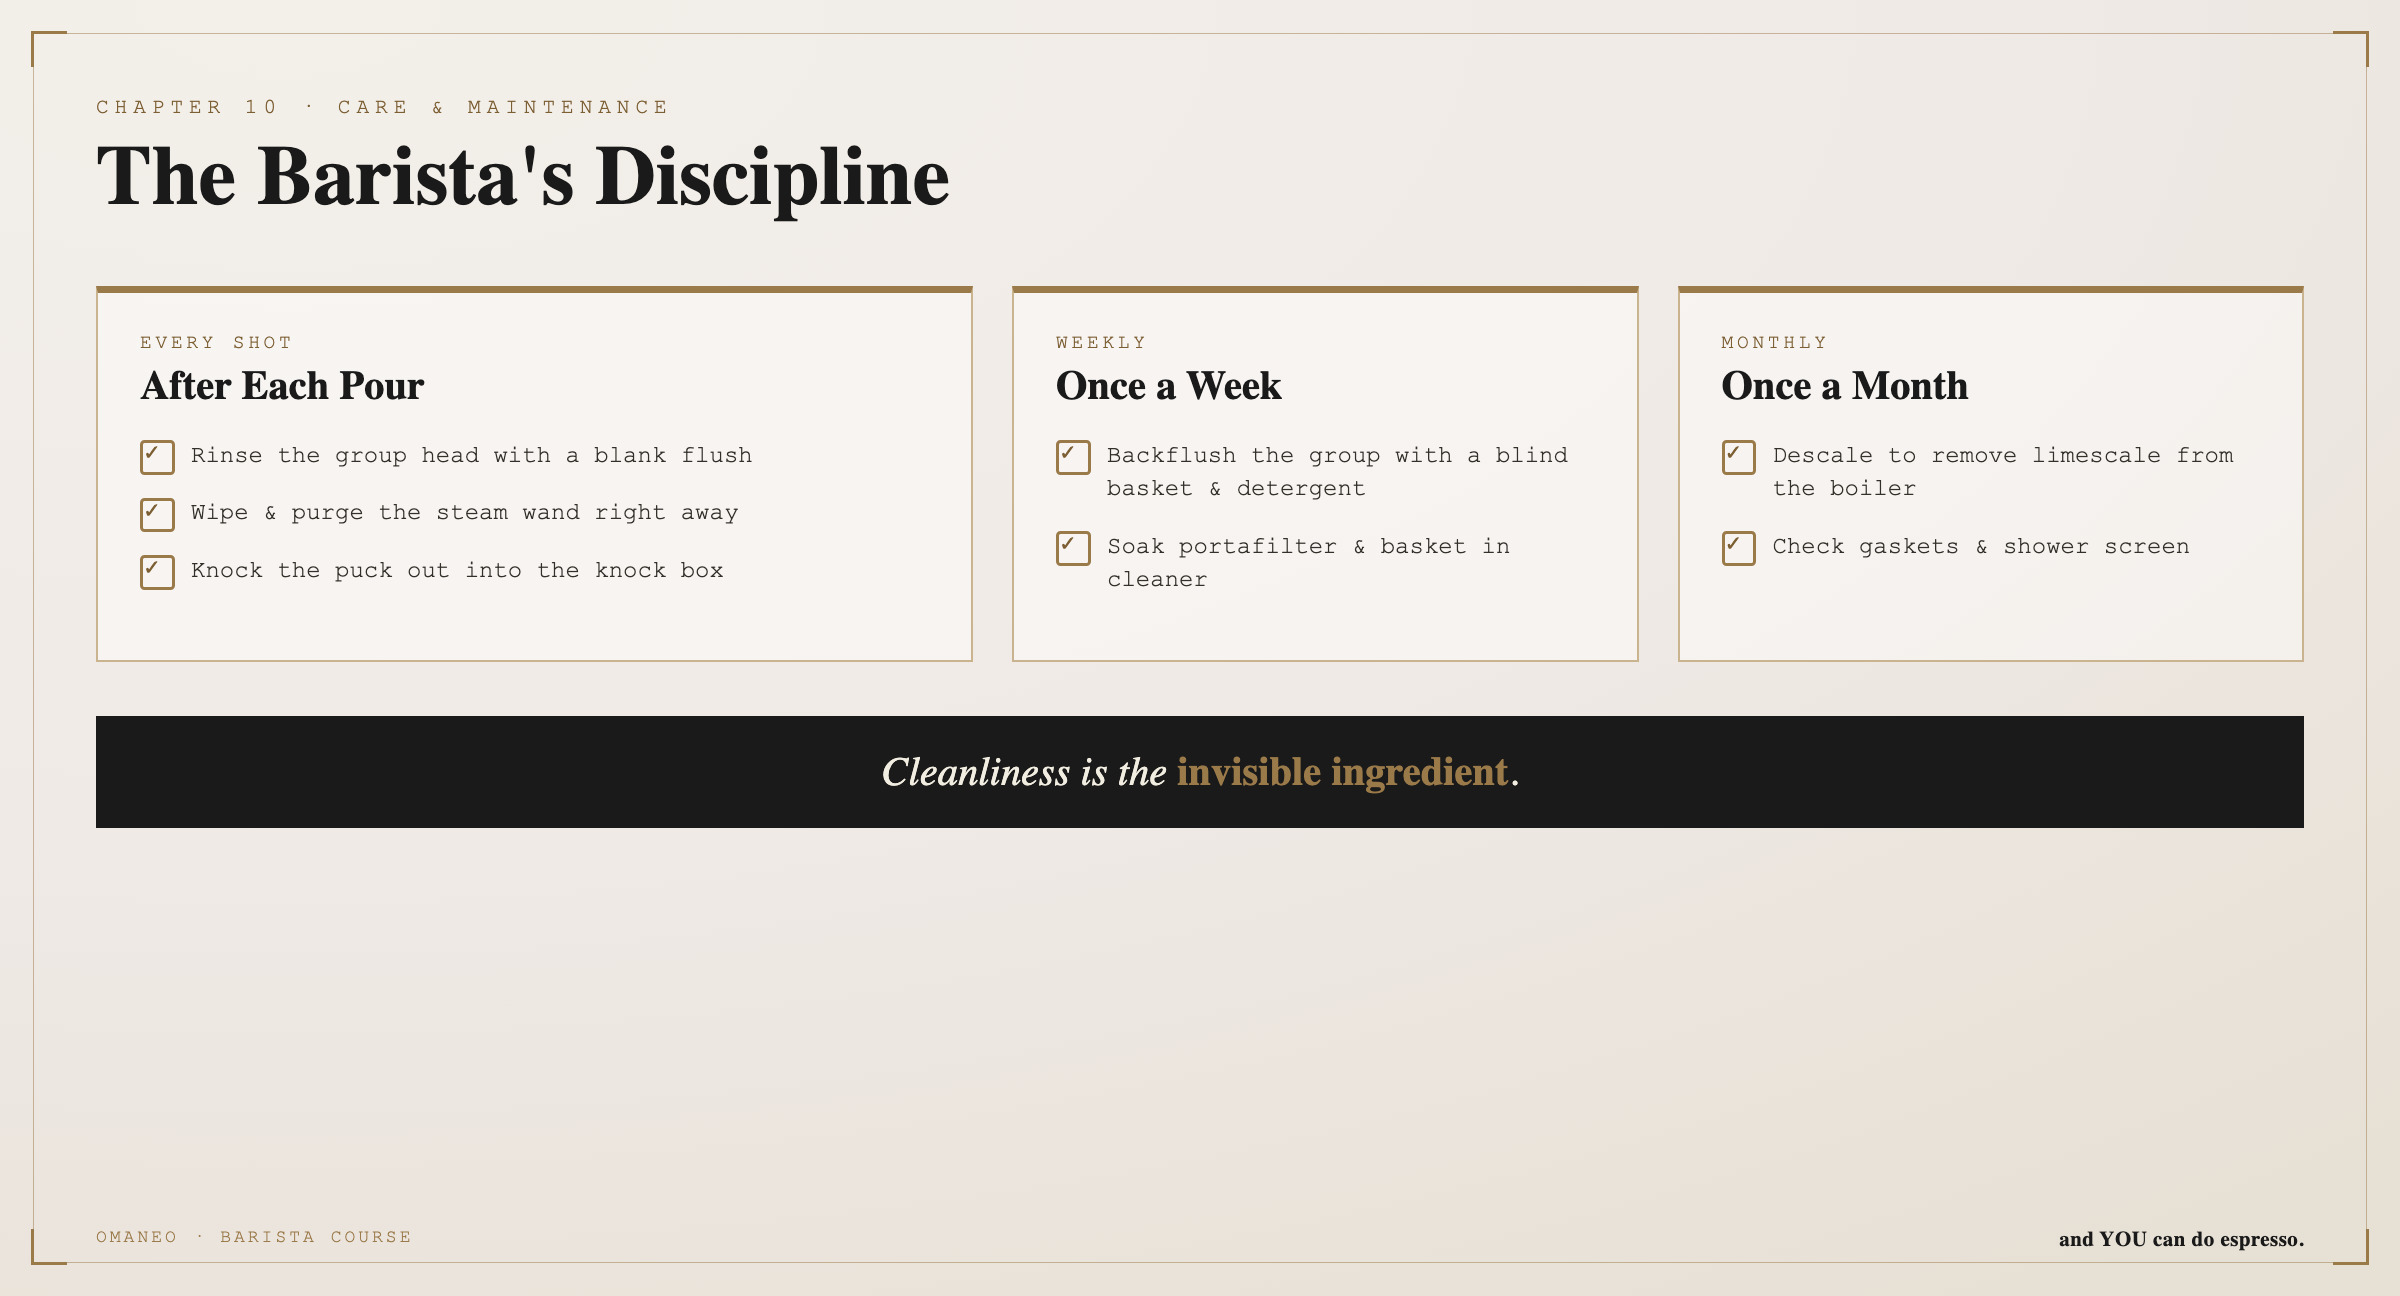
Care &
Mastery
And with that the circle closes. You know your five Ms: mixture, amount, mill, machine, human being. You read the extraction, foam milk, pour a heart and keep your machine in shape. You no longer press a button and hope — you make espresso, deliberately and dependably, with your own hands. Welcome, barista.
omaneo imports and markets espresso and coffee machines, grinders and barista accessories for everyone who wants more from their coffee — with transparency about manufacturer, supply chain and quality.
All eleven episodes of the barista course, a PDF companion for each episode and more espresso knowledge can be found at omaneo.de/barista-kurs.php.
omaneo — and YOU can do espresso.
and YOU can do espresso.
The book to the eleven-part omaneo barista video course.
The five Ms — from the bean to mastery.
omaneo.de/barista-kurs.php